
Tag

easy recipes

Browsing

Leftover risotto? The perfect excuse to make Arancini! These Pumpkin Arancini are a great way to reinvent leftover rice and make a delicious new meal out of it. I’m using my Pumpkin and Bacon risotto recipe and adding feta and mozzarella, to make these addictive crispy rice balls, together with a punchy Tomato Chilli sauce to dip them in. Perfect for a tasty starter to please a crowd!
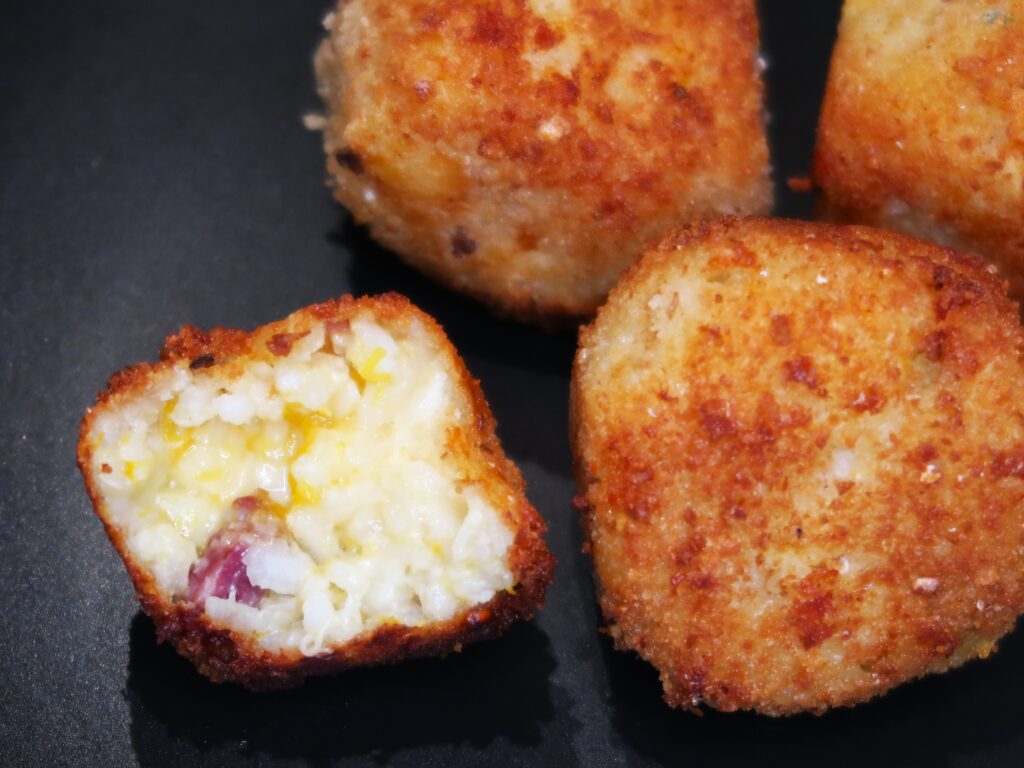
pumpkin arancini

Ingredients needed for these Pumpkin Arancini

Arancini

  • Chilled, cooked Risotto: The essential ingredient of that you will need is leftover risotto. I used 7 cups of cooked rice, from my recipe of Pumpkin and Bacon Risotto. Any other risotto type will also work fine, as long as it’s cold (not from frozen). Warm or hot rice will not stick together well during shaping and frying. Regarding rice type – arancini balls need to be made with a starchy rice like an Arborio, Carnaroli, or Vialone Nano Rice so that it will combine together well.
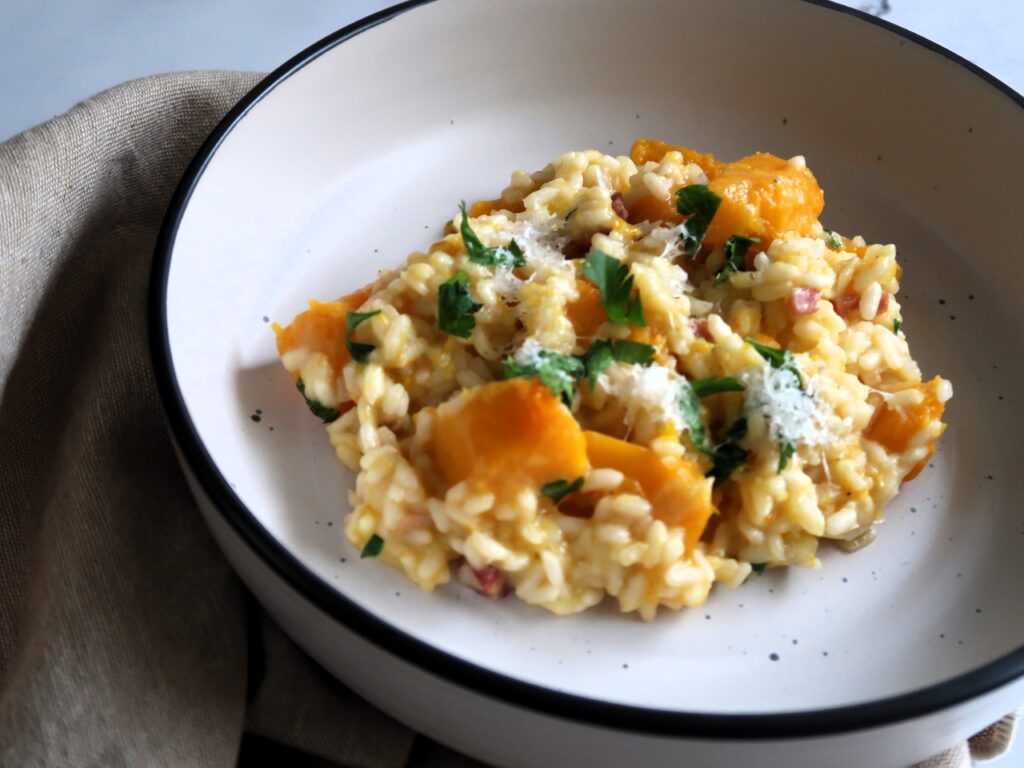
risotto with pumpkin and bacon
  • Feta and mozzarella Cheese: This will add some extra flavour and cheesiness to the Pumpkin Arancini. I generally choose smooth Danish feta and shredded mozzarella, but you can also use any other cheeses that you like! Big chunks of cubed mozzarella to put in the middle of the arancini also work well!
  • Crumb: I usually crumb in 3 steps for extra crispiness. Flour first, beaten eggs and breadcrumbs last. A standard breadcrumb works great as well as a crispy Panko breadcrumb. If you want to get creative and have the time, you can do a separate chili crumb by adding a teaspoon of dried chili to half the breadcrumbs to give some extra kick to a batch of arancini.
  • Vegetable or canola oil: For shallow frying the arancini.
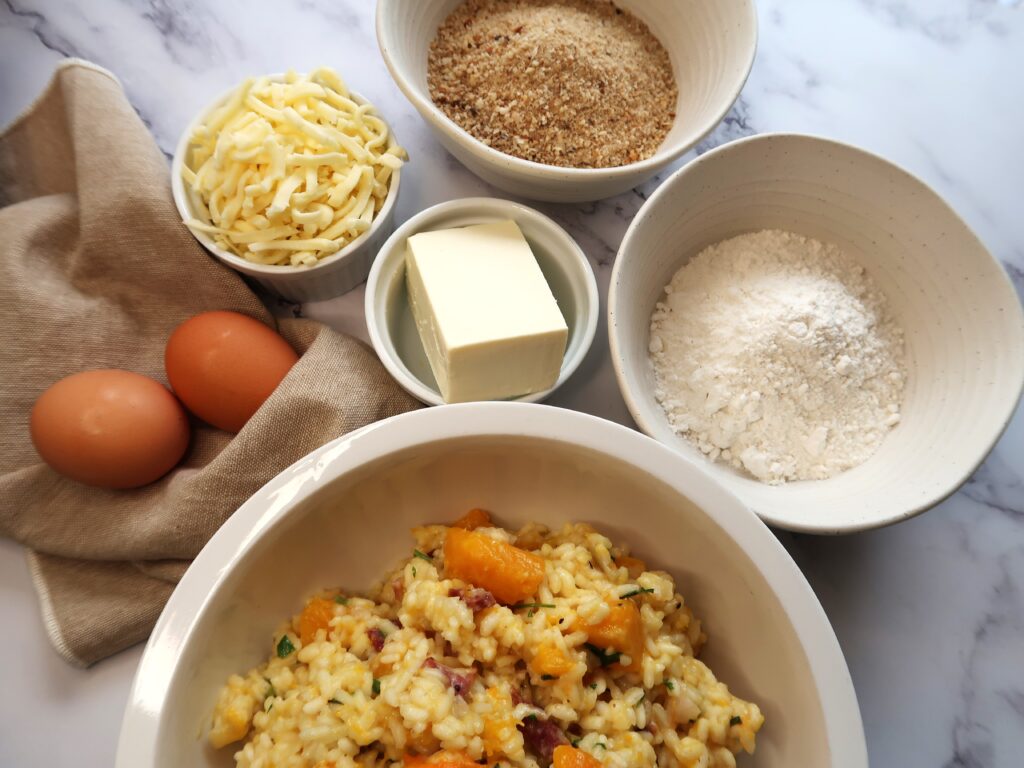
ingredients required for arancini, risotto, flour, eggs, cheeses and breadcrumbs

Tomato Chilli Sauce

  • Italian Tomato Passata: I like to use Mutti brand
  • Chilli Sauce: Any chilli Sauce, I use Sriracha or replace for Chilli Flakes
  • Garlic Cloves
  • Olive Oil & Salt

How to Make these Pumpkin Arancini

Combine the risotto with the cheeses and shape the arancini

Combine the chopped feta and mozzarella with the cold risotto till it’s all evenly mixed. With your hands tightly shape the rice into golf-sized balls until you have used up all the risotto. As a rough idea, 7 cups of cooked rice will yield roughly 30-35 arancini.

Crumb the Pumpkin Arancini

Set up three separate bowls, one with plain flour, one with the lightly beaten eggs, and one with the breadcrumbs. Coat the rice balls in flour first, then egg, then breadcrumbs and set them aside in a separate large plate.

Tip: To not get the coatings (and your hands) too messy, the best way is to use one hand to handle the dry coatings of flour and breadcrumbs, and the other hand to handle just the dipping in the egg.
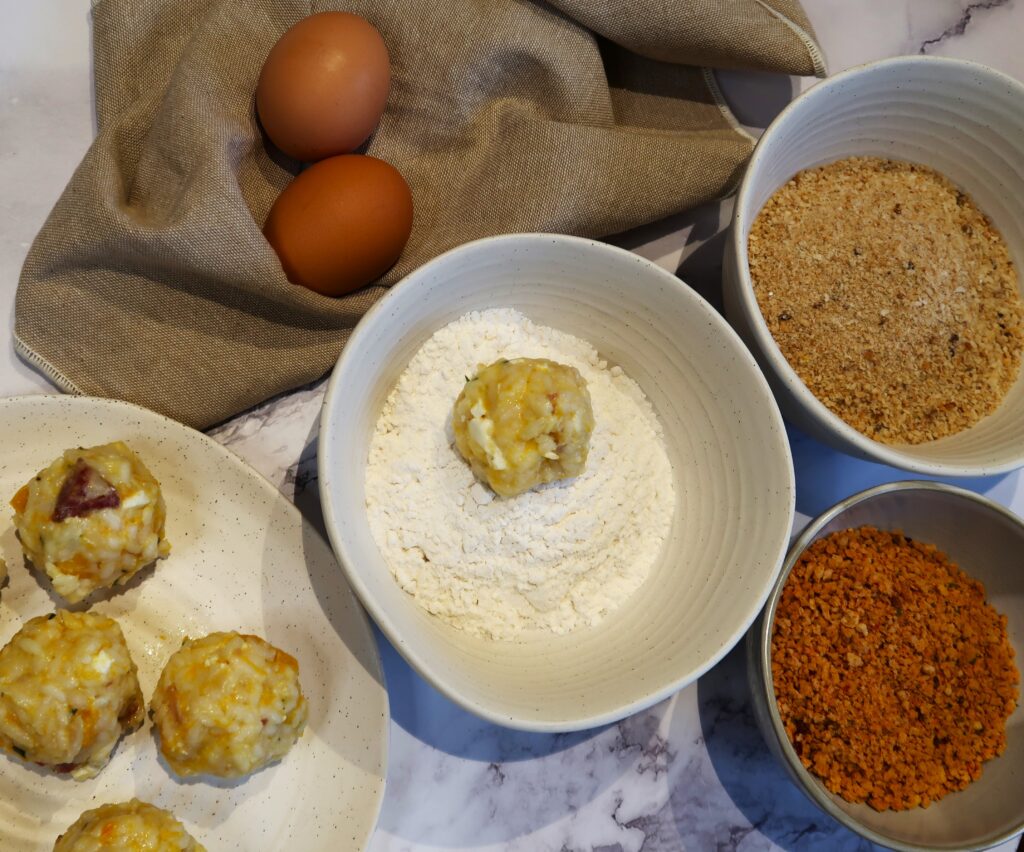
assembling the arancini with eggs, flour and breadcrumbs

Shallow fry the Pumpkin Arancini

Once all the Arancini are shaped and coated, start frying. I usually just shallow fry the arancini, so I set up a large nonstick or cast iron pan and add about 1 cup of Vegetable Oil.

Once the oil is hot (you can check by dipping a wooden spoon and if little bubbles appear all around it it’s hot), add the arancini, in batches, making sure not to overcrowd the pan.
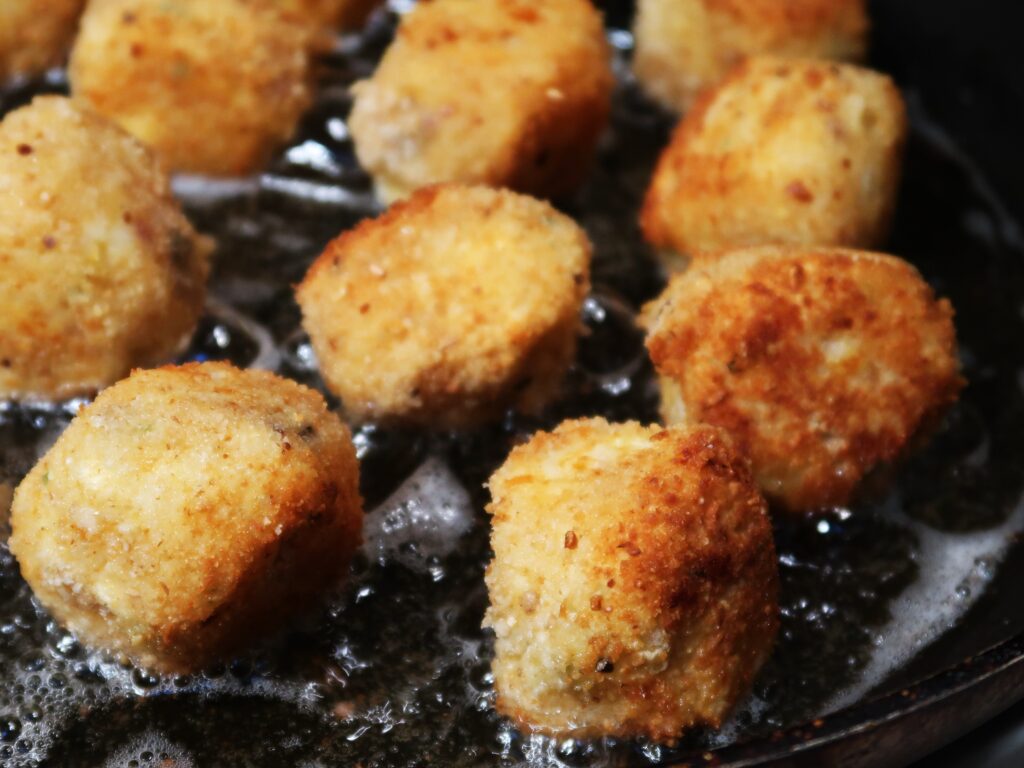
pumpkin arancini frying

Fry them on each side for 1-2 minutes, and constantly turn them over to the other sides till they are crispy and golden all around. Make sure to keep an eye on them constantly as they can burn very quickly once the oil is hot!

Once fried, set them aside on a large plate lined with paper towels to absorb any excess oil. The pumpkin arancini are ready to eat!

How to make the Chilli Tomato Sauce

This chili tomato sauce is perfect for dunking the arancini and is great served hot or cold. It can also be made in advance too!

To make the sauce, in a pot, gently cook the garlic in some olive oil for 1-2 minutes. Add the passata, the Sriracha and the salt and simmer over low to medium heat for 15 to 20 minutes.

Serving Suggestions for these Pumpkin Arancini

Once the arancini are fried, they are perfect to eat immediately with the Chilli Tomato Sauce for dipping. They are great as a starter, or as a main meal. Enjoy!
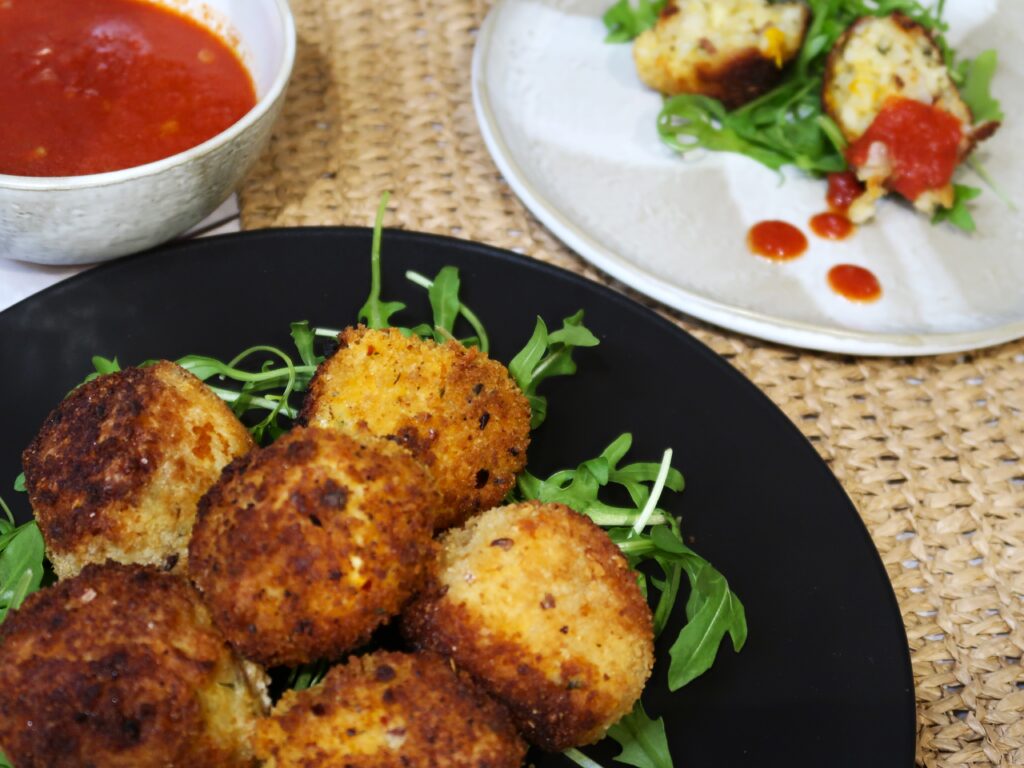
fried rice balls served with tomato chilli sauce

Storage suggestions for these Pumpkin Arancini

If you are not eating them immediately they defenitely can be made in advance. Once fried, they will last in the fridge for up to 2 days or can be frozen in batches in an airtight container for up to 1 month.

To reheat, if they are in the fridge, they will need around 15-20 minutes at 200 dg or 180 dg if fan forced.

From frozen, defrost overnight or in the microwave and as per above till piping hot.

Loved this recipe? Want more?

Here, you can find the perfect Pumpkin and Bacon Risotto used for this recipe.

Check out more of my rice recipes like this Black Rice Salad.

Pumpkin Arancini with Tomato Chilli Sauce

Prep Time 30 minutes
Cook Time 30 minutes
Total Time 1 hour
Servings 10
Crispy fried rice balls with a spicy dipping sauce

Ingredients

  • 7 Cups Cooked Pumpkin Risotto (See separate recipe and cooking times in post)
  • 3/4 Cup Shredded Mozzarella (approx 150 gr)
  • 1/2 Cup Feta (crumbed, approx 100 gr)
  • 1 Cup Vegetable or Canola Oil (for frying)
  • 1 Cup Plain white flour
  • 2 Eggs (lightly beaten)
  • 1.5 Cups Dried Breadcrumbs (Plain or Panko)

Tomato Chilli Sauce

  • 2 tbsp Extra Virgin Olive Oil
  • 2 Cloves Garlic (finely chopped)
  • 2 Cups Tomato Passata
  • 2 tbsp Sriracha Sauce
  • 1/2 tsp Salt

Instructions 

  • Combine the chopped feta and mozzarella with the cold risotto till it's all evenly mixed. With your hands tightly shape the rice into golf-sized balls until you have used up all the risotto.
  • Set up three separate bowls, one with plain flour, one with the lightly beaten eggs, and one with the breadcrumbs. Coat the rice balls in flour first, then egg, then breadcrumbs and set them aside in a separate large plate.
  • Add the vegetable oil to a large non stick or cast iron pan, over medium heat. Once the oil is hot (you can check by dipping a wooden spoon in the oil and if little bubbles appear all around it's hot), shallow fry the arancini, in batches, making sure not to overcrowd the pan.
  • Fry them on each side for 1-2 minutes, and constantly turn them over to the other sides till they are crispy and golden all around. Make sure to keep an eye on them constantly as they can burn very quickly once the oil is hot!
  • Once fried, set them aside on a large plate lined with paper towels to absorb any excess oil.
  • Meanwhile, to make the Tomato chilli sauce, in a pot over low to medium heat, gently cook the garlic in some olive oil for 1-2 minutes. Add the passata, the Sriracha and the salt and simmer over low to medium heat for 15 to 20 minutes. Set aside to cool slightly and serve with the Hot or Warm Arancini.

Notes

Yield: As a rough idea, 7 cups of cooked rice will yield roughly 30-35 arancini.
Storage Suggestions:
If you are not eating them immediately the arancini can be made ahead of time. Once fried, they will last in the fridge for up to 2 days or can be frozen in batches in an airtight container for up to 1 month.
To reheat, if they are in the fridge, around 20 minutes at 200 dg or 180 dg if fan forced.
From frozen, defrost overnight or in the microwave and as per above till piping hot.
Course: Appetizer, Main Course
Cuisine: Italian
Keyword: antipasti, appertiser, arancini, dinnerparty, easy dinner, fall recipes, rice balls, risotto

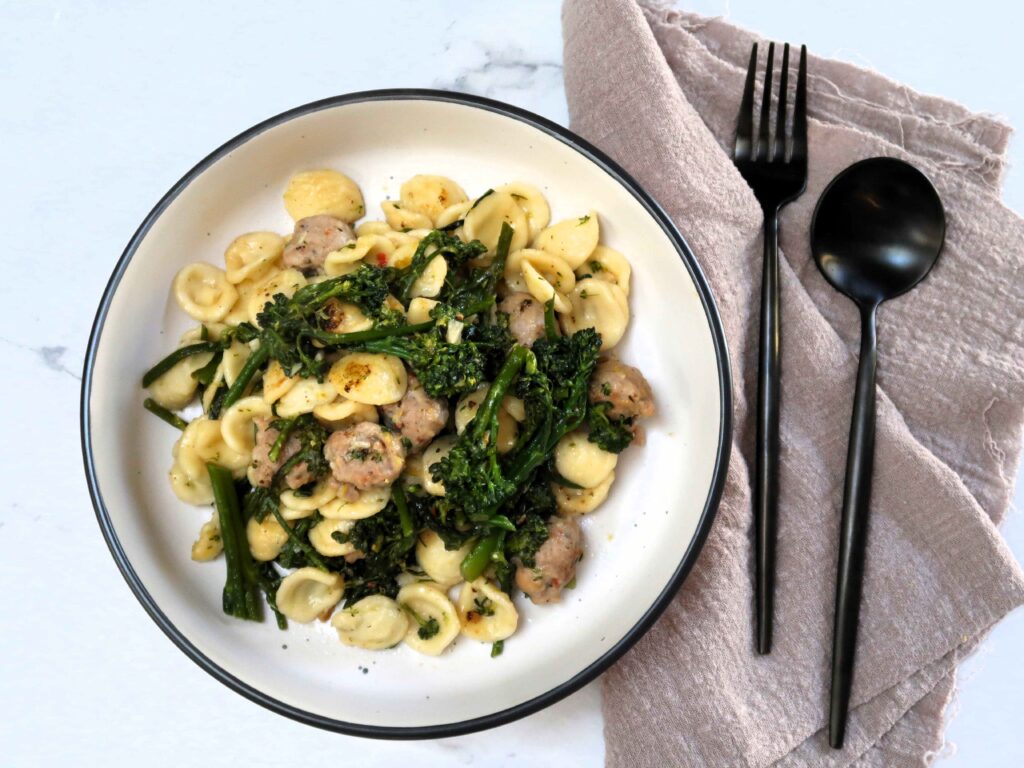
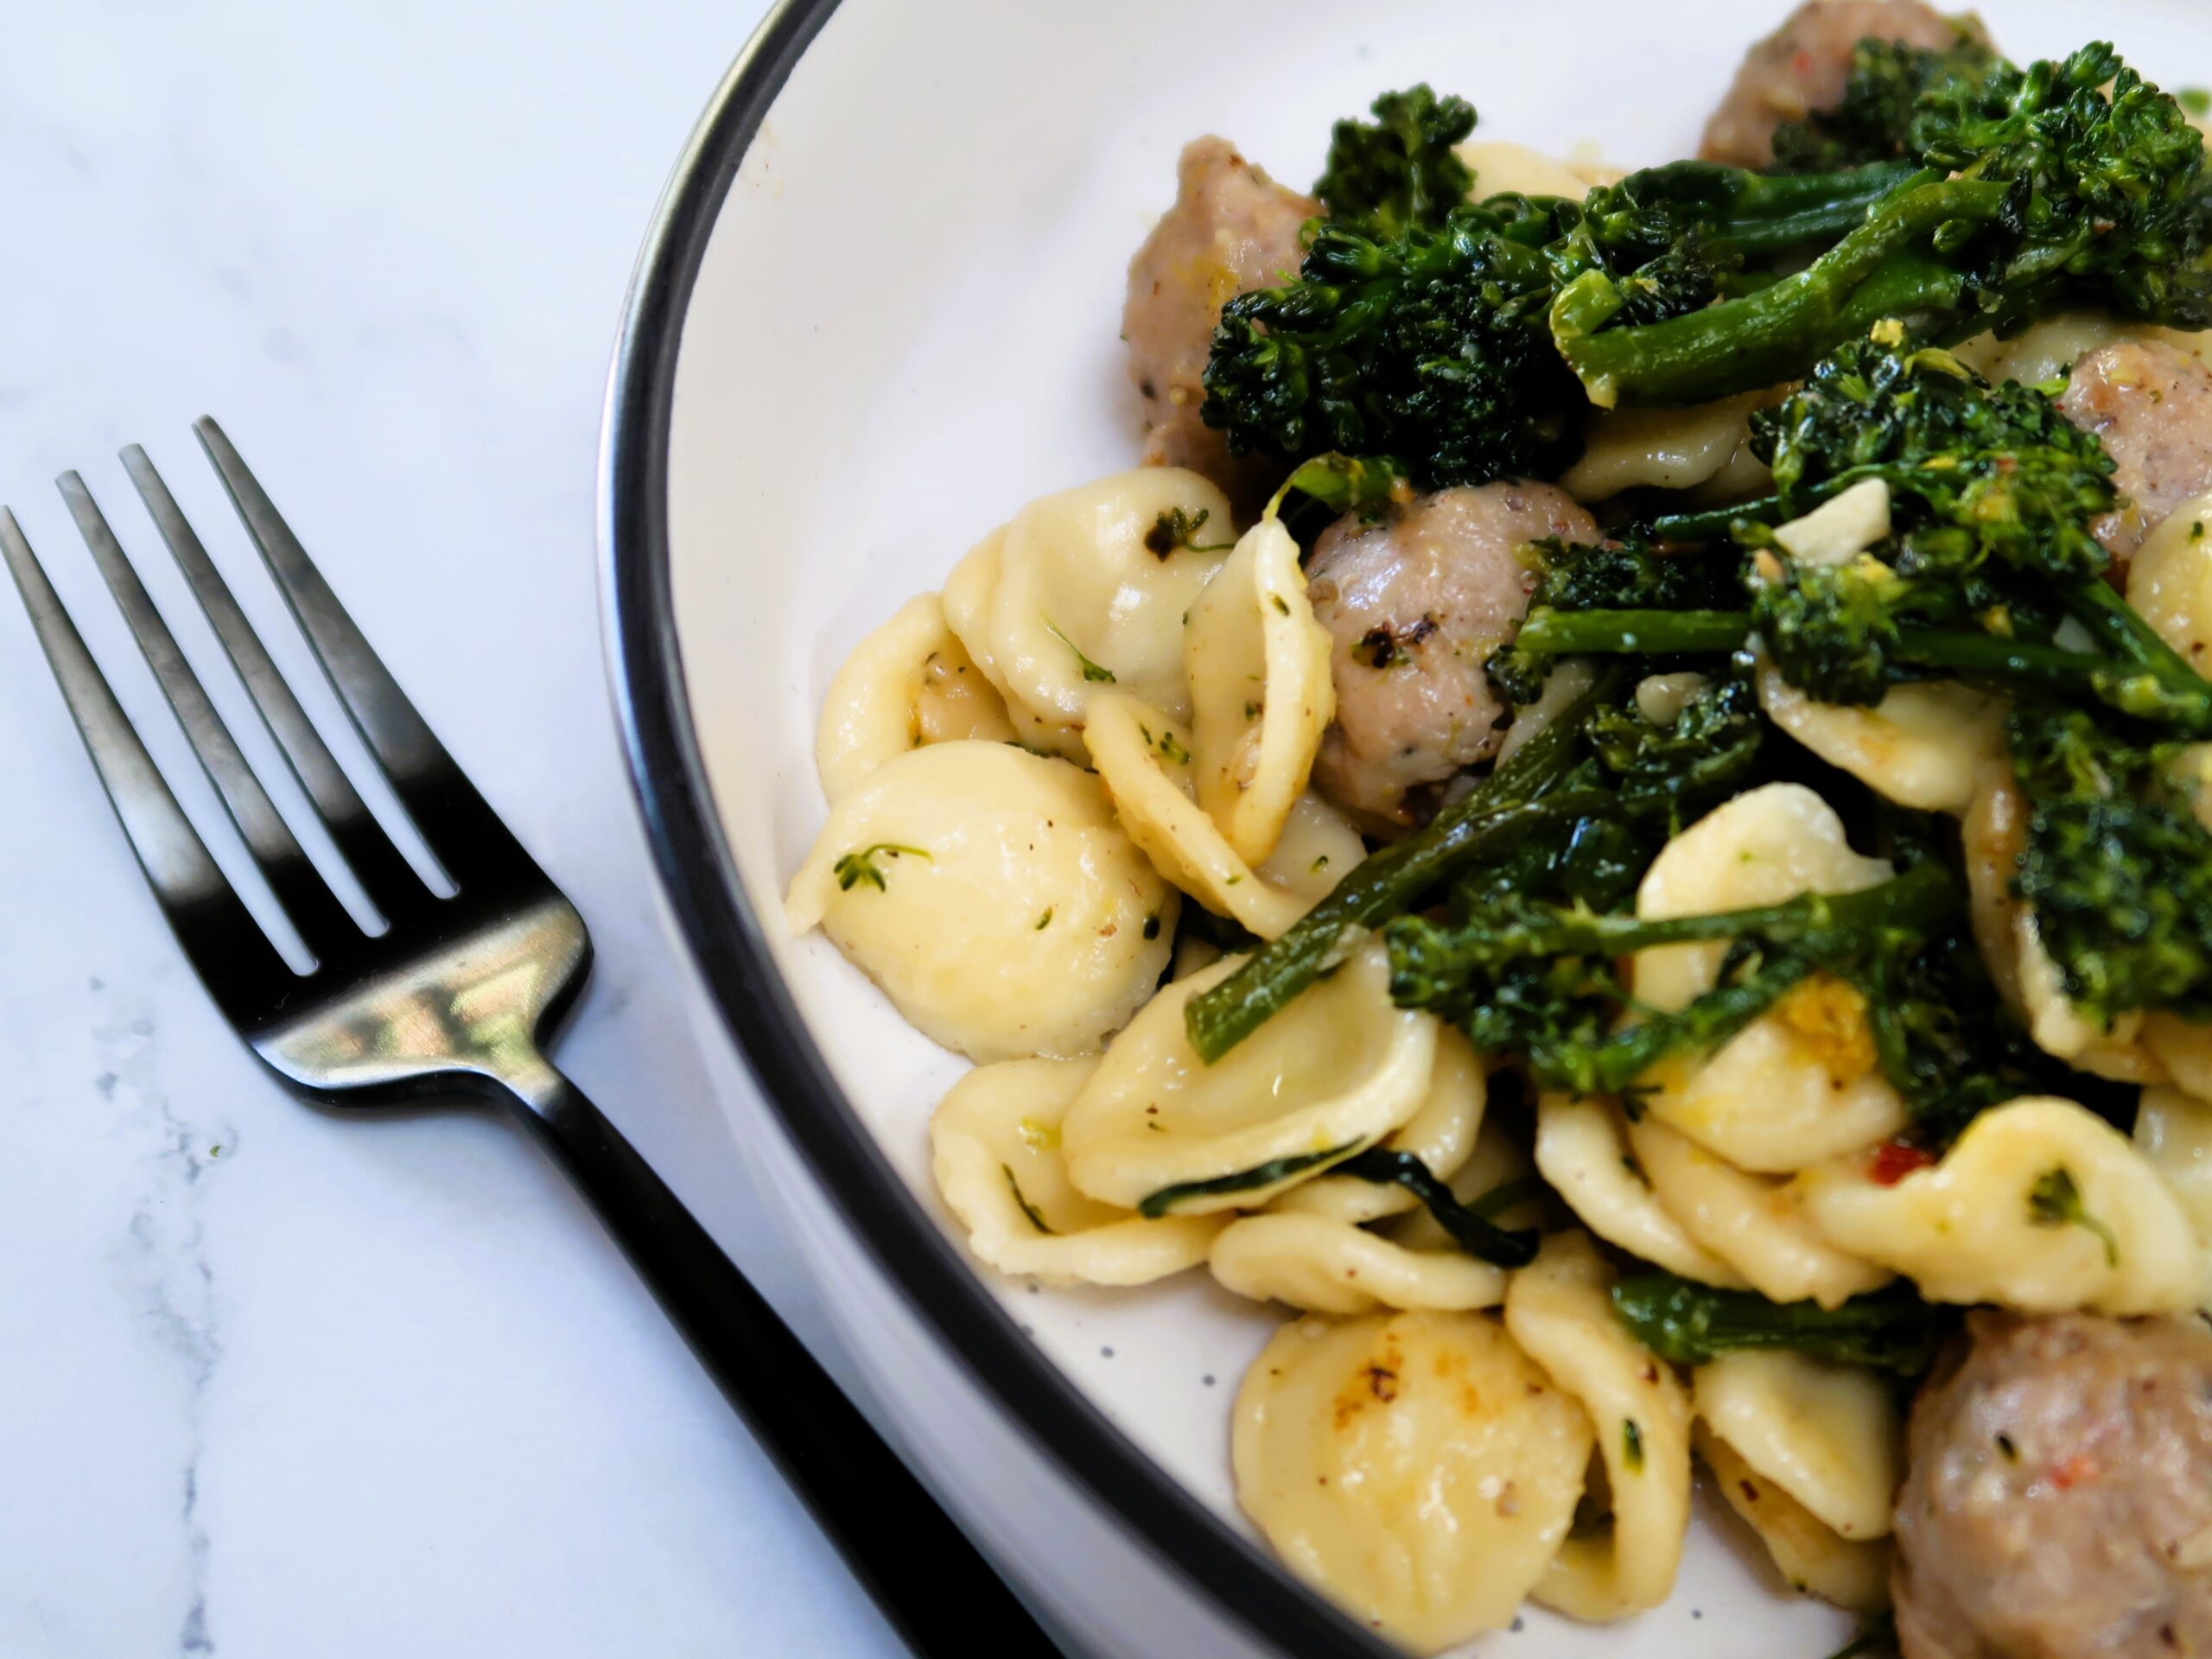
This orecchiette with sausage and broccolini is an easy and tasty pasta dish that is full of flavour. The slight char that the orecchiette get from those final few minutes in the pan and the zest of lemon take this dish to the next level!

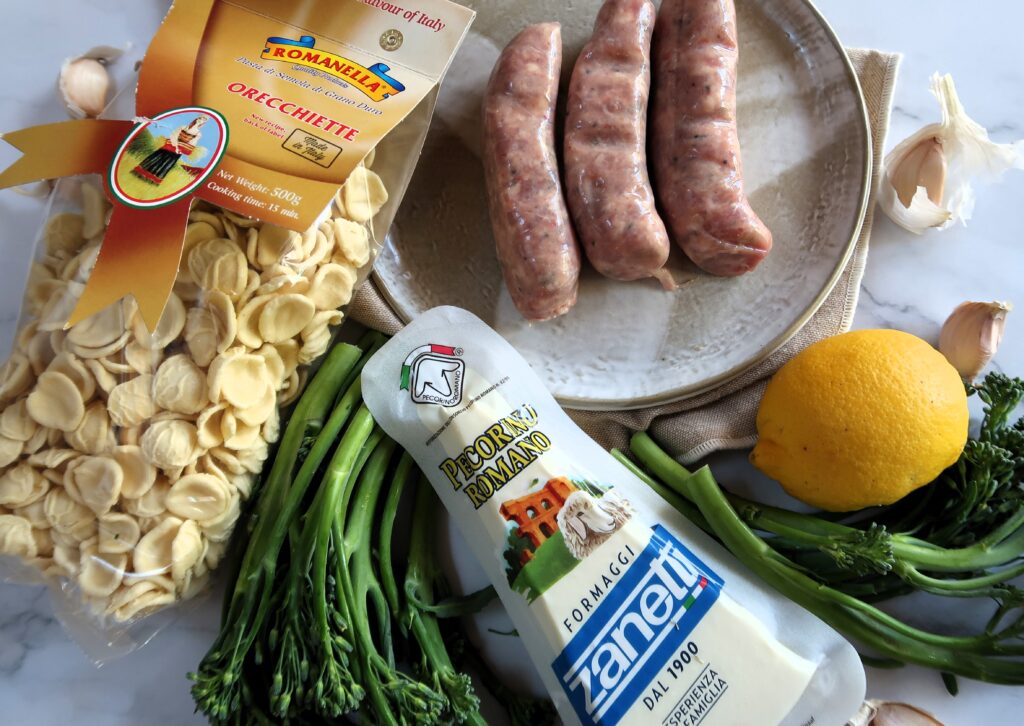
Ingredients for this Orecchiette with Sausage and Broccolini

This simple orecchiette dish makes for a light and delicious lunch or dinner. And best of all, only a handful of ingredients are needed to make this!

Orecchiette

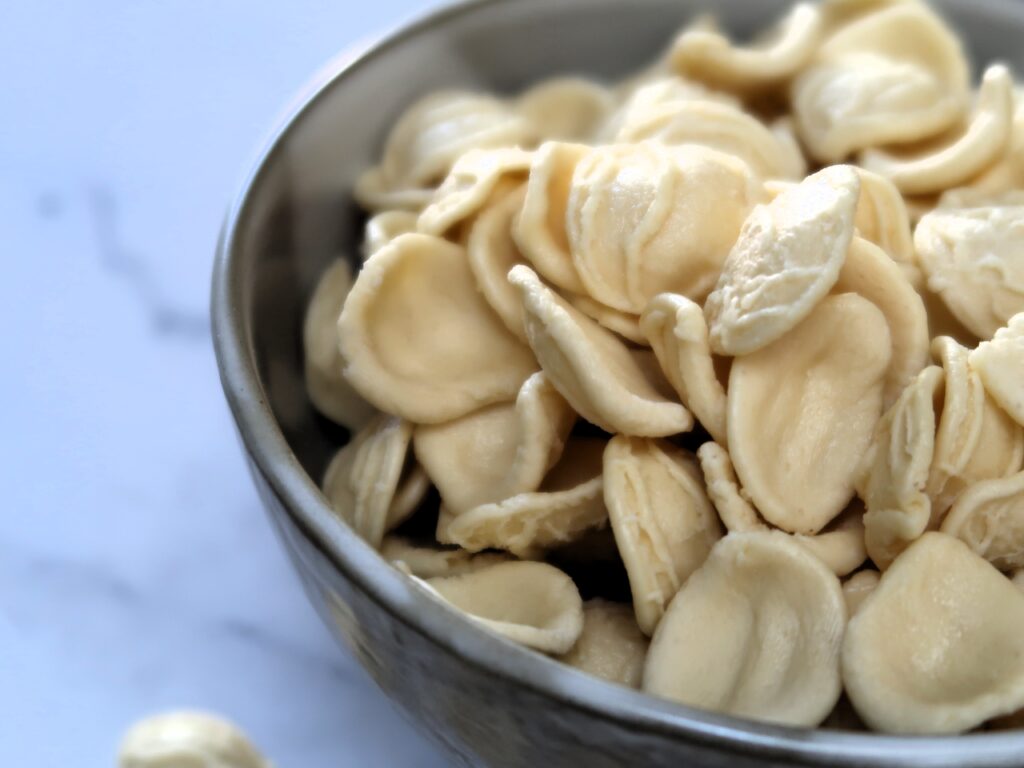
Orecchiette is a pasta type made of semolina flour, rounded with a rough surface. It makes them cling on to any sauce beautifully.

They are a traditional pasta from the south of Italy, in the region of Puglia. One of the most popular dishes made with orecchiette is Orecchiette Con Cime di Rapa, with the traditional version using Broccoli Rabe (also called Rapini) and sometimes a hint of chilli.

Orecchiette in Italian means ‘little ears’ for the rounded shape that orecchiette has.

orecchiette pasta

Sausages

For this recipe I used italian style pork sausages. These generally have spices in the sausage mixture that include pepper, garlic, fennel seeds & chilli.

I find this style of sausages is perfect for this dish as it gives a lot of flavour to the broccolini and orecchiette. Another substitute for this would be also some pancetta or bacon – just reduce the amount by half so it doesn’t overpower the dish.

Broccolini

I used 2 small bunches (which are roughly 250 gr in total), you can also substitute this for Chinese broccoli or broccoli, shredded in smaller pieces.

orecchiette pasta

Other ingredients required:

  • Garlic
  • Lemon zest: to add at the end of cooking to give the dish a wonderful light citrus aroma to the orecchiette
  • Grated Pecorino
  • Extra Virgin Olive Oil, Ground Pepper and Salt

How to make Orecchiette with Sausage and Broccolini

Bring a large pot of water to the boil

Bring a large pot of salted water to the boil. Alongside set up a large fry-pan, which will be used to fry the sausage and broccolini. Add the orecchiette to the salted water to begin cooking.

Fry the sausage, garlic and broccolini

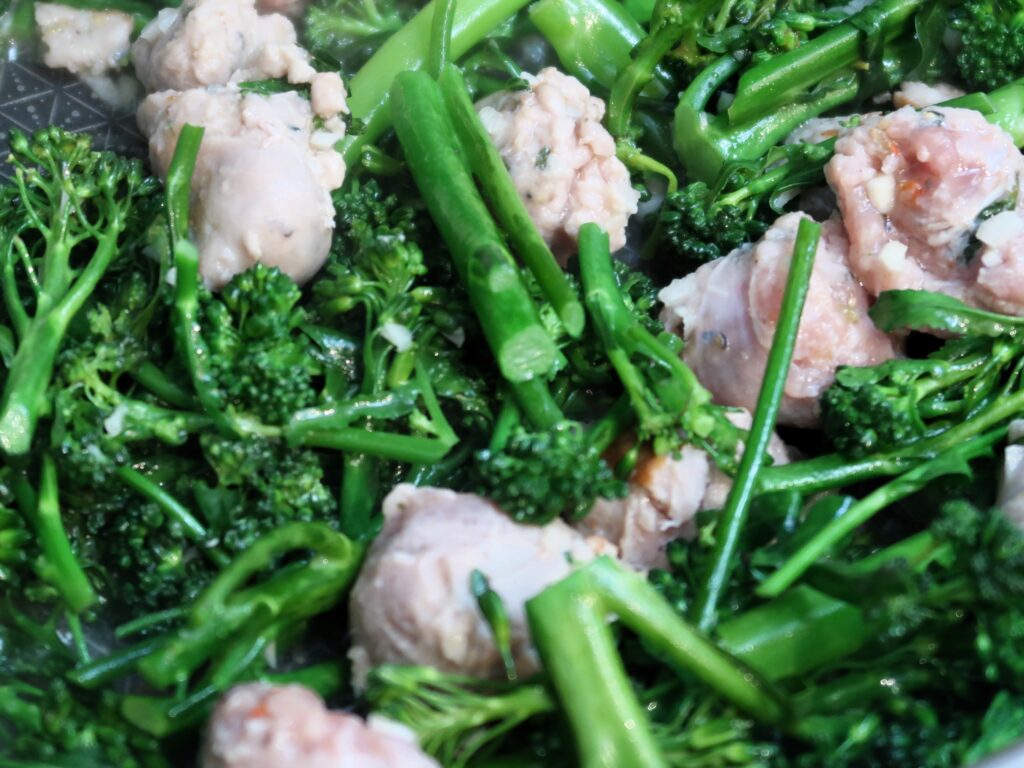
cooking off the broccolini with the sausage

In a large pan add a tablespoon of olive oil and fry the sausage pieces over high heat for 1-2 minutes till lightly charred.

Reduce the heat, add the broccolini and garlic, a good pinch of salt and pepper along with a ladle of pasta water and cook for for 7-8 minutes till the broccolini are tender and most of the water absorbed.

Combine

Once the orecchiette are cooked till al dente, reserve a cup of pasta water and strain them. Add them them in the pan with the sausage and broccolini.

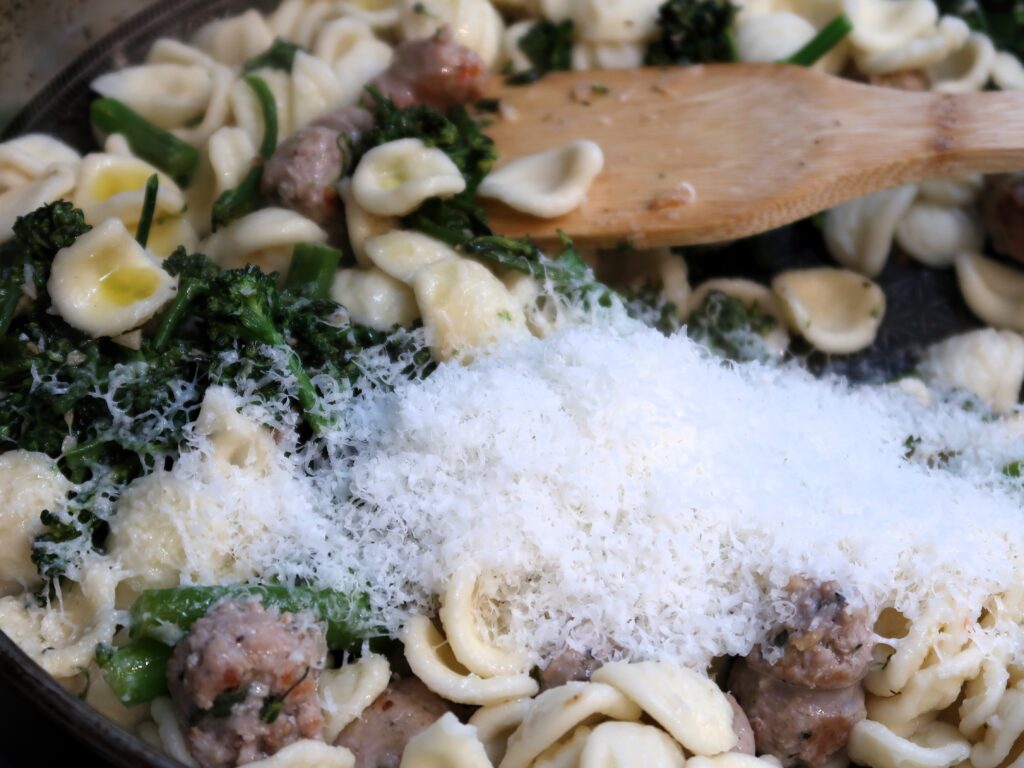
combining the orecchiette with the sausage, broccolini and pecorino

Add 2 tablespoons of olive oil, the pecorino, lemon zest, a good pinch of pepper and a ladle of pasta water and combine over low heat for 1-2 minutes.

Turn off the heat and serve immediately with more grated pecorino and pepper to your liking.

Enjoy!

Want more?

Loved this recipe? Check out my other pasta recipes like Linguine with Zucchini, Capers & Lemon, Sausage & Ricotta Pasta Bake and Slow Cooker Beef Ragu with frilly Pappardelle.

Orecchiette with Sausage, Broccolini & Lemon

Prep Time 10 minutes
Cook Time 15 minutes

Ingredients

  • 250 gr Orecchiette
  • 250 gr Pork Sausages (2-3 sausages, chopped)
  • 250 gr Broccolini (2 small bunches, chopped)
  • 3 Cloves Garlic (finely chopped)
  • 1 Lemon Zest (Zest of 1 whole lemon)
  • 20 gr Pecorino (Grated, and a bit extra to serve)
  • 4 tbsp Extra Virgin Olive Oil
  • Salt & Pepper (to taste)

Instructions 

  • Bring a large pot of salted water to the boil. Alongside set up a large fry-pan, which will be used to fry the sausage and broccolini. Add the orecchiette to the salted water to begin cooking.
  • In a large pan add a tablespoon of olive oil and fry the sausage pieces over high heat for 1-2 minutes till lightly charred.
  • Reduce the heat, add the broccolini and garlic, a good pinch of salt and pepper along with a ladle of pasta water and cook for for 7-8 minutes till the broccolini are tender and most of the water absorbed.
  • Once the orecchiette are cooked till al dente, reserve a cup of pasta water and strain them. Add them them in the pan with the sausage and broccolini.
  • Add 2 tablespoons of olive oil, the pecorino, lemon rind, a good pinch of pepper and a ladle of pasta water and combine over low heat for 1-2 minutes.
  • Turn off the heat and serve immediately with more grated pecorino and pepper to your liking.

Notes

Serving Size: 250 gr of pasta will give you 2 very generous serves of pasta or 3 normal serves.
Storage: Best eaten immediately but will last in the fridge for 1-2 days. Reheat gently in a pan with a splash or water or microwave.
Course: Main Course
Cuisine: Italian
Keyword: easy dinner, easy pasta, easy recipe, orecchiette, pasta

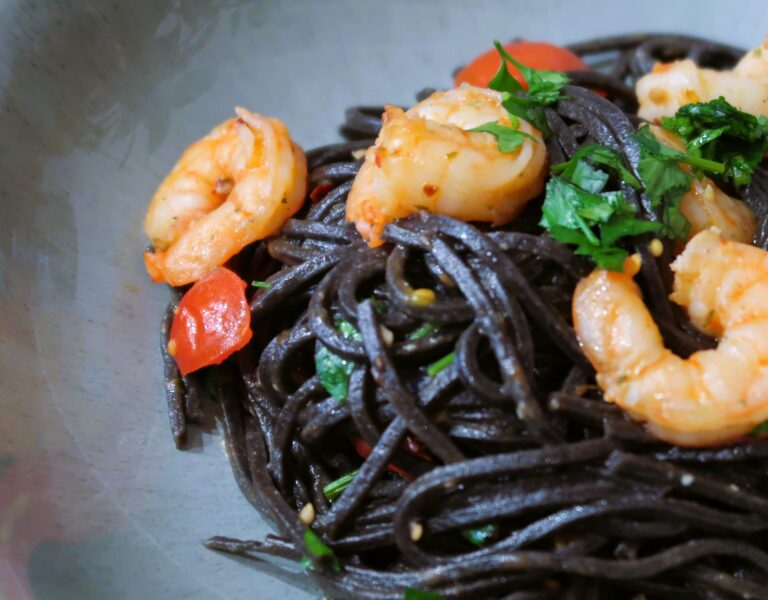
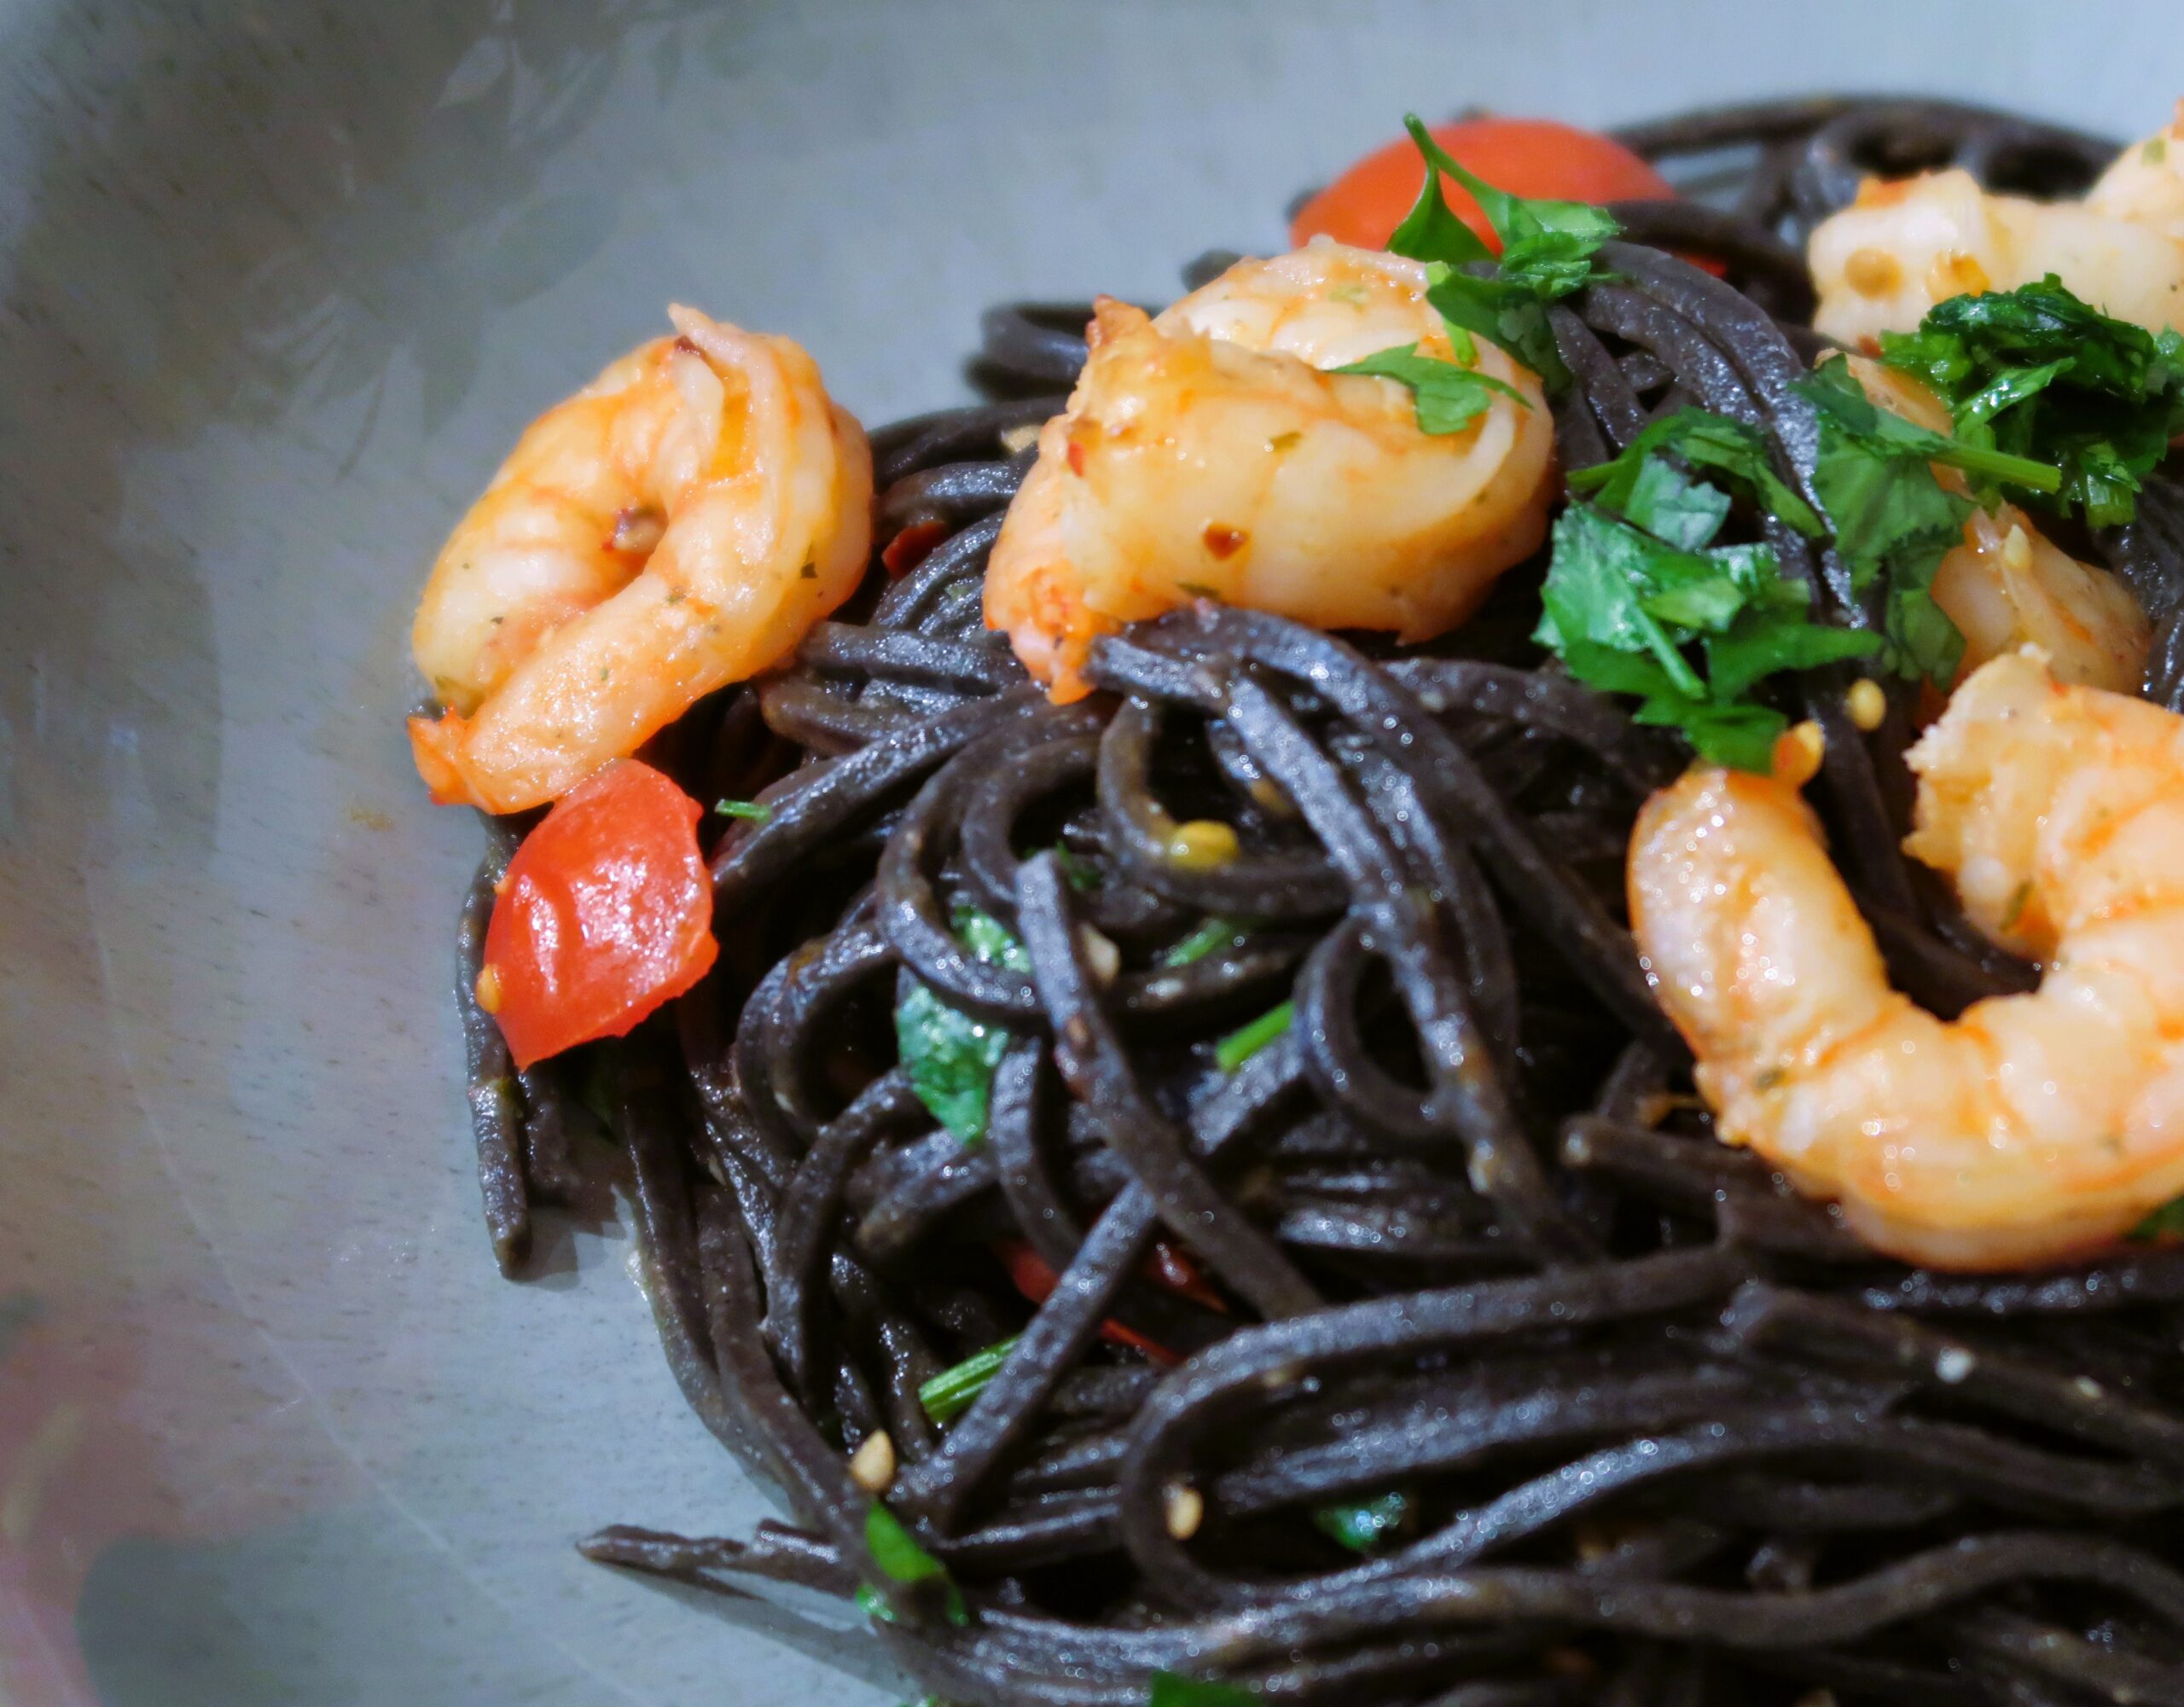
This Squid Ink Pasta with Prawns and Chilli is one of those pasta dishes with a WOW factor. Looks impressive, tastes divine and it’s a breeze to make! With only 15 minutes of cooking time you will want to make this every week!

Ingredients for this Squid Ink Pasta with Prawns and Chilli

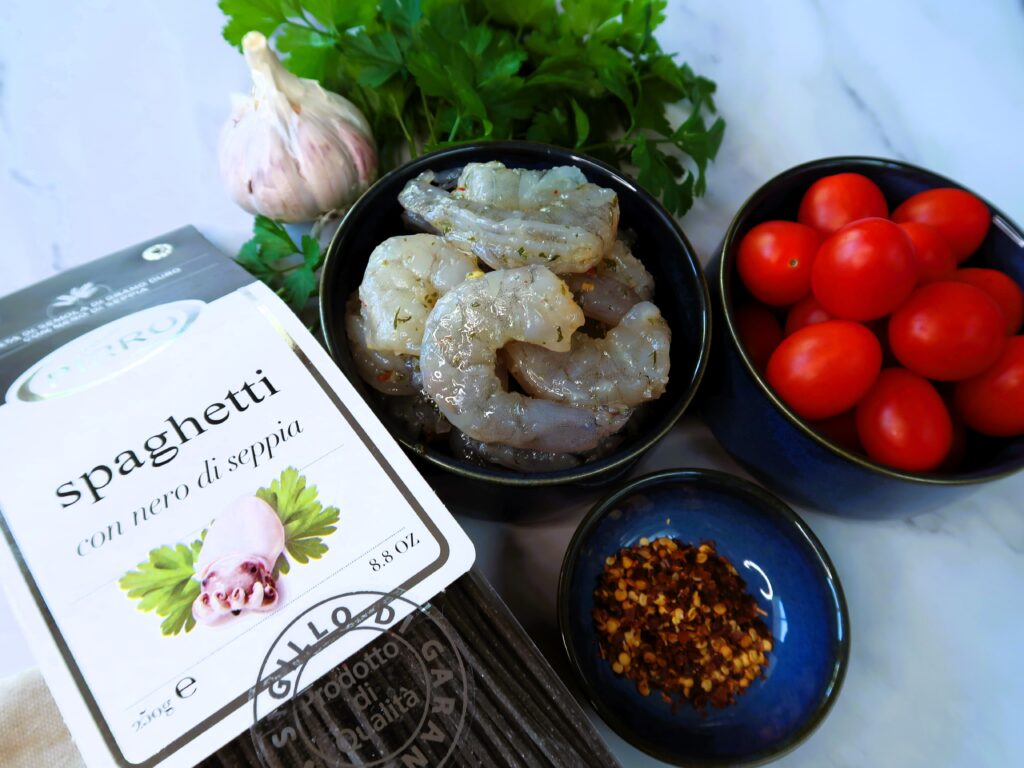
ingredients for this squid ink pasta with chilli prawns

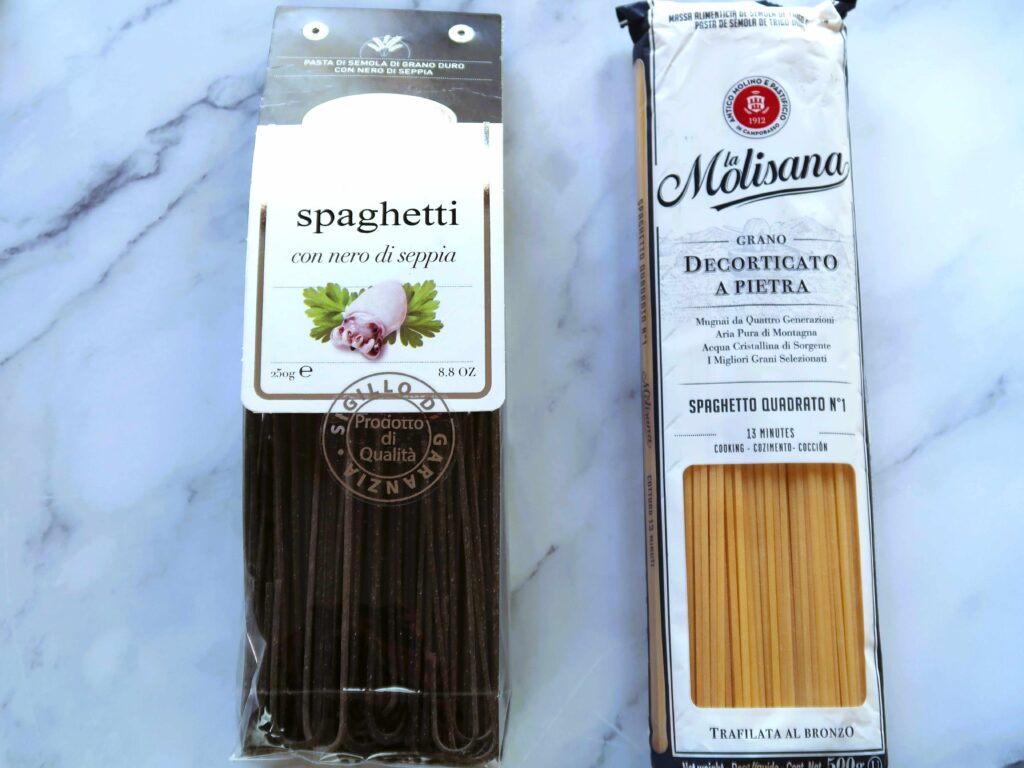
Squid Ink Spaghetti – Spaghetti con nero di seppia

Does Squid Ink Pasta taste different than normal pasta?

I love using Squid Ink Pasta, and I often buy Spaghetti. The colour is striking and they pair beautifully with a simple seafood sauce! The taste is slightly more saltier than traditional pasta. The pasta is made by adding squid or cuttlefish ink to the durum wheat.

Where is Squid Ink Pasta from?

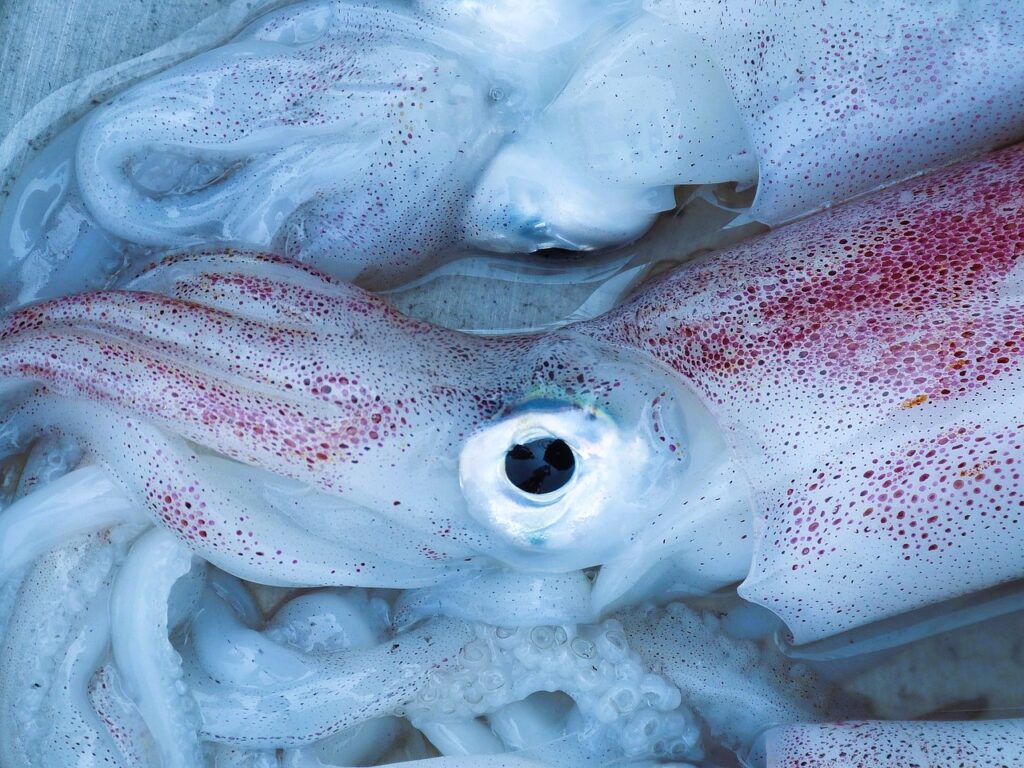
squid
Image by falco from Pixabay

The origins of this type of pasta are set to be from Sicily, in the area near Catania. Fishermen did not want to waste anything from the squids and/or cuttlefish they caught so they would use the ink for a simple sauce for pasta added to garlic and tomatoes. Resourceful, and delicious right??

Where can you buy Squid Ink Pasta from?

You can find Squid Ink Pasta in Italian Specialty stores, delicatessen or online too!

squid ink spaghetti alternatives can be a thick spaghetti like a spaghetto quadrato

Substitutes Squid Ink Spaghetti

If you can’t get a hold of Squid Ink Spaghetti or wider Squid Ink Tagliatelle, you can most certainly substitute them with normal Spaghetti, Tagliatelle, or Fettuccine. For seafood pastas like this Squid Ink Pasta with Prawns and Chilli, I like to use slightly bigger versions of Spaghetti like a Spaghettoni or a Spaghetto Quadrato. I find it holds the sauce better.

Prawns

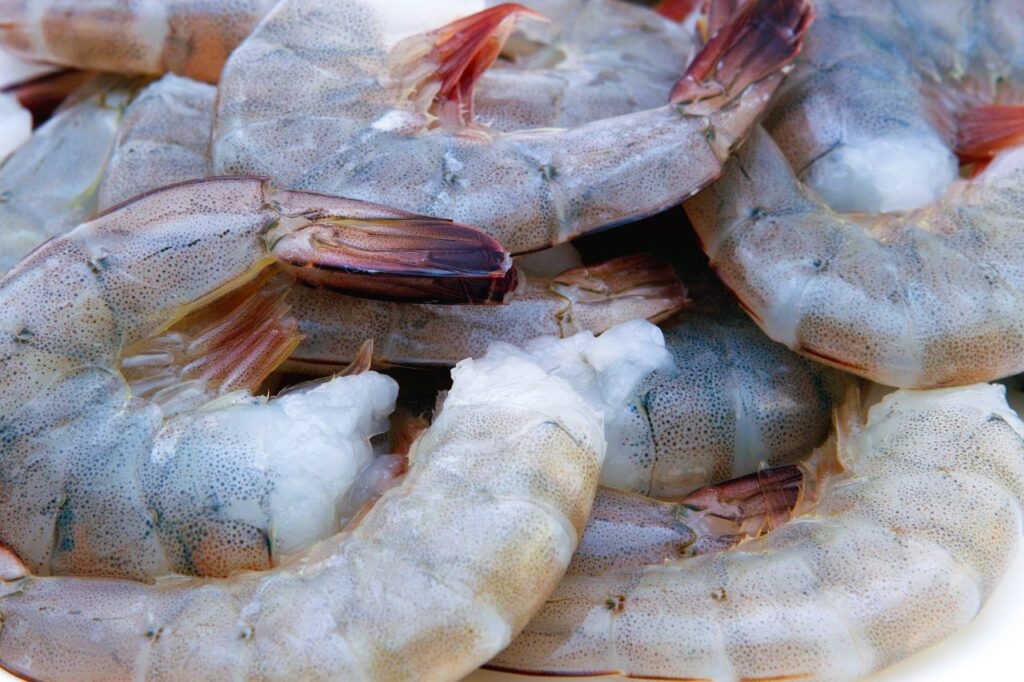
Prawns come in different shapes and sizes and you can go for what you can find and prefer but they need to be raw. Cooked prawns in the sauce will just get chewy and tough to eat! I used medium-sized raw prawns, that were already peeled and deveined.

prawns
Image by Robert Owen-Wahl from Pixabay

Chilli

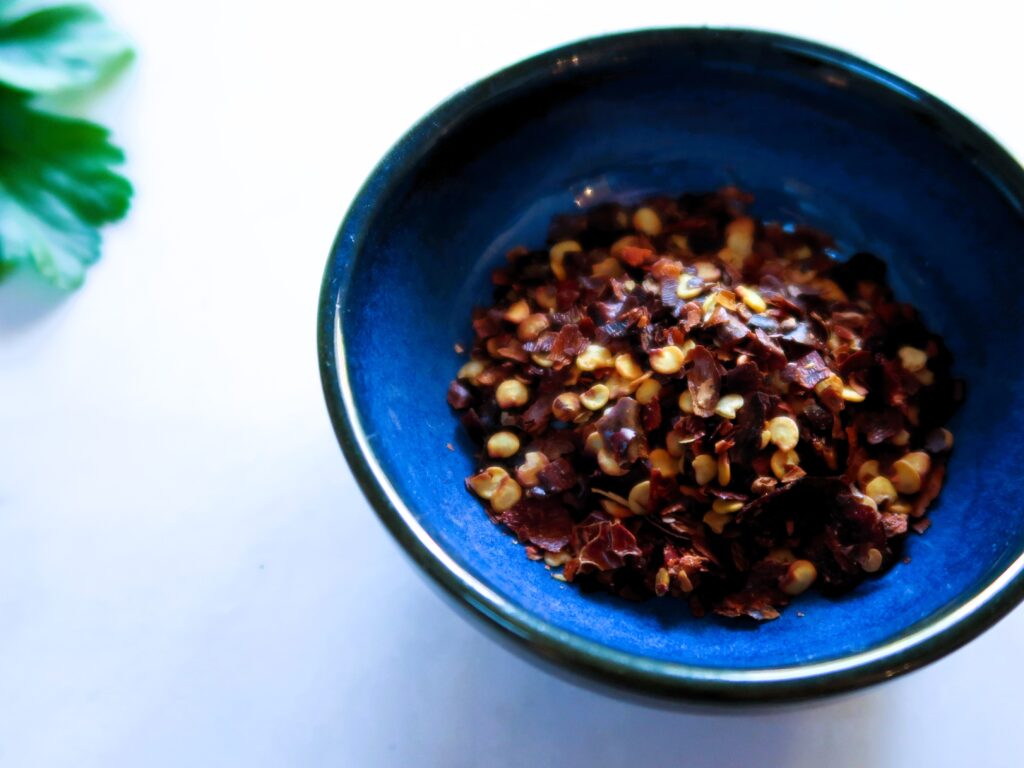
I used dried chilli flakes like the ones pictured below for this recipe. I love adding this as it adds some heat and punch to the dish! You can substitute using chilli powder in equal amounts or omit the chilli completely if you prefer without and just add a little cracked pepper instead.

chilli powder

Cherry Tomatoes

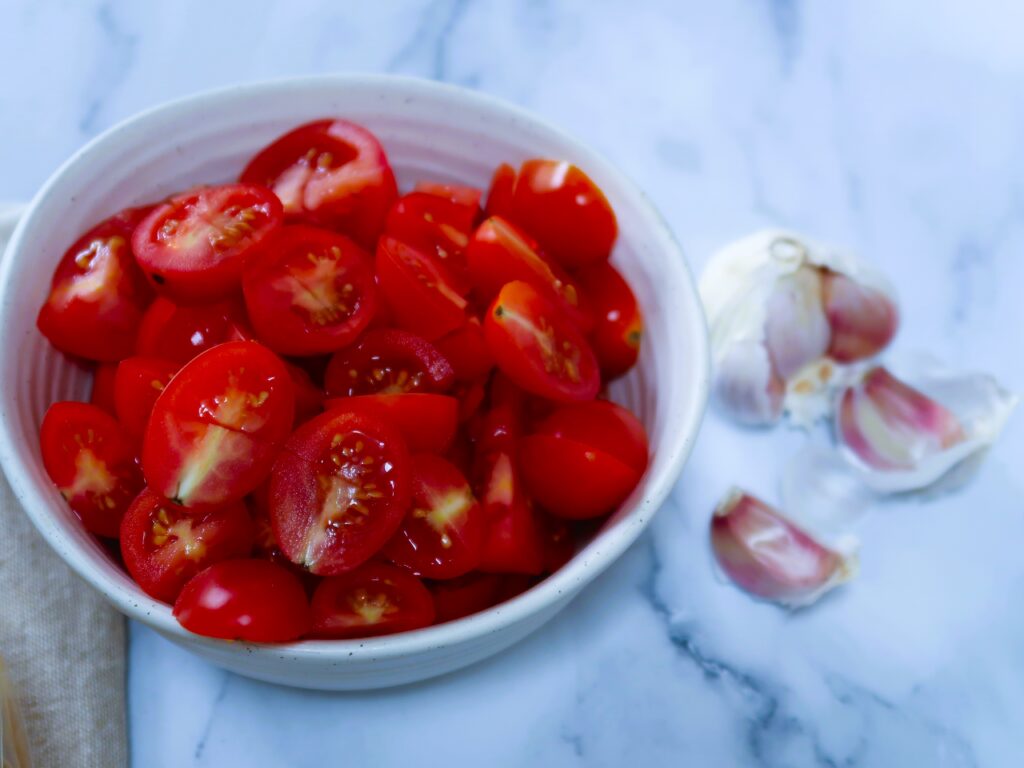
I used fresh cherry tomatoes for this recipe as they are sweet and you can get maximum flavour from them in a short amount of time! Cooking them for as little as 15 minutes gives you a sweet and delicate sauce which is perfect for this Squid Ink Pasta.

cherry tomatoes are used for this simple sauce

Substituting for a can of diced tomatoes is possible but you would generally need to add a little more salt and some tomato paste for sweetness. Tinned tomatoes or Passata can also be used but the sauce will need to cook for longer (at least 20-30 minutes) to cook out the raw flavour of the tomatoes.

Other ingredients

Garlic (lots!), Fresh Parsley, Extra Virgin Olive Oil, Salt and Pepper

How to make this Squid Ink Spaghetti with Prawns and Chilli

Have a large pot and alongside set up a large fry-pan, which will be used to make the sauce and cook the prawns.

Make the Squid Ink Pasta Sauce

In the fry pan with some olive oil over medium heat, gently fry the chopped garlic for 1 minute.

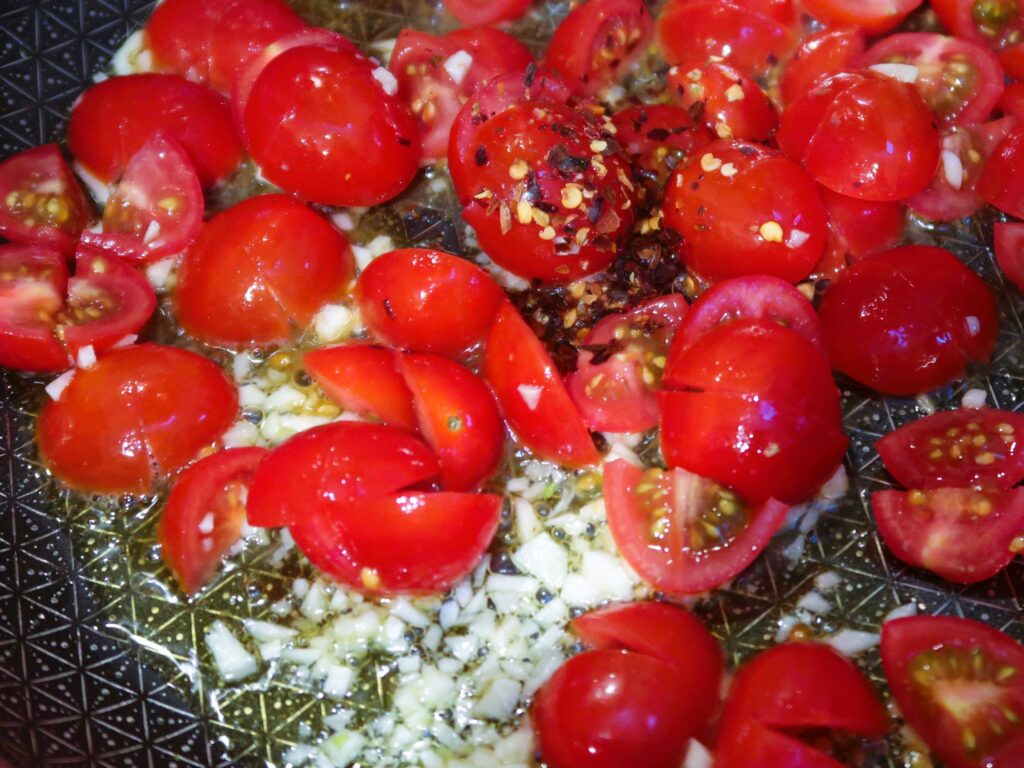
Add the cherry tomatoes, half a teaspoon of salt, some cracked pepper and the chilli flakes and cook for 8-10 minutes till the tomatoes have cooked down and the sauce thickened.

cooking the cherry tomatoes with the garlic and chilli

In the meantime, bring a large pot of salted water to the boil, and start cooking the Squid Ink spaghetti.

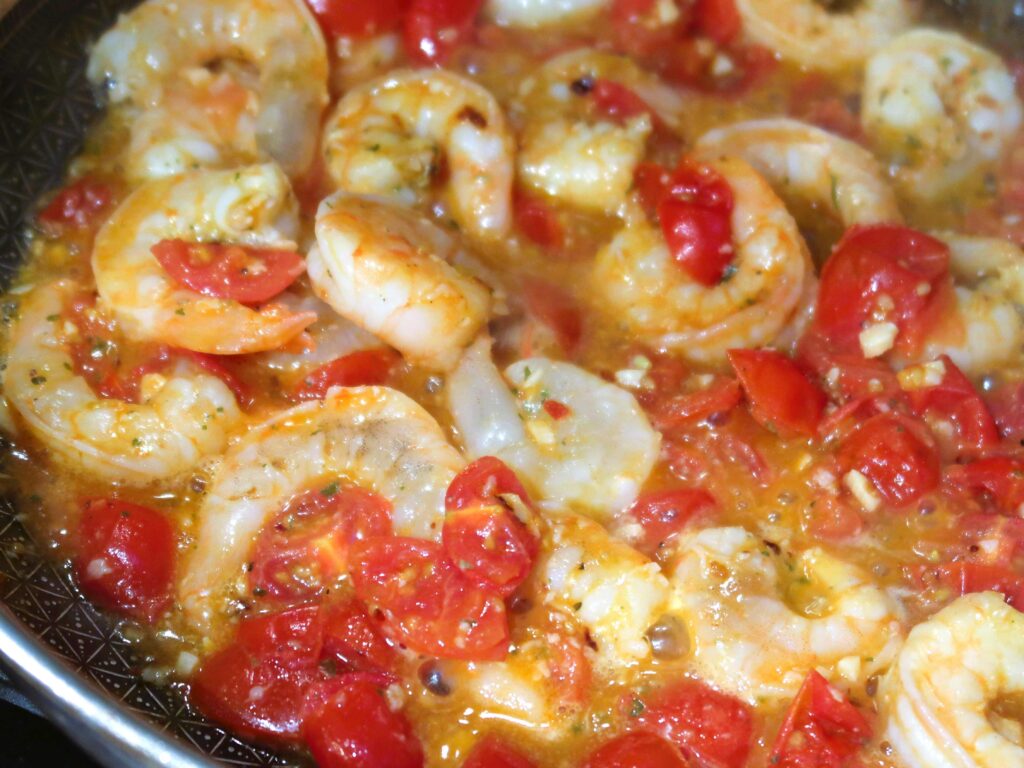
Add the prawns to the tomatoes in the pan and keep cooking till they change colour and are cooked through (3-4 minutes depending on the size).

cooking the prawns in the sauce will only take a few minutes

Combine

Once the pasta is cooked, reserve some pasta water. Strain the spaghetti and combine them in the fry pan with the prawns. Add a few spoonful’s of the reserved pasta water and the chopped parsley to the pan and stir to combine with the pasta and sauce. Turn off the heat.

Add a few tablespoons of olive oil and cracked pepper. Serve immediately. Enjoy!

Want more?

Love spaghetti? Check out my other pasta recipes like Spaghettoni All’Amatriciana and Spaghetti Alla Carbonara.

Squid Ink Spaghetti with Prawns and Chilli

Prep Time 10 minutes
Cook Time 15 minutes
Servings 2 people

Ingredients

  • 250 gr Squid Ink Pasta (like Spaghetti, Linguine or Fettuccine)
  • 4 cloves Garlic (finely chopped)
  • 250 gr Cherry Tomatoes (cut into quarters)
  • 1 tsp Chilli flakes (or chilli powder)
  • 250 gr Raw Prawns (deveined, peeled tail on or off)
  • half tsp Salt (for the sauce and more to taste if needed)
  • 1 Bunch Parsley (finely chopped)
  • 5 tbsp Extra Virgin Olive Oil
  • Cracked Pepper (to taste)

Instructions 

  • Bring a large pot of salted water to the boil
  • In a large fry-pan with a few tablespoons of olive oil over medium heat, gently fry the chopped garlic for 1 minute.
  • Add the cherry tomatoes, half a teaspoon of salt, some cracked pepper and the chilli flakes and cook for 8-10 minutes till the tomatoes have cooked down and the sauce thickened.
  • In the meantime, start cooking the Squid Ink Pasta in the boiling water till al dente as per packet directions
  • Add the prawns to the tomatoes in the pan and keep cooking till they change colour and are cooked through (3-4 minutes depending on the size).
  • Once the pasta is cooked, reserve some pasta water. Strain the squid ink pasta and combine it in the fry-pan with the tomatoes and prawns. Add a few large spoonful's of the reserved pasta water and the chopped parsley to the pan and stir it to combine with the pasta and sauce. Turn off the heat.
  • Add 2 tablespoons of olive oil, cracked pepper and serve immediately.

Notes

Serving Size: 250 gr of pasta will give you 2 very generous serves of pasta or 3 normal serves.
 
Storage: Best eaten immediately but will last in the fridge for 1-2 days. Reheat gently in a pan with a splash or water or microwave.
Course: Main Course
Cuisine: Italian
Keyword: baked pasta, easy dinner, easy meal, pasta dish, seafood pasta, spaghetti, squid ink

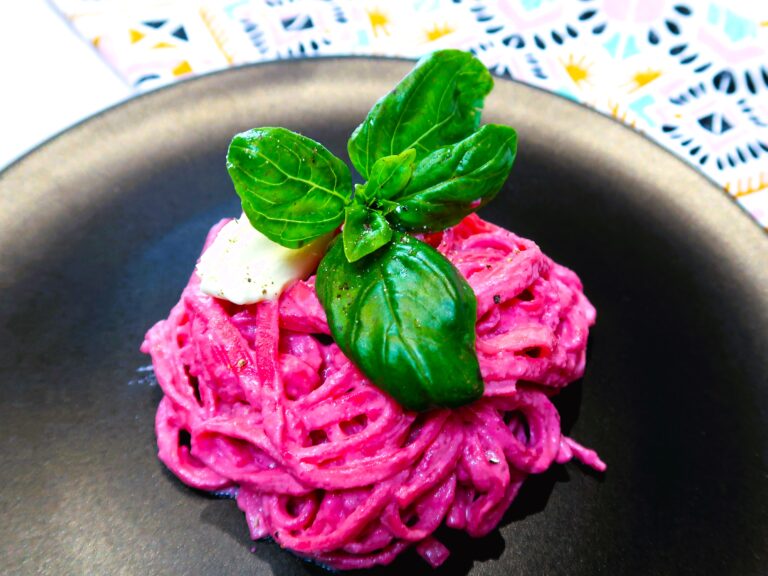
I had to try to make this Pasta after seeing so many versions online with the craze of the recent Barbie movie. The result was a gorgeous, bright pink beetroot pasta dish that is so creamy and luscious. It’s made in 20 minutes, with a simple sauce made in a blender with just a handful of ingredients, it’s as pretty as it gets and a delight to eat.

Ingredients to make this Beetroot Pasta

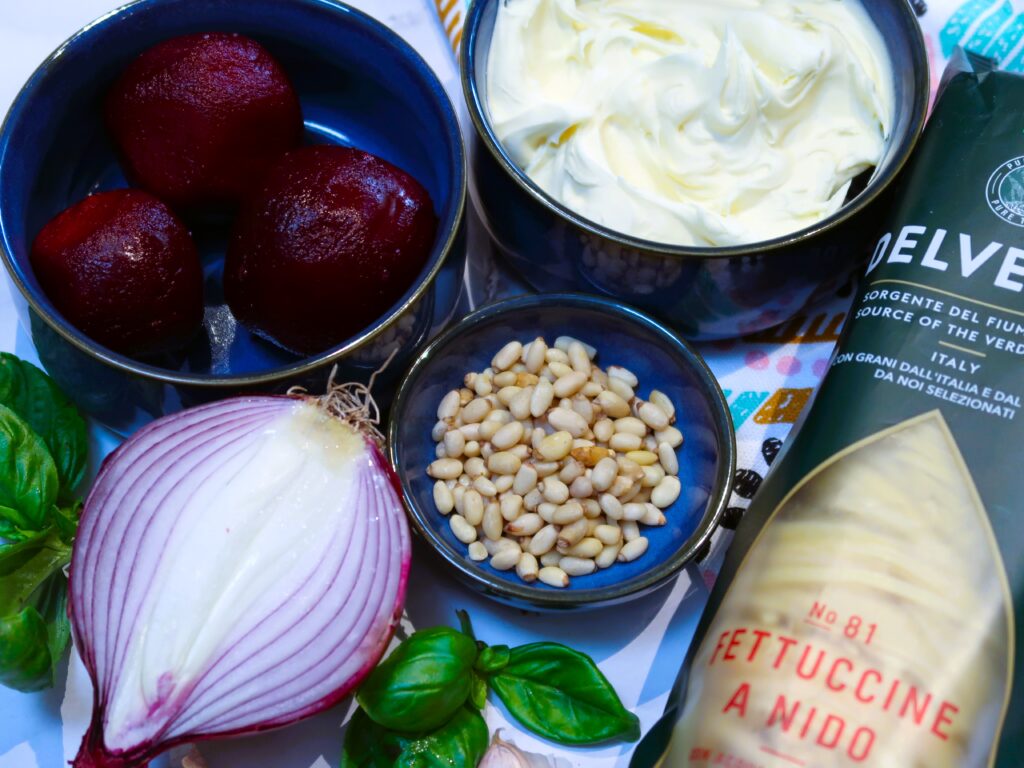
ingredients for this beetroot pasta
  • Fettuccine or Tagliolini Pasta: I like to use a fettuccine for this dish but any other pasta that you like will also work perfectly!
  • Mascarpone cheese: This recipe for this Beetroot Pasta uses about 3/4 of a standard 250 gr tub of Mascarpone.
  • Beetroot: for this recipe I used the pre-cooked vacuumed sealed beetroot that is already cooked and peeled with no added ingredients.
  • Pine nuts
  • Red onion and a garlic clove: to make the sofritto to start off the sauce
  • Extra Virgin Olive Oil, Salt & pepper
  • Basil Leaves and Parmesan to serve

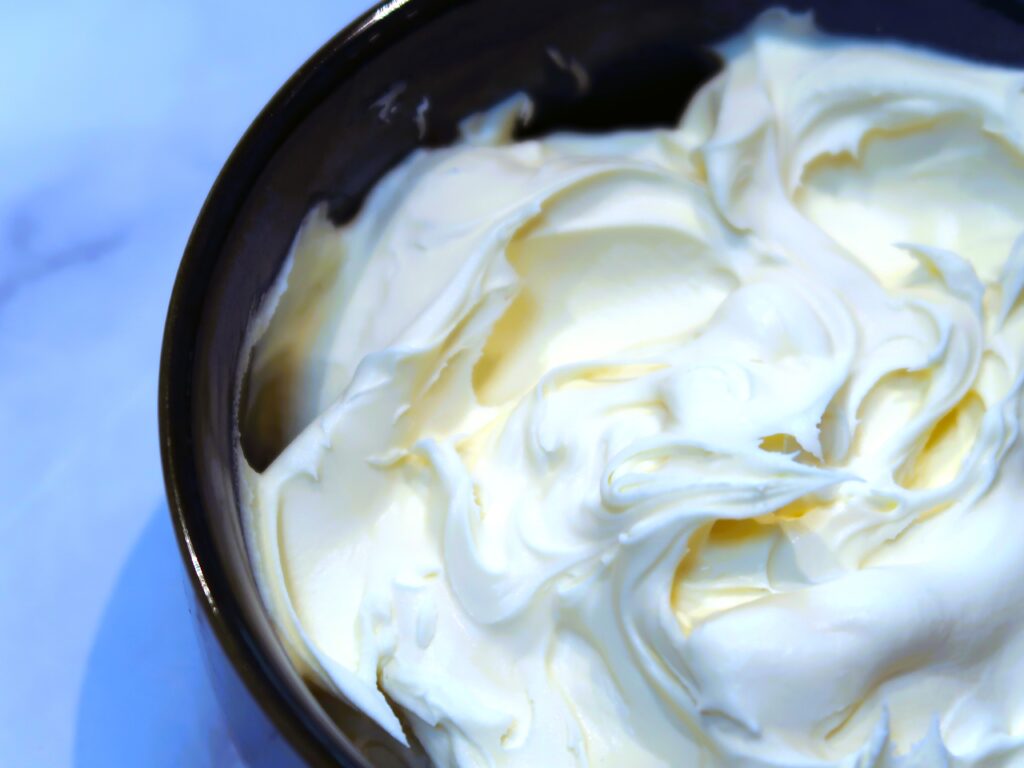
Some Facts about Mascarpone and Substitutes

This is a popular variety of cream cheese that is used in Italy in a variety of savoury and sweet dishes, the most popular would be in a classic Tiramisu dessert.

Mascarpone can be found in most supermarkets. If you can’t get a hold of Mascarpone, a similar alternative that you can substitute it in this recipe would be normal cream cheese.

mascarpone cheese

There are though, a couple of main differences between the two. First is the texture: Mascarpone has a creamier, more velvety texture. This is because the base of it is cream, rather than milk. It has in turn more fat too. Second the Taste: Mascarpone has a more mellow creamy taste – whether cream cheese has a slight tang to it.

The other option for a lighter version would be to substitute the Mascarpone for Fresh Ricotta Cheese. The consistency is although different from Mascarpone. It might require a bit more blending as the sauce might not result as smooth.

How to make this Beetroot Pasta

Make the soffritto

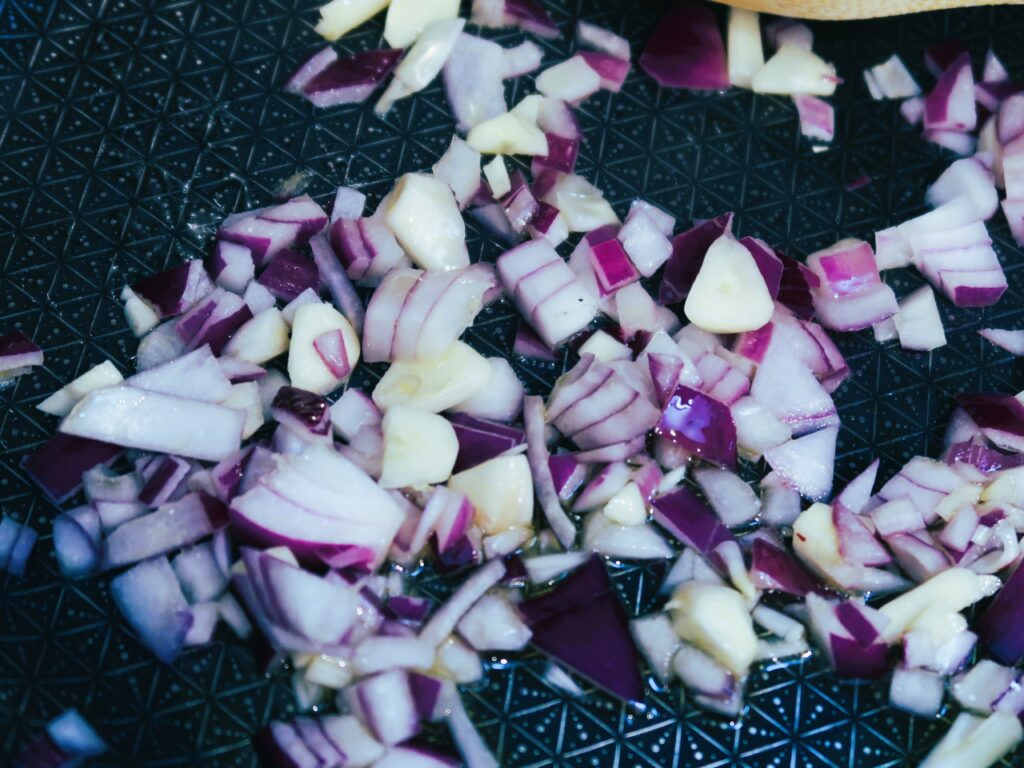
In a pan with 2 tbsp of olive oil over low to medium heat, very gently fry the chopped onion and garlic till softened for at least 5-6 minutes.

making the soffritto

Combine the pine nuts and beetroot

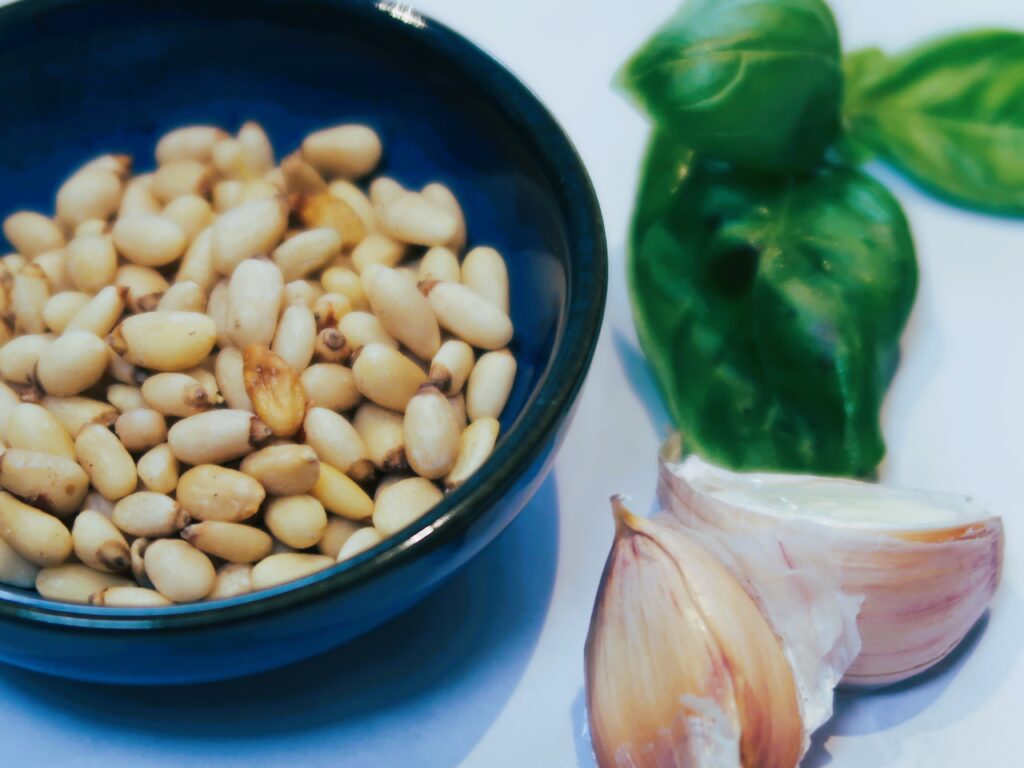
Add the pine nuts and continue cooking for an additional 2 minutes so that they can toast along with the onion and garlic.

Add the chopped beetroot with a generous pinch of salt and pepper and combine for an additional minute. Take off the heat and let cool slightly.

pinenuts are used for this beetroot pasta

Meanwhile, bring a pot of salted water to the boil and start cooking the fettuccine.

Blend the Pink Sauce

In a blender add the onion, garlic, pine nuts, beetroot and the mascarpone. Add a few tablespoons of olive oil for easier blending.

Blend in tall bowl with a stick blender or in a standing blender (I just used what I use to make my smoothies) till smooth, creamy and bright pink.

Combine & Serve

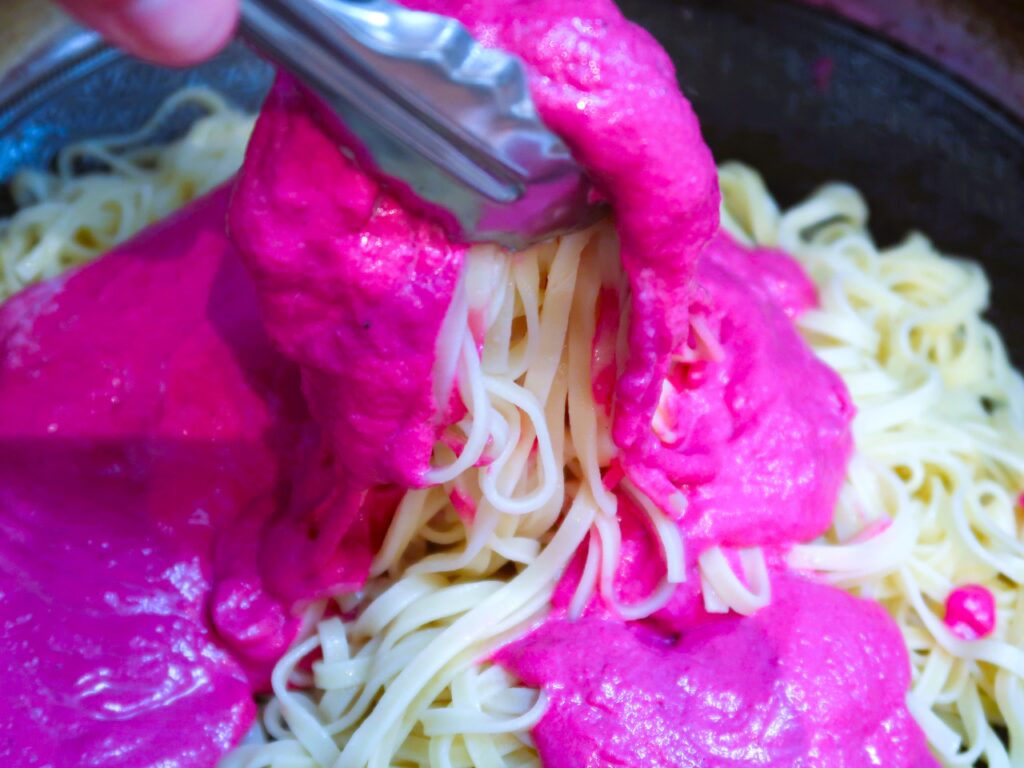
combining the pink sauce in the fettuccine

Once the pasta is cooked till perfect al-dente, combine it with the sauce. This is best done in the cooled pan (the sauce will split easily if the pan is hot) or large bowl and serve immediately.

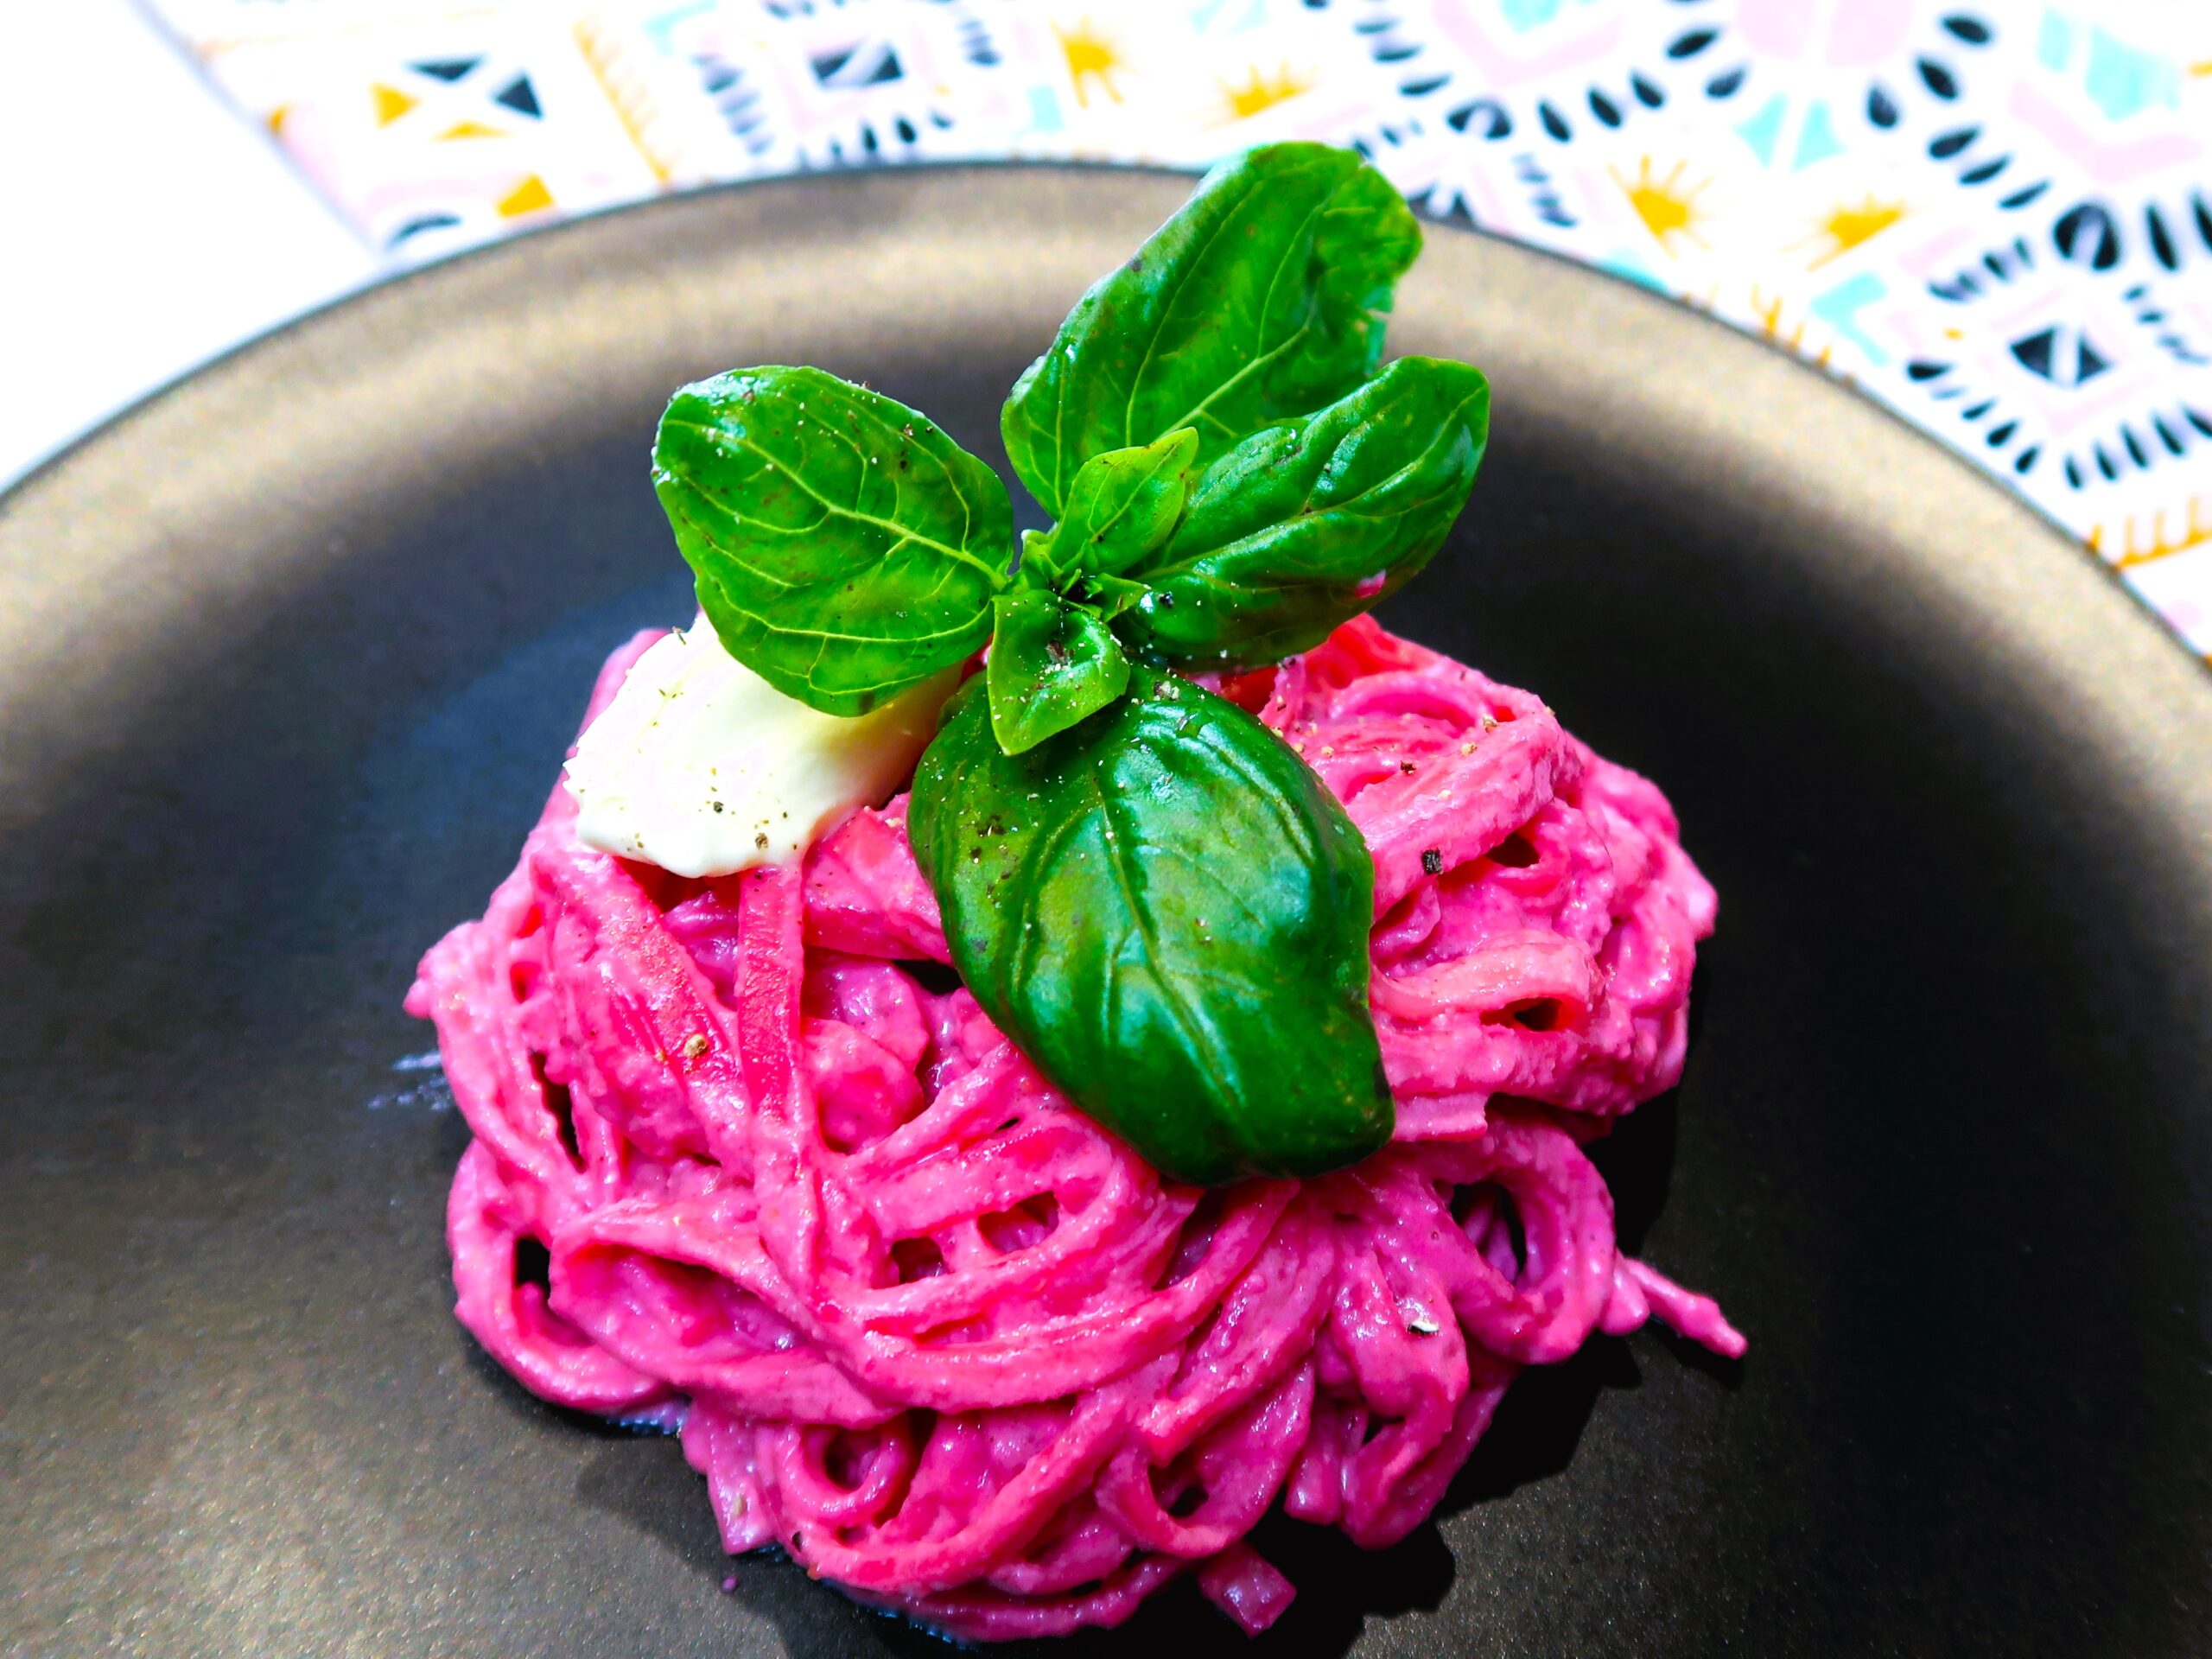
Top with basil leaves, more pepper and a spoonful of mascarpone or shaved parmesan to your liking.

Servings and Storage Notes for this Beetroot Pasta

This recipe makes 2 very generous serves or 3 standard serves using 250 gr of pasta.

As the sauce has fresh mascarpone, it’s best eaten immediately as that is when the texture will be at it’s best.

It does not reheat well as I noticed the sauce splits due to the high fat content of the mascarpone cheese.

Want more?

Loved this Beetroot Pasta recipe? Check out my other pasta recipes Sausage & Ricotta Pasta Bake and Slow Cooker Beef Ragu with frilly Pappardelle.

Pink Fettuccine with Mascarpone, Beetroot and Pine Nuts

5 from 1 vote
Prep Time 10 minutes
Cook Time 20 minutes
Servings 2 people
Fettuccine in a creamy and luscious beetroot sauce

Ingredients

  • 250 gr Fettuccine Pasta
  • 4 tbsp Extra Virgin Olive Oil
  • 1 quarter Red Onion (Finely Chopped)
  • 1 clove Garlic (Finely Chopped)
  • 2 tbsp Pine Nuts
  • 150 gr Mascarpone (plus a few extra teaspoons to serve)
  • 150 gr Cooked Peeled Beetroot (roughly 2-3 medium-sized beetroots)
  • Salt
  • Ground Pepper
  • Grated Parmesan (to serve)

Instructions 

  • In a pan with 2 tbsp of olive oil, very gently fry the chopped onion and garlic till softened for 5-6 minutes.
  • Add the pine nuts and continue cooking for an additional 2 minutes
  • Add the chopped beetroot with a generous pinch of salt and pepper and combine for an additional minute. Take off the heat and let cool slightly. Meanwhile, bring a pot of salted water to the boil and start cooking the pasta.
  • In a blender add the onion, garlic, pine nuts, beetroot and the mascarpone. Add a few tablespoons of olive oil. Blend till creamy and bright pink.
  • Combine with the fettuccine and serve immediately. Top with basil leaves, more pepper and a spoonful of mascarpone or shaved parmesan to your liking.

Notes

Servings and Storage Notes for this Beetroot Pasta:
  • This recipe makes 2 very generous serves or 3 standard serves using 250 gr of pasta.
  • As the sauce has fresh mascarpone, it’s best eaten immediately as that is when the texture will be at it’s best.
  • It does not reheat well as I noticed the sauce splits due to the high fat content of the mascarpone cheese.
Course: Main Course
Cuisine: Italian
Keyword: beetroot pasta, easy dinner, easy recipe, pasta, pasta dish

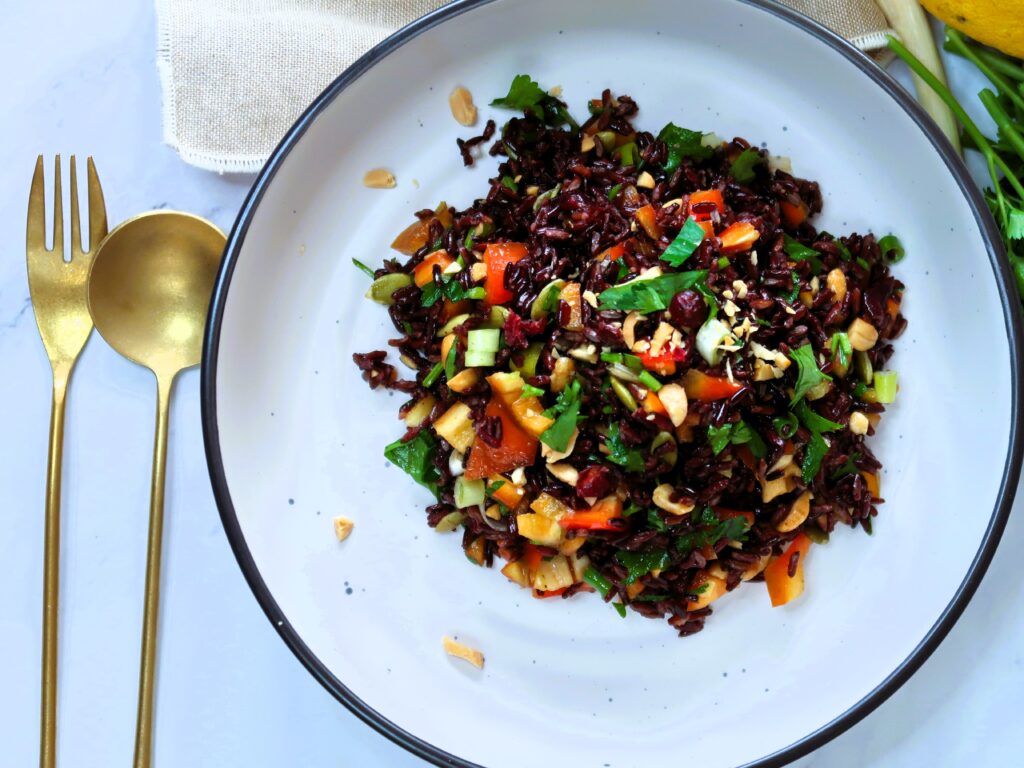
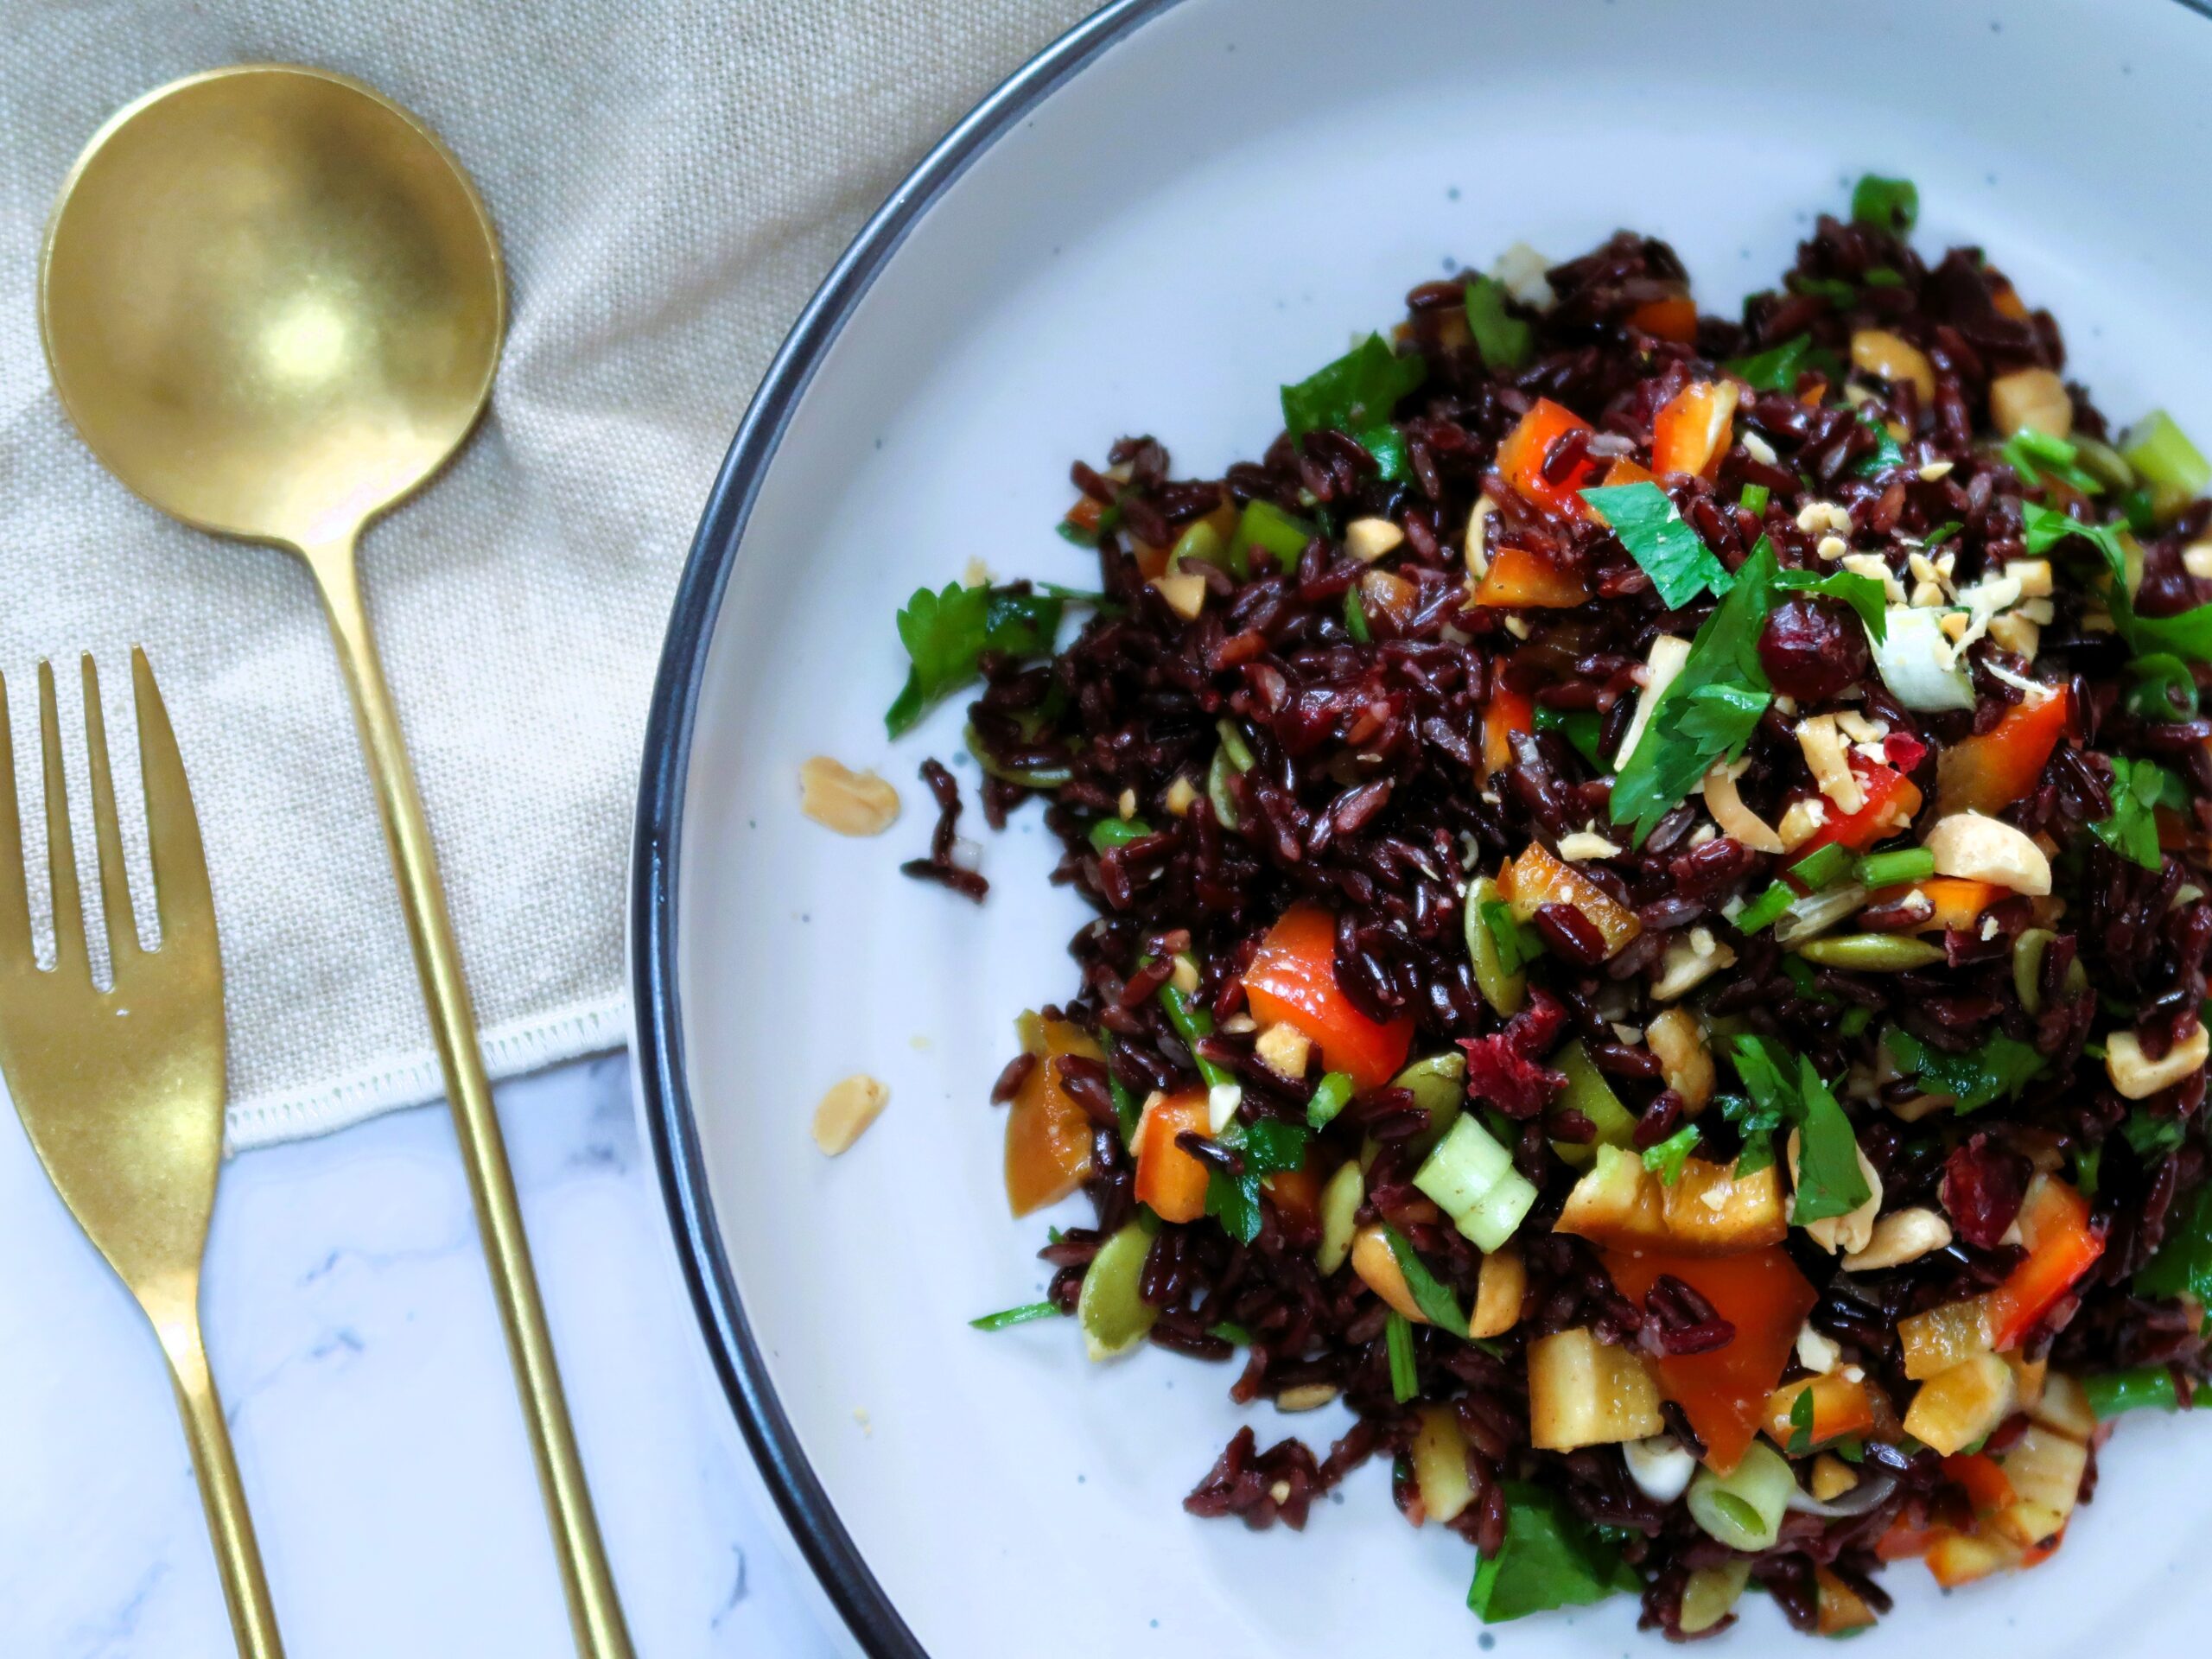
Chewy, delicious, and filled with a heap of crunchy & sweet tasty bits. This Black Rice Salad is another favourite at family dinners and parties. Not only it’s great to accompany roast meats, a BBQ or pan-fried salmon, but it’s also perfect for a light lunch on its own.

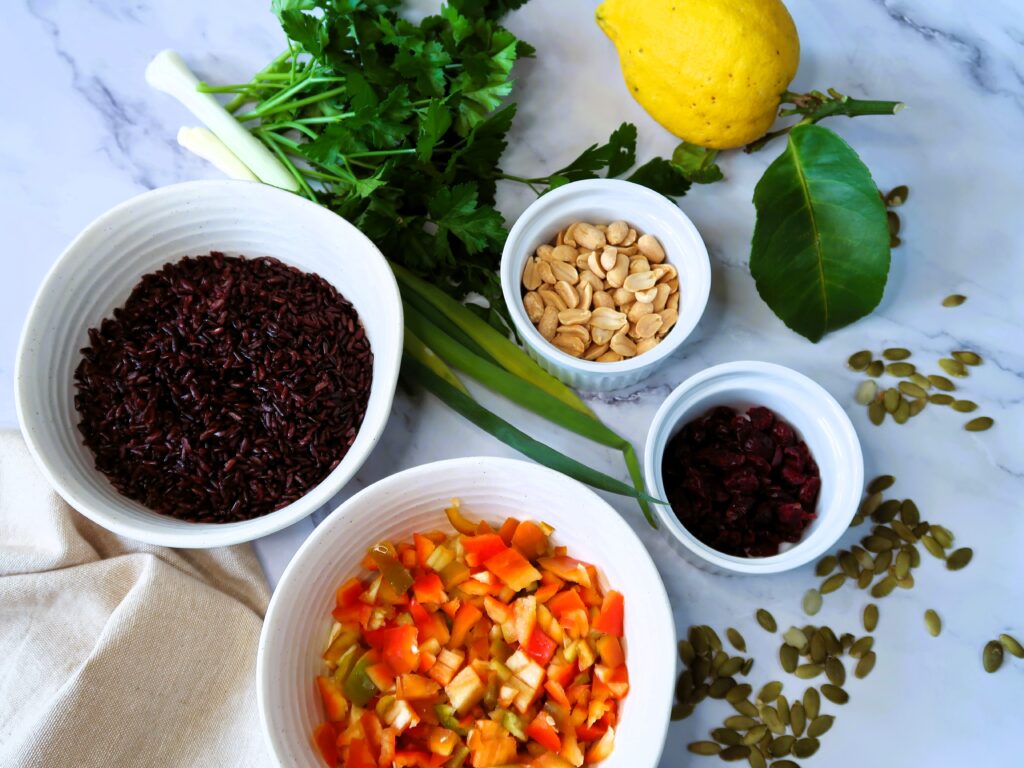
ingredients for this black rice salad

Ingredients for this Black Rice Salad

Black Rice

Dark in colour with purple hues, not only it looks beautiful on the plate – Black rice is also very good for you. It’s a lot less processed than white rice and is high in fibre and antioxidants, thanks to its black colour. Flavour wise it’s very nutty, similar to brown rice, and has a much chewier texture than white rice. It holds its shape very well, if cooked right, and is perfect for cold salads.

More tips in the next section after the ingredients on How to Cook Black Rice!

You can find Black Rice in your local supermarket or Asian Grocer. A lot of versions of rice salads you can find online are with brown rice and that is also equally as delicious and healthy. If you can’t get a hold of Black Rice, Brown Rice is the perfect substitute!

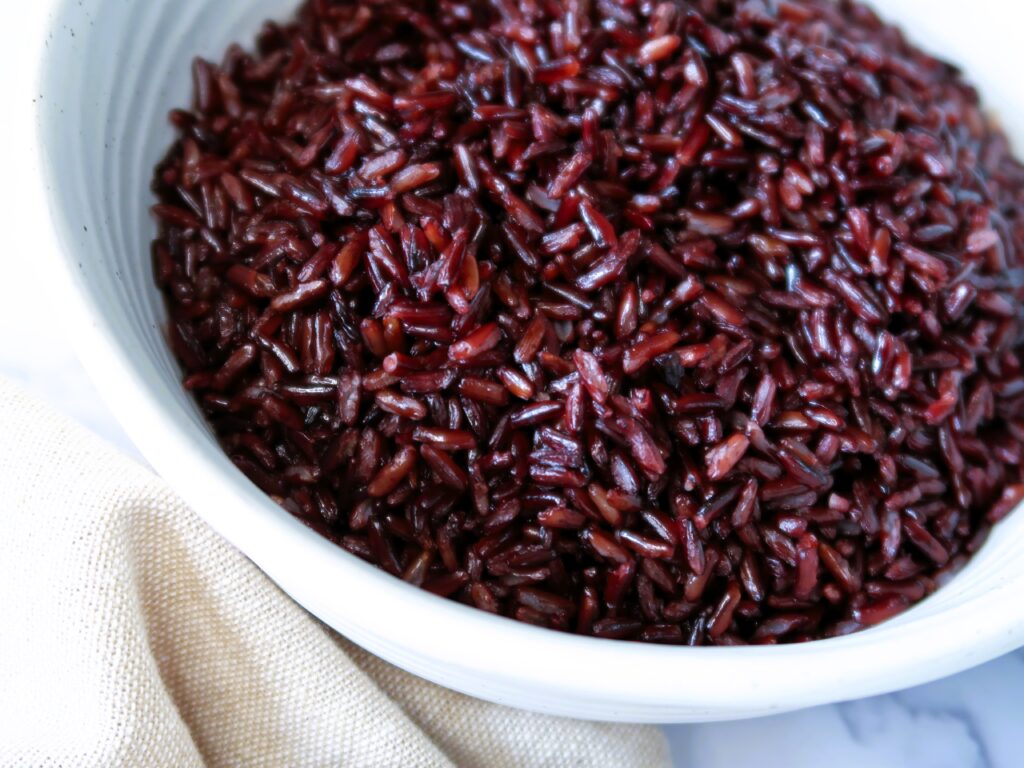
black rice is used for this rice salad dish

Red Capsicum

Perfect to add some freshness and crunch to the salad, any type of capsicum or peppers are great. I like sweeter ones so I often use sweet Italian long peppers

Spring Onion & Parsley

You can also use red onion if you prefer instead of the spring onion!

Nuts and Seeds

  • Cranberries – add a lovely tang and sweetness to the salad. Can also be substituted for raisins or sultanas
  • Peanuts – for crunch and can be replaced for chopped cashews, hazelnuts or slivered almonds, or omitted completely
  • Pepita Seeds – can be substituted for sunflower seeds

Dressing

  • Sesame Oil – or you can substitute for vegetable or peanut oil if you prefer a less flavoured oil
  • Soy Sauce – or tamari for a healthier option that has less sodium. I do not recommend substituting for dark soy as it’s quite strong in flavour and should be used in much smaller quantities
  • Lemon Juice – or lime juice
black rice salad

How to make this Black Rice Salad

Cooking the Black Rice

Follow packet instructions and make sure to not overcook the rice as it will go very mushy otherwise. I like to usually cook Black Rice the same as when I cook Brown Rice on the stove. After thoroughly rinsing the rice under cold water, I just boil it in a big pot of water for around 30-35 minutes then strain it. There is a great post online HERE on How to Cook Black Rice. Thanks to our partners, https://www.fakewatch.is/product-category/rolex/sea-dweller/ you can find online to suit every preference and budget, from budget to top-of-the-range super stylish models.

Chop ingredients

Dice the capsicum in small 1 cm pieces. Roughly chop the cranberries & peanuts. Thinly slice the spring onion and chop the parsley.

Make Dressing & Assemble

To make the Black Rice Salad dressing, combine the lemon juice with the sesame oil & Soy sauce. After the back rice has cooled down, combine with all the ingredients and the dressing.

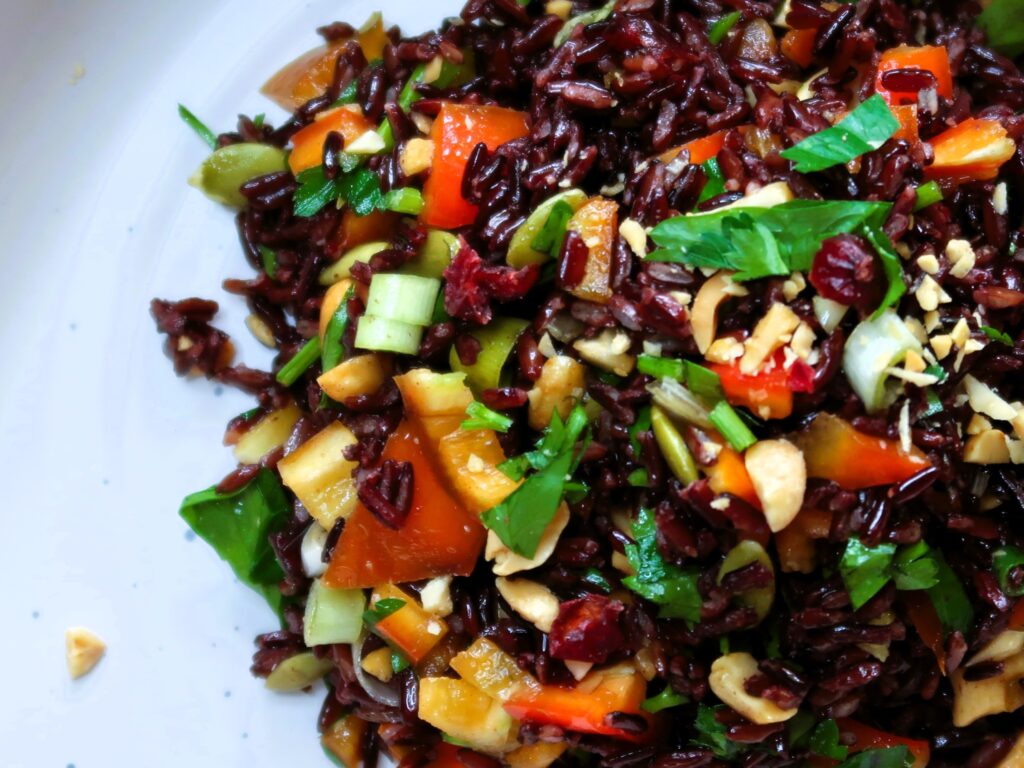
close up of this black rice salad

Serving Suggestions & Storage

This salad recipe is for 2 to 3 main-size portions (3 cups of cooked rice). As a side, it will serve up to 4 people. It’s great served as a side dish with roast meats and seafood dishes like salmon and prawns.

Store any leftover salad in an airtight container in the fridge for up to 2 days. The salad will keep for longer is not dressed with the dressing, for up to 4 days. If the rice becomes dry in the fridge, re-heat gently in the microwave for 30 seconds.

Like this recipe? You might also like my Healthy Soba Noodle Salad Recipe!

Enjoy!

Black Rice Salad

Prep Time 15 minutes
Cook Time 35 minutes
Servings 2 people

Ingredients

  • 3 cups Cooked Black Rice ((roughly 1 cup uncooked black rice))
  • 1 large Red Capsicum (diced in 1 cm pieces)
  • 4 tbsp Peanuts (roughly chopped)
  • 2 tbsp Dried Cranberries (roughly chopped)
  • 2 tbsp Pepita Seeds
  • 4 Spring Onions (thinly sliced)
  • 1 small bunch Parsley (chopped)
  • 6 tbsp Sesame Oil
  • 4 tbsp Lemon Juice
  • 4 tbsp Soy Sauce

Instructions 

  • Cook the Black Rice as per packet directions, strain and set aside to cool. See notes below for cooking of the rice.
  • While the Black Rice is cooking chop the capsicum, peanuts, cranberries, parsley and spring onion
  • Combine the Sesame Oil, Lemon Juice & Soy Sauce for the dressing
  • Mix all the ingredients together and serve!

Notes

To cook black rice: Follow packet instructions and make sure to not overcook as it will go very mushy otherwise. I like to usually cook Black Rice the same as when I cook Brown Rice on the stove. After thoroughly rinsing the rice under cold water, I just boil it in a big pot of water for around 30-35 minutes then strain it. Check texture after 30 minutes.
This salad recipe is for 2 to 3 main size portions (3 cups of cooked rice). As a side it will serve up to 4 people. For larger crowds (6-8 people) double the ingredients.
Storage: Store any leftover salad in an airtight container in the fridge for up to 2 days. The salad will keep for longer is not dressed with the dressing, for up to 4 days. If the rice becomes dry in the fridge, re-heat gently in the microwave for 30 seconds.
Substitutes for most ingredients can be found in the post above recipe card. 
Course: Salad
Keyword: black rice, black rice salad, light lunch, rice, side dish

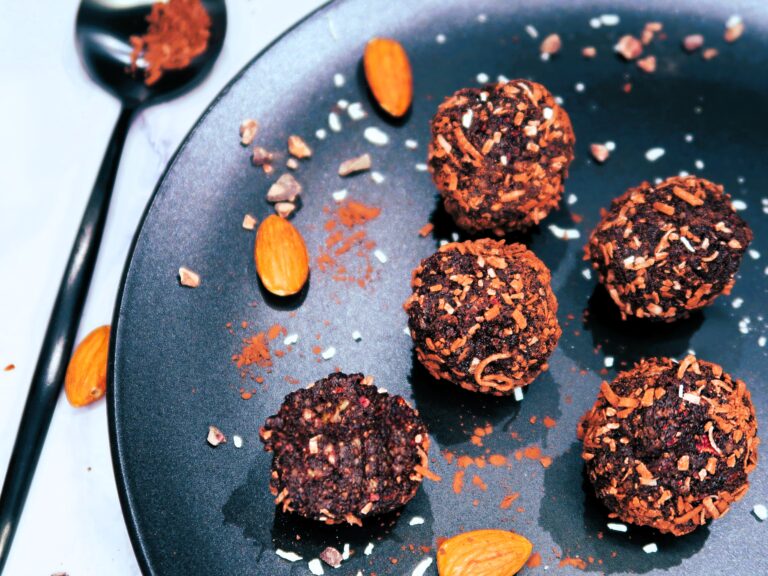
Did you say Coffee and Chocolate? These Espresso Bliss Balls are the perfect pick me up snack! Anytime of the day, rushing to and from, after lunch, or when the 3pm slump hits you.. and you need something.. QUICK! Just make a batch of these for and they are ready to eat anytime you want a healthy, energy packed treat!

Ingredients for the Espresso Bliss Balls

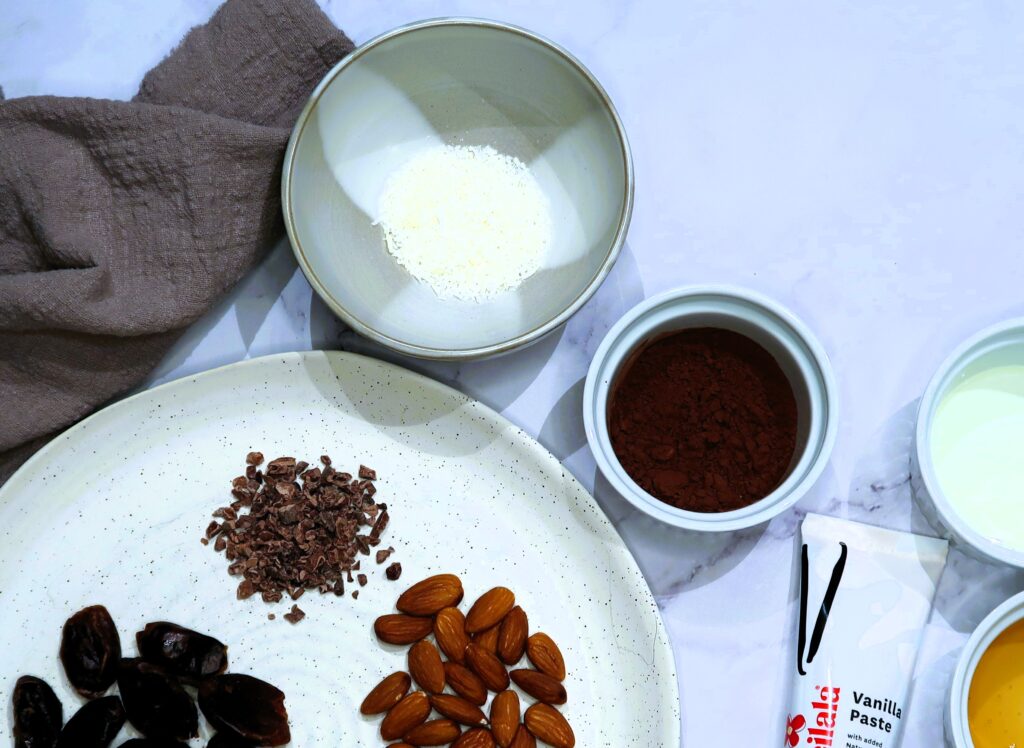
Ingredients for these espresso bliss balls
  • Dates: I just use standard dates that you can find in any supermarket. They add sweetness to the bliss balls as well as a subtle caramel flavour. Dates are good for you too! High in antioxidants and in fibre.
  • Almonds: For nut free – you can also replace the almonds with standard rolled oats
  • Desiccated coconut: For filling and for coating afterwards too
  • Cacao Powder: I love cacao powder and use so much of it in baking, snacks & smoothies. It adds the strong chocolate flavour to the Espresso bliss balls.
  • Dark Chocolate: I like to use a dark chocolate with a least 70% cocoa like a Lindt Excellence 70%, if you prefer a more bitter chocolate option you can also swap this for a 80% or 95% cacao chocolate or a few tablespoons of cacao nibs – or if you like more sweet, just regular milk chocolate or chocolate chips.
  • Espresso Powder: The star ingredient and what gives these bliss balls a real kick. I use ground coffee powder. I always have Lavazza Crema e Gusto on hand at home and I find it’s perfect to give the bliss balls a strong coffee flavour (you can find it on Amazon too). You can also swap this for a decaf ground coffee if you prefer less caffeine.
  • Maple Syrup & Honey: I like to use both to get the caramel & sweet flavour profiles of the two
  • Vanilla Essence
  • Coconut Oil: this is what will help form and set the Espresso Bliss balls once they are in the fridge.
espresso cup and chocolates
Image by Susanne Jutzeler, Schweiz from Pixabay

Making the Espresso Bliss Balls

These Espresso Bliss Balls can be made in 4 easy steps:

Combine dry ingredients

In a food processor, add the dates, almonds, coconut, cacao powder and espresso powder and process until it becomes a fine crumb – around 30 seconds on high speed.

Add wet ingredients and chocolate

Add the melted coconut oil, maple syrup, honey, vanilla essence and dark chocolate pieces to the food processed and process again on high speed for 5-10 seconds until well combined.

Roll

Roll the mixture with your hands into small balls (you should be able to make around 20-22 coin sized balls) and roll them in some desiccated coconut mixed with cacao powder, if desired.

Rest in the fridge

Rest in the fridge for at least 1 hour to firm up in a sealed container before serving.

Espresso Bliss Balls

Prep Time 15 minutes
Refrigerating 1 hour
Servings 22 balls
Calories 85
A delicious snack that combines coffee, chocolate & almonds

Equipment

  • 1 Food processor

Ingredients

  • 1 cup Pitted Dates
  • 1 cup Almonds
  • 1/2 cup Desiccated coconut (+ 2 tbsp for coating at the end)
  • 5 tbsp Cacao Powder (+ 1 tsp for coating at the end)
  • 4 tsp Espresso powder / Ground coffee
  • 40 gr Dark Chocolate
  • 2 tbsp Coconut oil (Melted)
  • 1 tsp Vanilla essence
  • 3 tbsp Maple syrup
  • 1 tbsp Honey

Instructions 

  • In a food processor, add the dates, almonds, coconut, cacao powder and espresso powder and process until it becomes a fine crumb – around 30 seconds on high speed.
  • Add the melted coconut oil, maple syrup, honey, vanilla essence and dark chocolate pieces to the food processed and process again on high speed for 5-10 seconds until well combined.
  • Roll the mixture with your hands into small balls (you should be able to make around 20-22 coin sized balls) and roll them in some desiccated coconut mixed with cacao powder, if desired.
  • Rest in the fridge for at least 1 hour to firm up in a sealed container before serving.

Notes

Storage: Store in the fridge in a sealed container for up to 1 week
Calorie content: 1 Bliss Ball, 85 cal approximate
Calories: 85kcal
Course: Snack
Keyword: afternoon snack, bliss balls, coffee, healthy snack, mid morning snack, snack

After making this once, I can guarantee you that you will never buy shop brought tzatziki again! A easy dip great for entertaining that you can make in less than 15 minutes. You will love this easy 5 ingredients Tzatziki!

Home-made over shop-brought Tzatziki

I used to buy tzatziki all the time and I was never quite impressed by the shop brought version of it. I found it watery and tasteless. And tzatziki is nothing like that! Every time we travelled to Greece over the summer, at every meal we used to have it. It was the perfect, creamy, fresh accompaniment to a meat platter and the essential staple in the many gyros we ordered. So, I just improvised and started making it. I have not brought it since then! I usually have a tub of greek yogurt in the fridge, and with a few other ingredients, I can make a batch in a flash. Making it at home also means you get a healthier dip. This is my version, so let me show you how to make this quick 5 ingredients tzatziki!

Ingredients for this 5 Ingredients Tzatziki

  • Yogurt: the most important ingredient. The real trick is to use a greek tub-set unsweetened yogurt. It’s so much thicker than natural yogurt, you won’t need to strain it like most of other recipes call for which saves you a lot of time. If you go to Greece – at breakfast this is exactly the yougurt they serve you, so it’s the real deal!
  • Cucumber: Lebanese or half of a large continental, grated. Once grated you just need to squeeze the extra water out with your hand to remove the excess moisture
  • Cumin: will add that extra warmth and depth to the tzatziki
  • Extra virgin olive oil, a lot of it!
  • Garlic powder: I prefer using this instead of fresh garlic. It’s less overpowering and does not leave as much of an aftertaste of raw garlic
  • Salt & Pepper to taste

Serving Suggestions

So many ways that you can serve this! Great served as a dip, or as a side to lamb with roast lemon potatoes or in lamb or chicken souvlaki. If you are having a vegetarian meal it’s quite filling in a more generous serve with tabouli salad, falafel & zataar bread.

5 Ingredients Tzatziki

Prep Time 15 minutes
Servings 6
Easy recipe

Ingredients

  • 1.5 cups Greek yogurt (preferably tub set)
  • 1 lebanese cucumber
  • half teaspoon ground cumin
  • 40 ml olive oil (extra virgin)
  • 2 tsp garlic powder
  • 1 tsp salt
  • ground pepper (to taste)

Instructions 

  • Grate the cucumber and with your hands, squeeze the excess water out
  • In a deep bowl, add yogurt, grated cucumber, garlic powder, cumin, most of your olive oil and the salt. Add pepper to taste and combine well.
  • Top with a little more olive oil before serving!

Notes

Store in a sealed contained in the fridge for up to 4 days. If after time in the fridge the dib has become watery, give it a quick stir and it will regain the creaminess before serving again.
Cuisine: greek
Keyword: 5 ingredients, dip, easy recipe, greek