Tag

pumpkin

Browsing

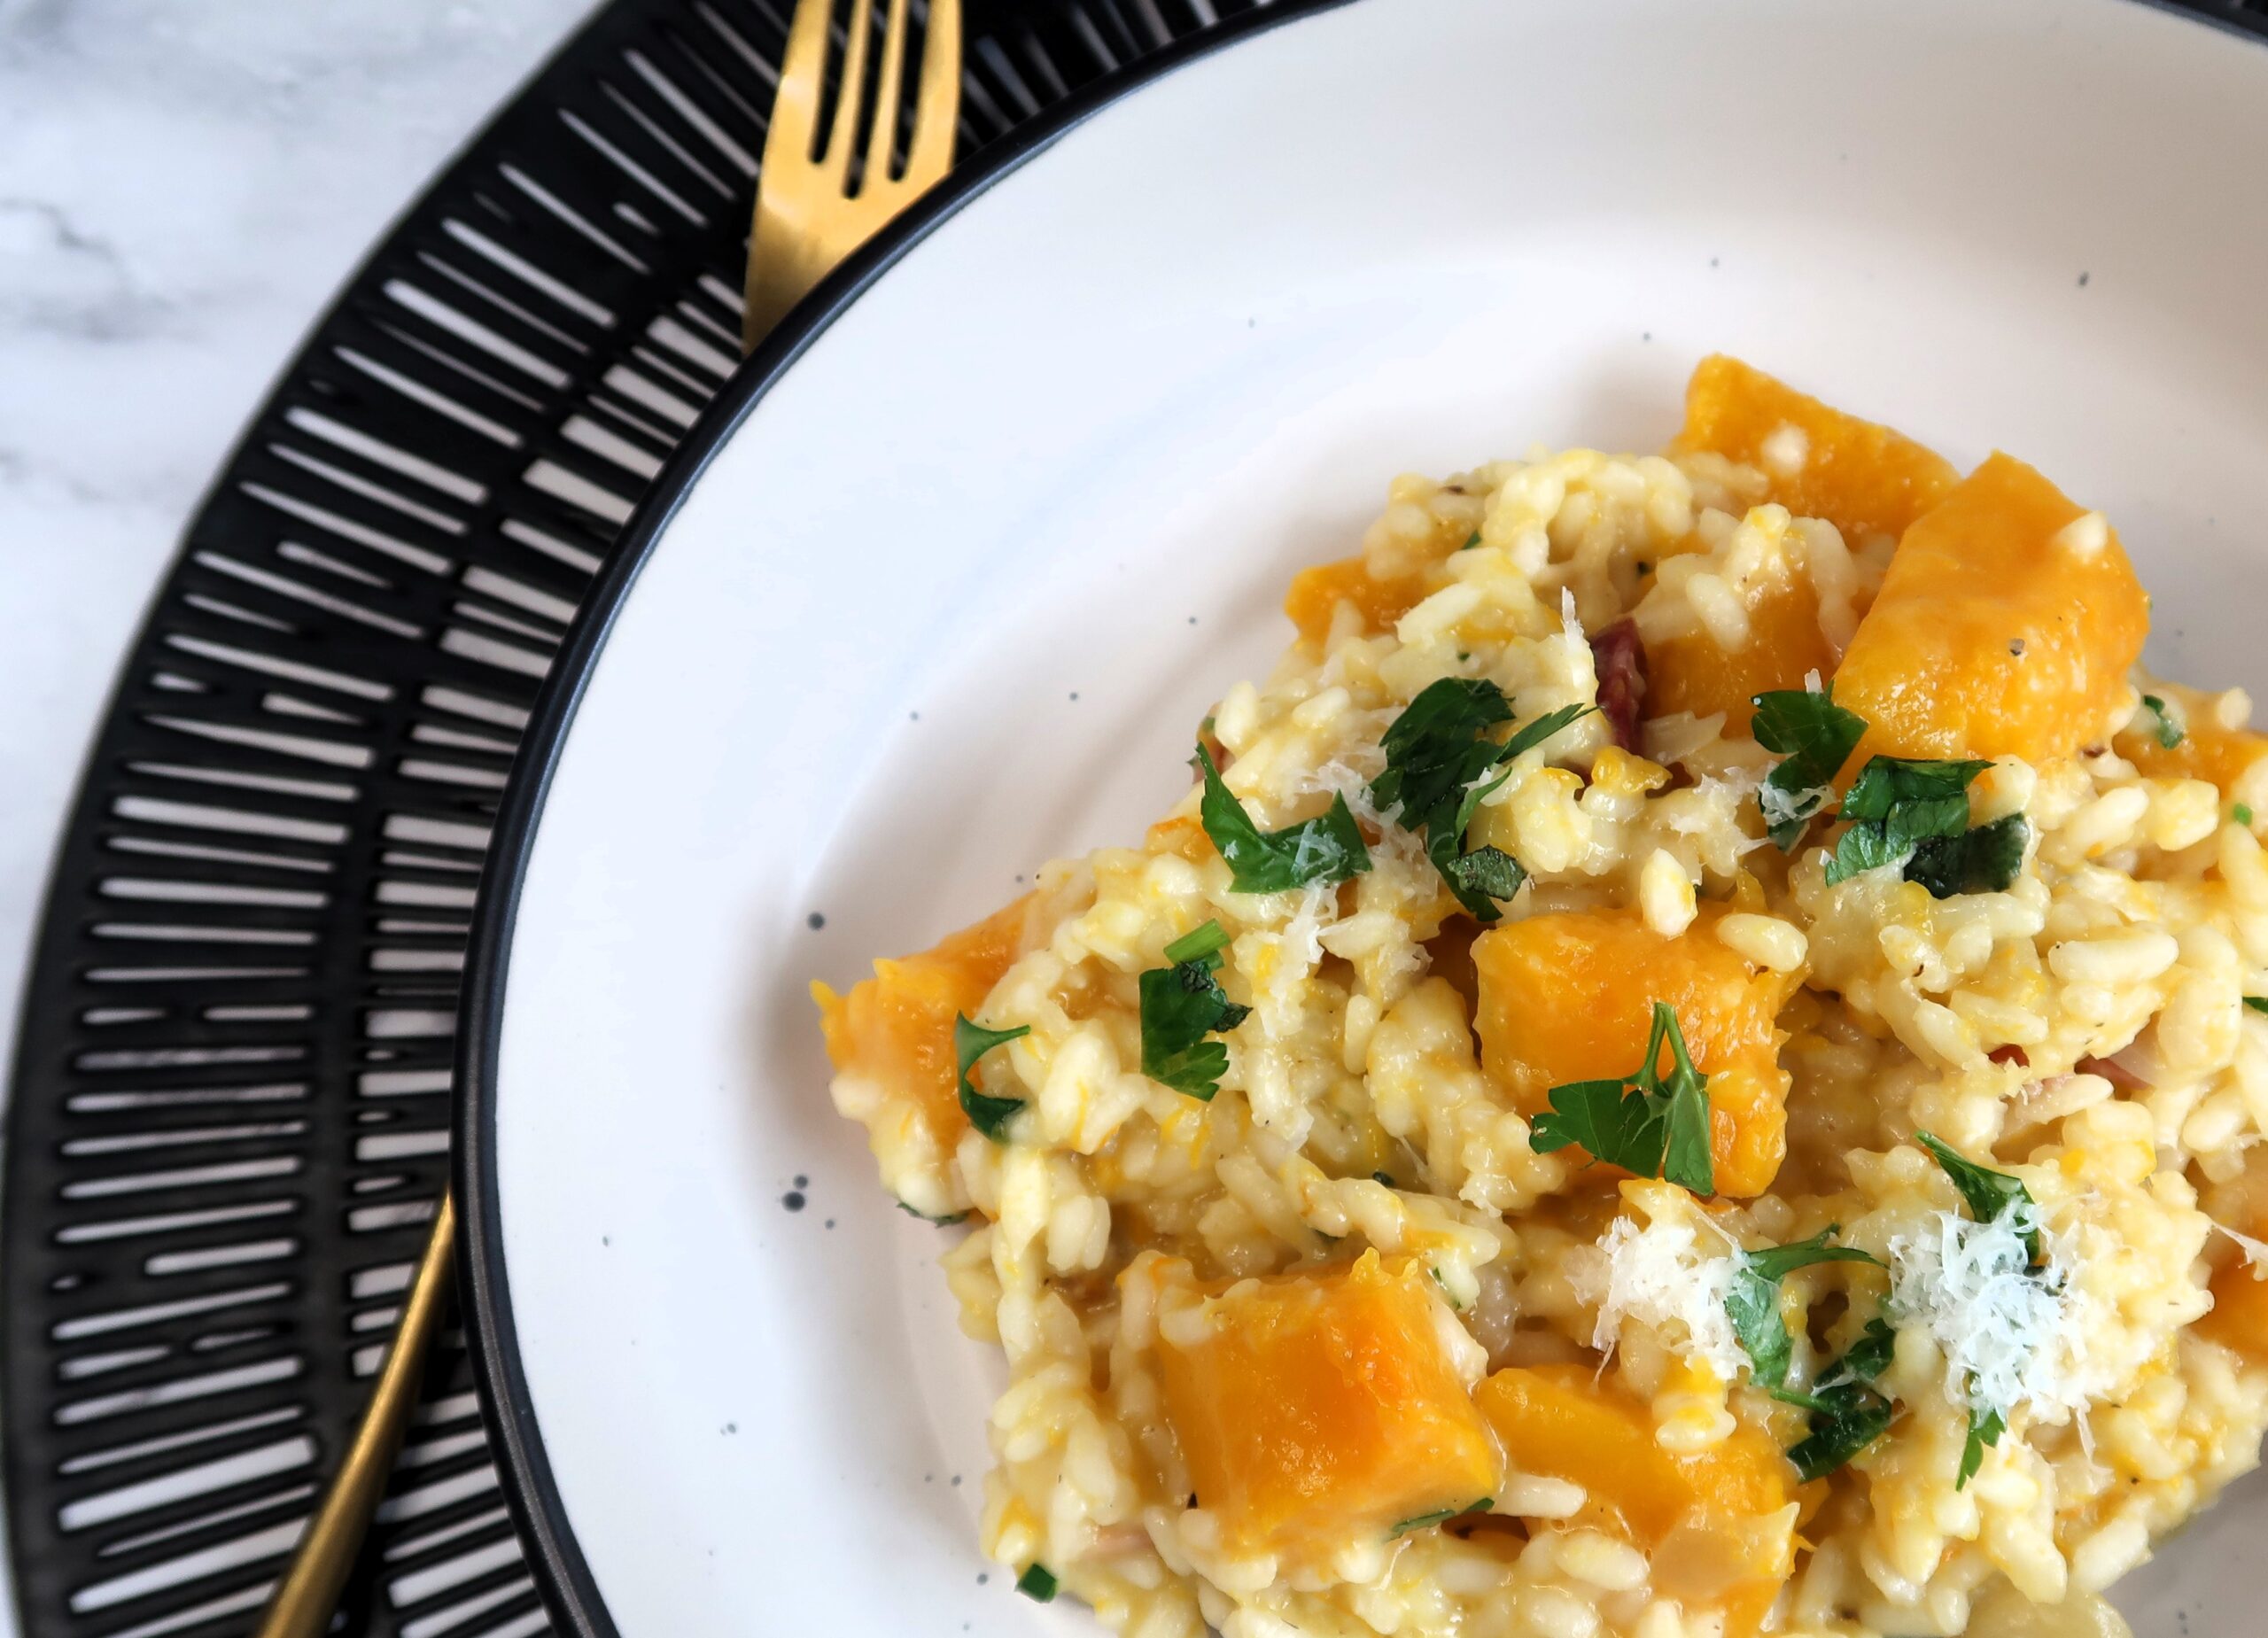
This elegant Balsamic and Maple Roasted Pumpkin is not only beautiful to look at but a delight to eat. The sweetness from the Maple syrup gives the pumpkin and red onion a wonderful caramelisation. It pairs so well against the tartness of the balsamic vinegar and the fresh pomegranate seeds! Perfect as a side dish to accompany roast meats but just as good to eat on its own as the creamy feta makes it a complete meal.

Ingredients needed for this Balsamic and Maple Roasted Pumpkin

ingredients for this roasted pumpkin recipe
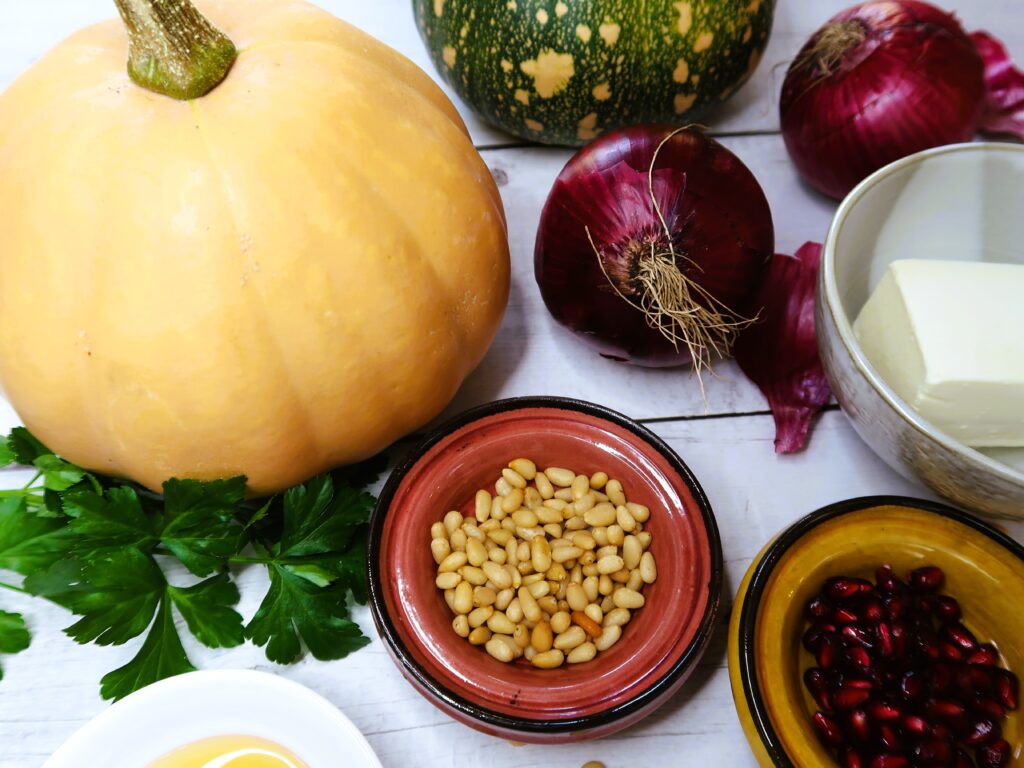
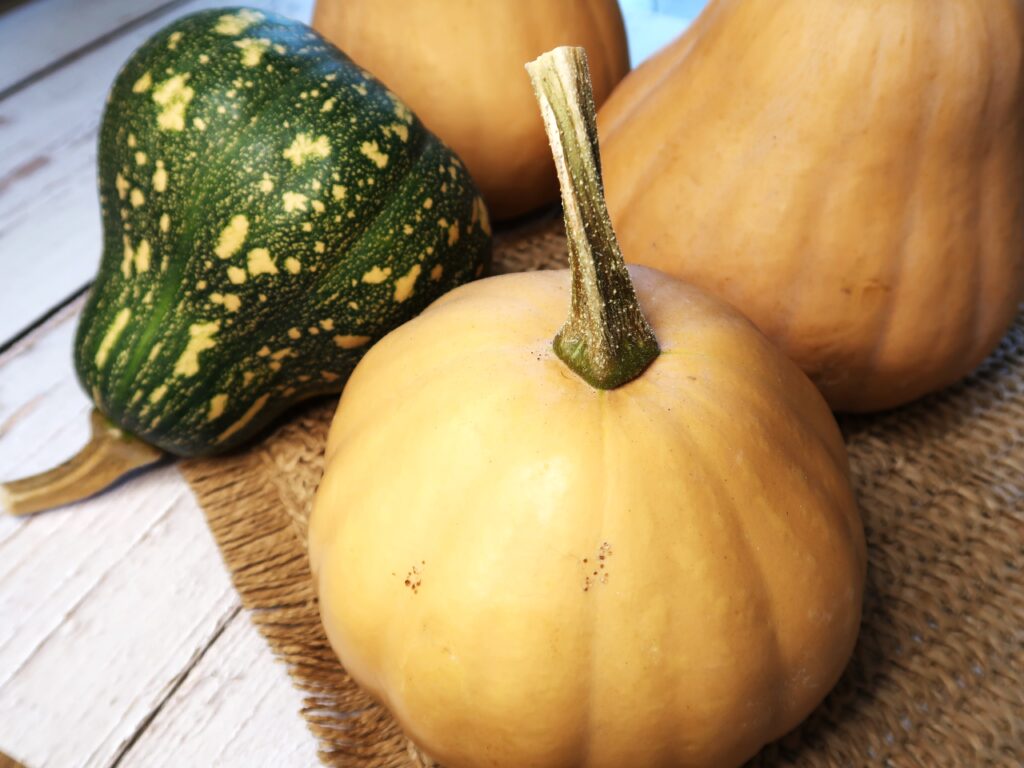
  • Pumpkin: Any type will work! I usually use Jap or Butternut Pumpkin. The main difference with the two is that if you want to have neater slices of pumpkin, Jap pumpkin can be cut easier into wedges.
  • Red Onion
  • Maple Syrup: Gives the pumpkin some great caramelisation. Ensure to choose a Pure Maple syrup which is 100% maple syrup, not a maple flavoured syrup (which is mainly refined sugar and artificial flavours). The caramel flavour in pure maple syrup doesn’t compare and it’s also better for you!
  • Balsamic Vinegar: I always have on hand a bottle of Aceto Balsamico di Modena to use for dressing salads and it’s great for cooking too! It’s a sweeter vinegar and the sourness of it is perfect against the maple syrup.
  • Pine Nuts: Add a nice nuttiness to the dish. Can be substituted for slivered almonds, or even Pepitas (pumpkin seeds) added after roasting are a great alternative.
  • Feta: I like using Danish feta which is a creamier, milder version of the traditional Greek feta. Can also be substituted for Fresh Ricotta cheese.
  • Pomegranate Seeds: Add a beautiful sweetness and tartness to complement the sweet pumpkin.
  • Salt, Pepper, Olive Oil and Fresh parsley for garnishing.

How to make this Balsamic and Maple Roasted Pumpkin

Chop the Pumpkin

types of pumpkins that can be used, jap or butternut

The hardest thing about this dish is probably chopping the pumpkin as the oven will do the rest of the work! I used a Jap pumpkin for the recipe as it can be chopped in neat wedges, with a thickness of roughly 4-5 cm. You can also cube the pumpkin if you prefer in 5 cm cubes.

A average sized pumpkin that weighs about 1.2-1.3 kg, once peeled, deseeded and chopped should give you roughly 1 kg of chopped pumpkin.

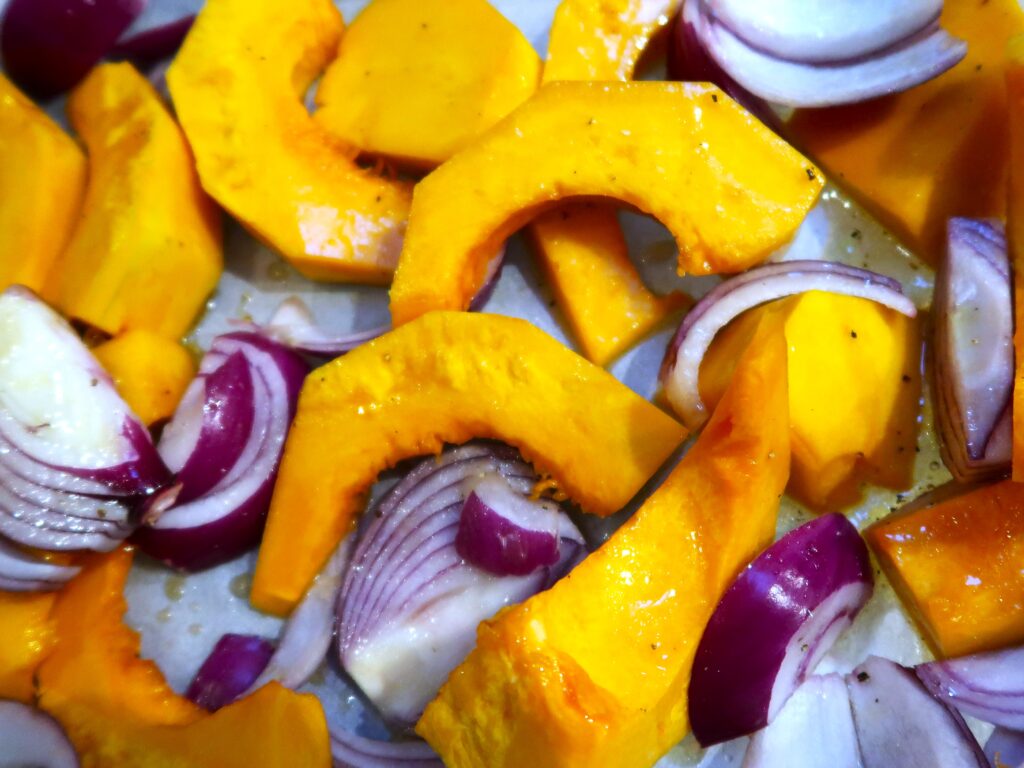
Roast the Pumpkin & Red Onion and Maple Syrup

In a large bowl, combine the Maple syrup, salt, pepper and olive oil. Add the pumpkin and sliced red onion and combine till all coated.

Lay the pumpkin and onion across a few oven trays lined with baking paper, in a single layer, so that each piece gets the best caramelization and keeps its shape during roasting.

Roast for around 35-40 minutes at 180 degrees, turning the pumpkin half way through.

roasting of the pumpkin and red onion

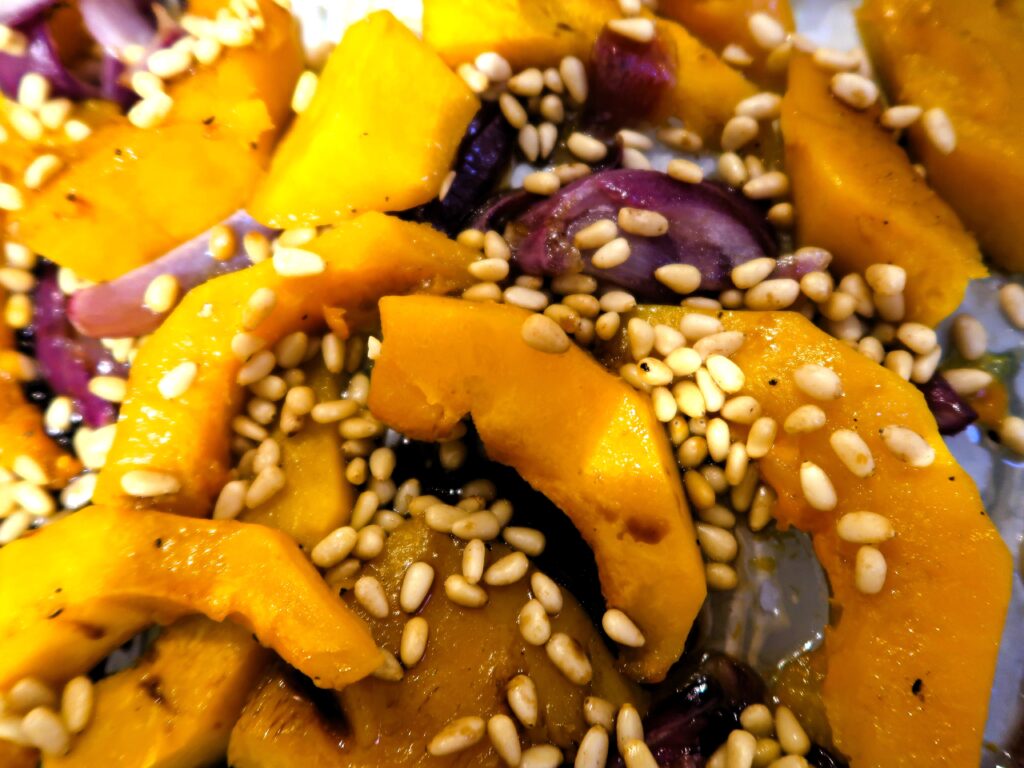
Add Pinenuts & Balsamic Vinegar

Add the balsamic vinegar and the pine nuts to the roasting tray/s. Gently combine with the pumpkin and red onion and continue roasting for an additional 10 minutes, at 200 degrees.

adding the balsamic vinegar and pinenuts during roasting

Top with Feta, Pomegranate Seeds & Fresh Parsley

The Pumpkin and onion should now have a nice char on it and be completely cooked all the way through. Place in a serving dish and top with the crumbled feta, the chopped parsley the pomegranate seeds. Add some ground pepper to taste. Serve immediately or when slightly cooled! Enjoy!

Loved this recipe? Want more?

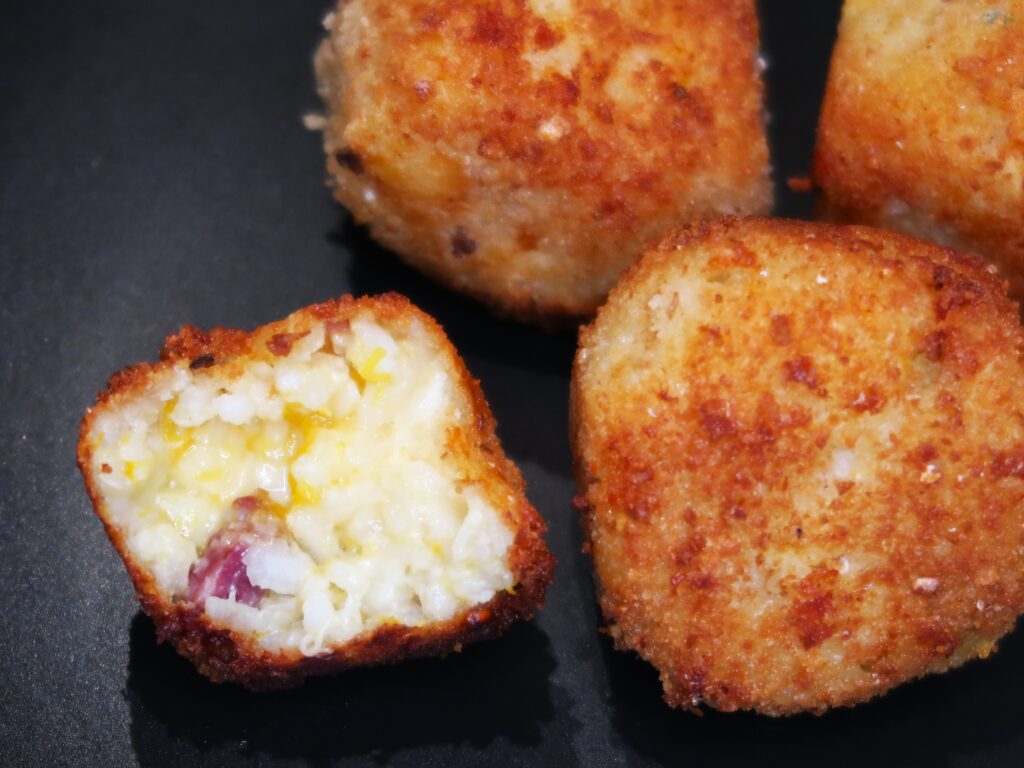
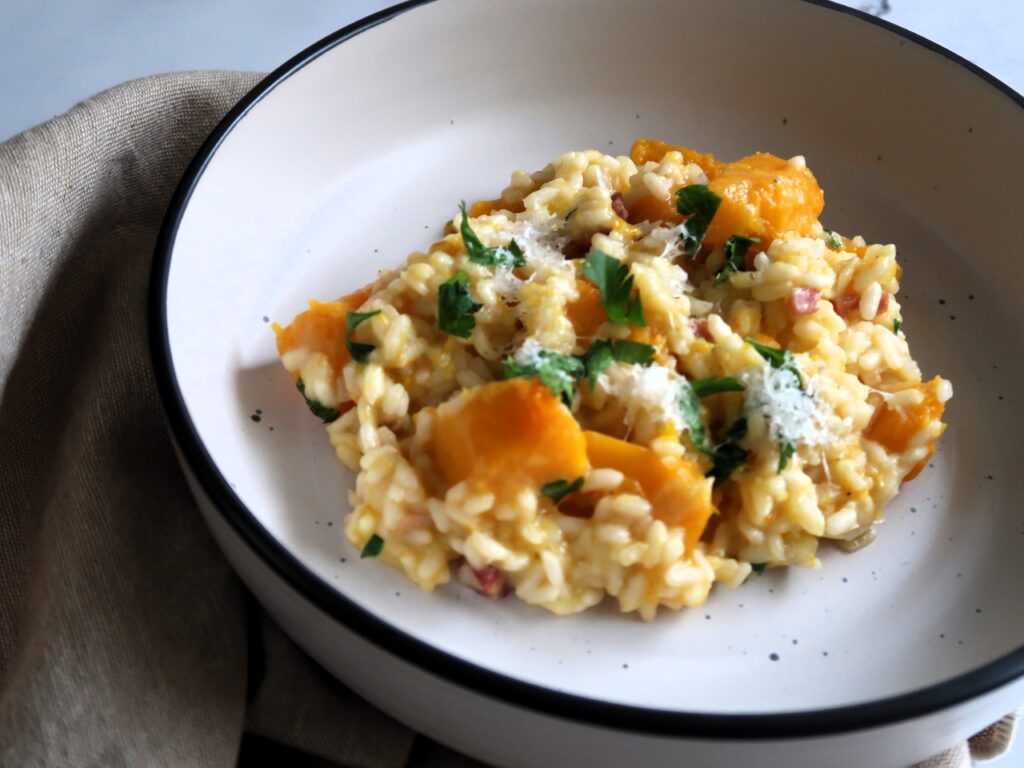
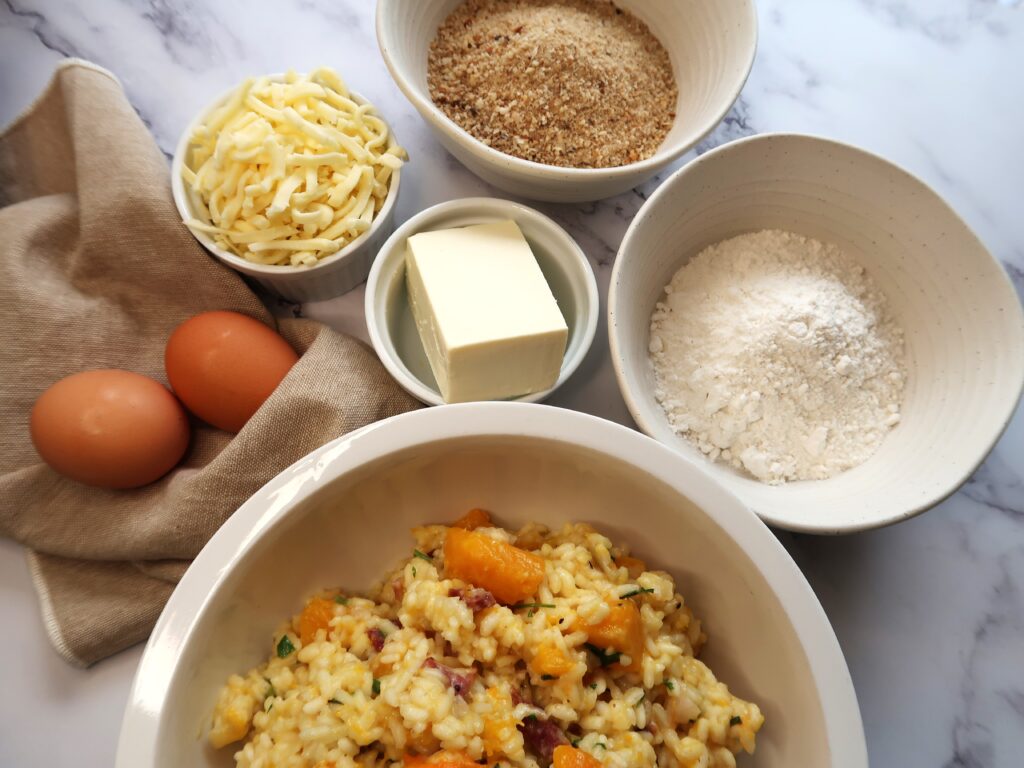
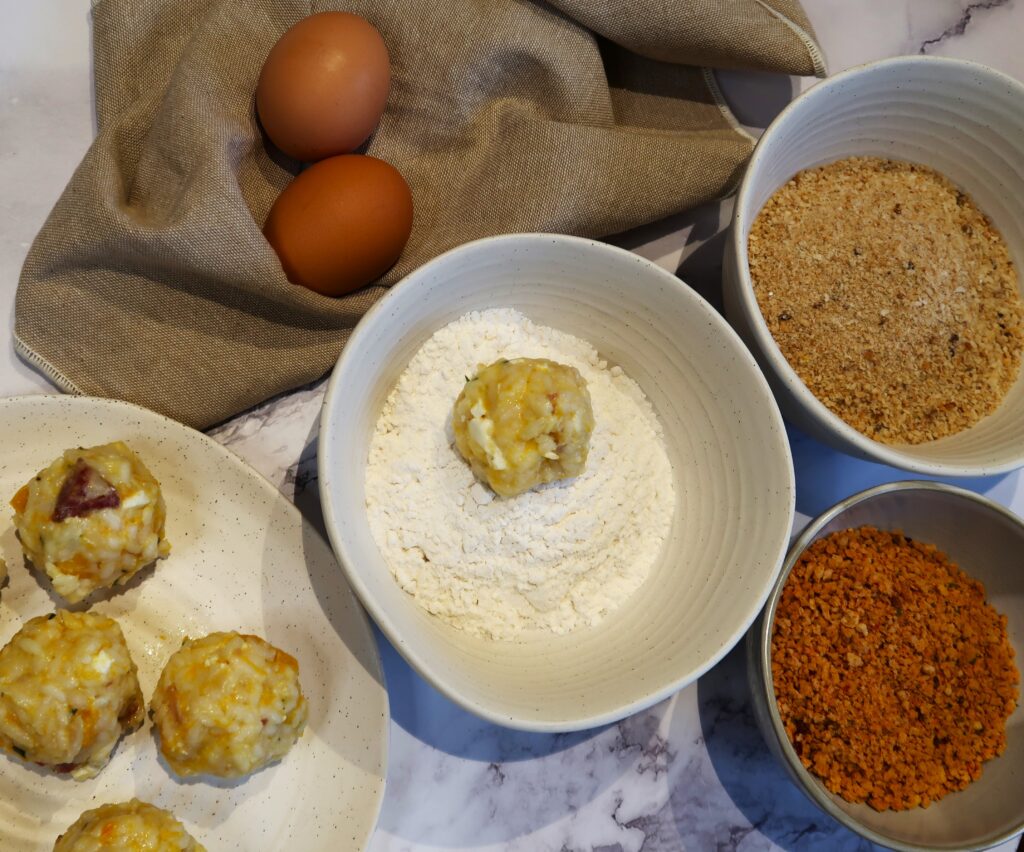
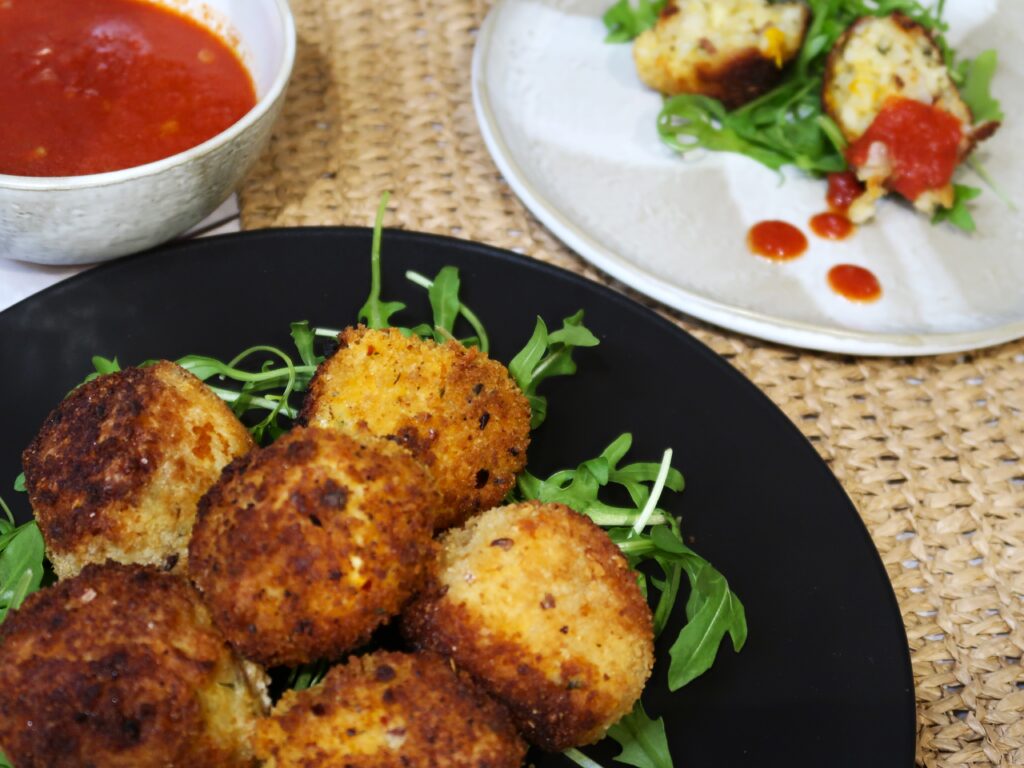
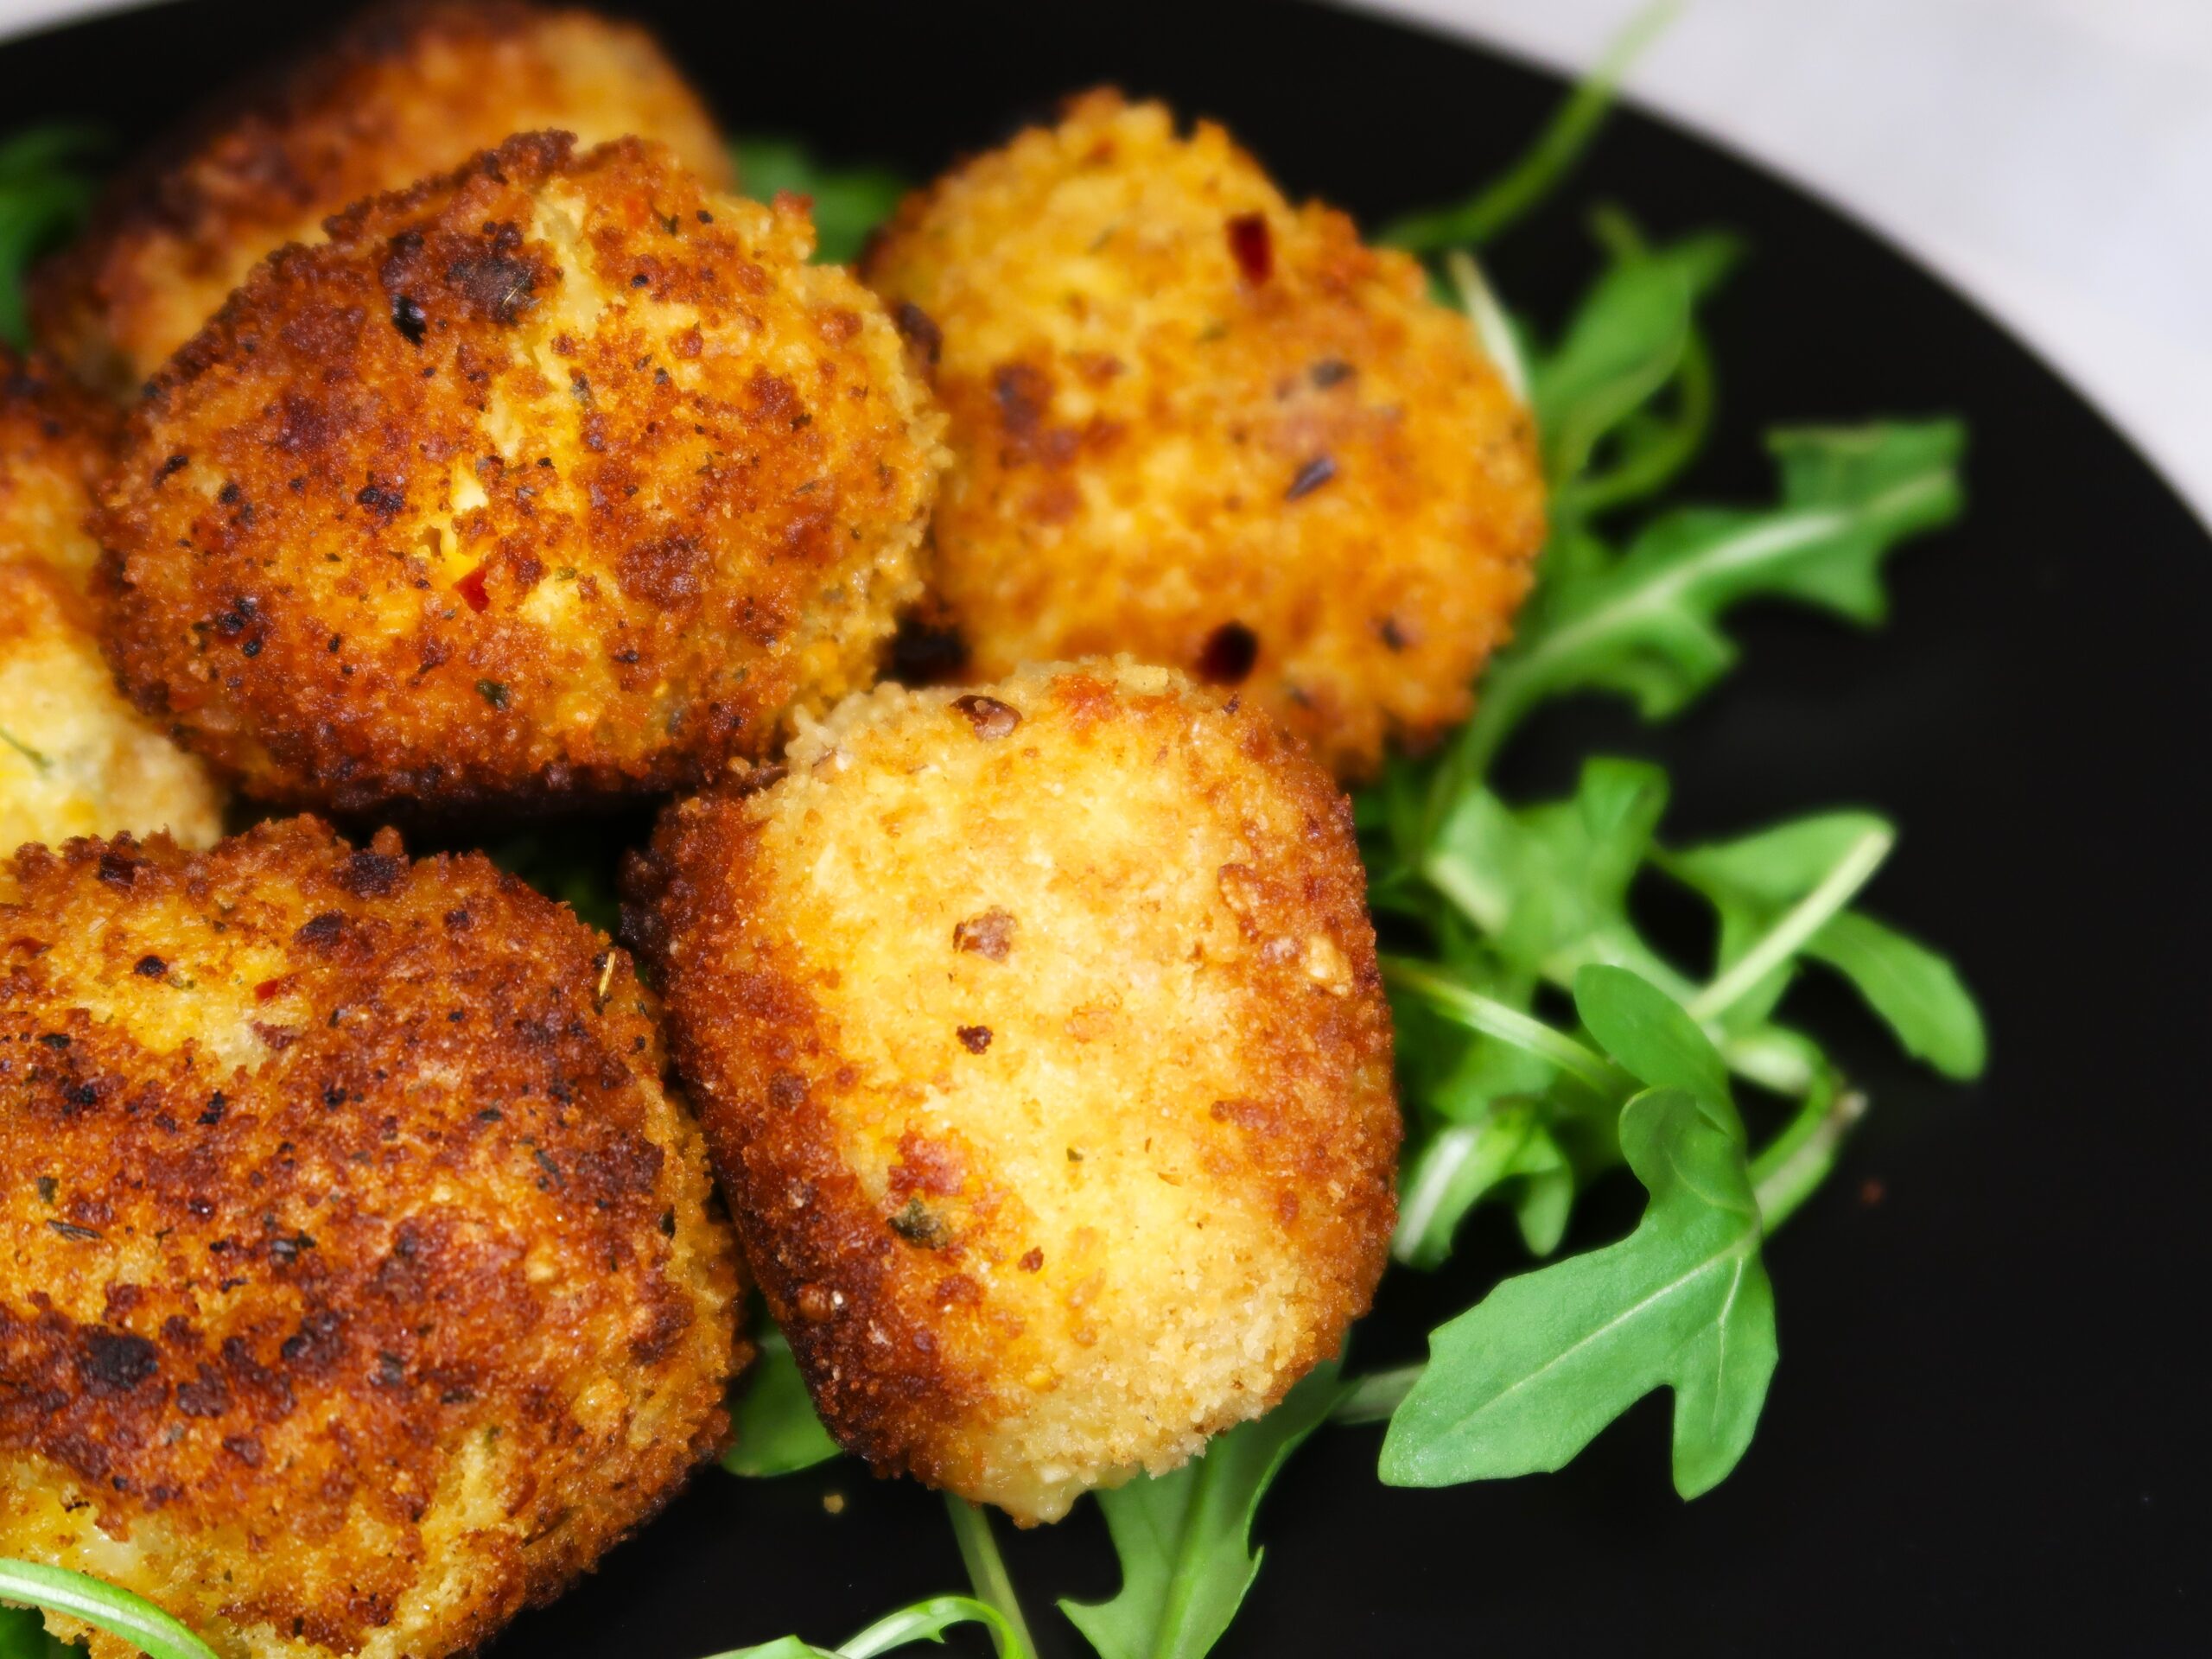
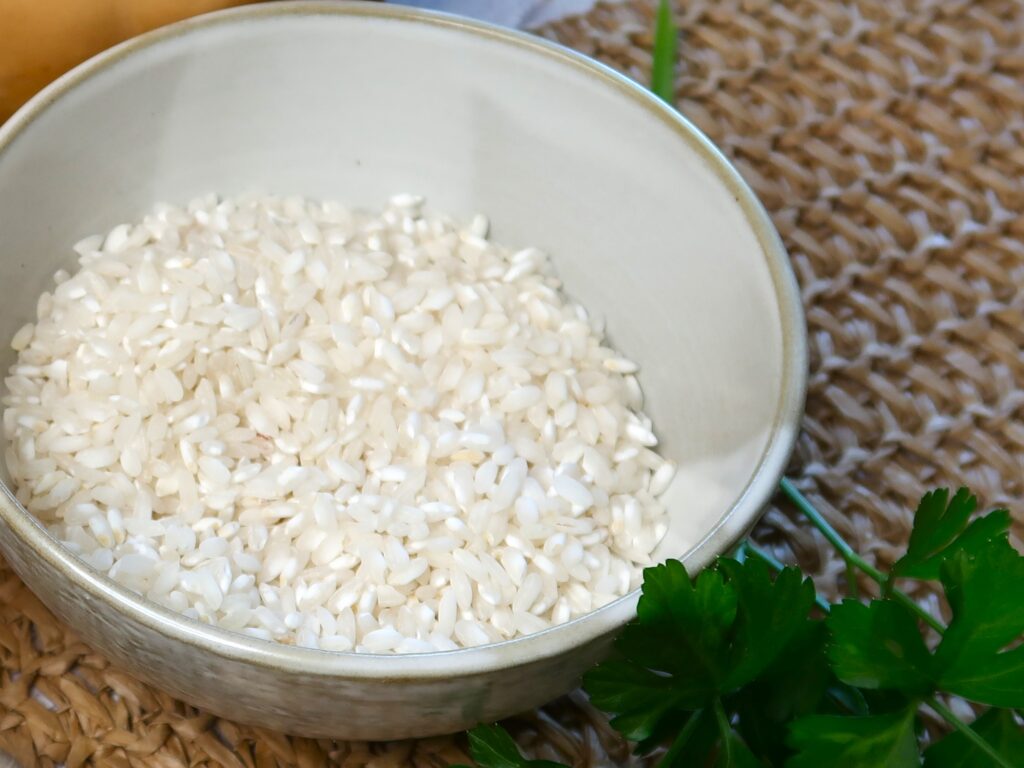
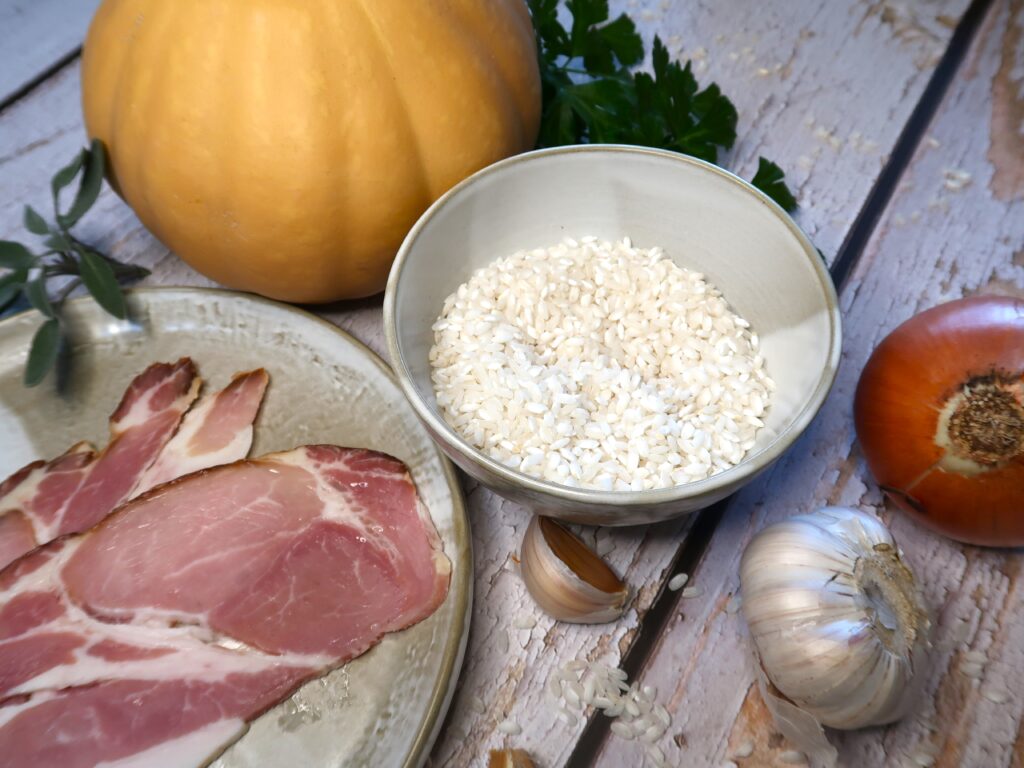
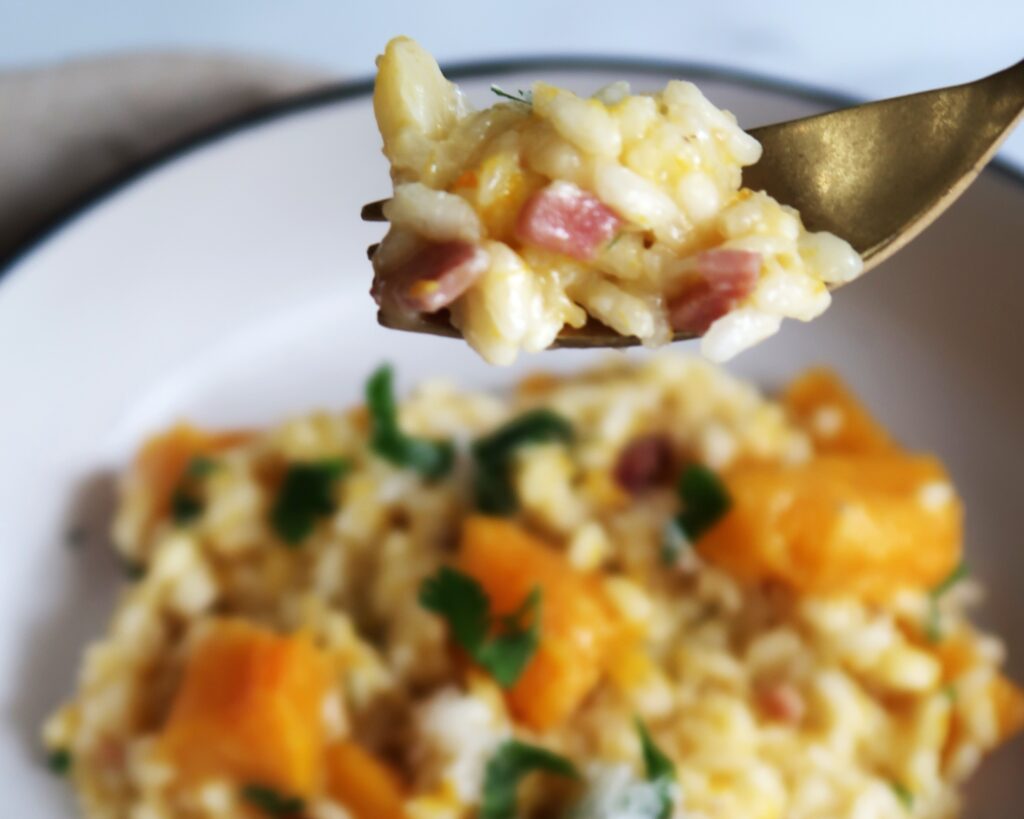
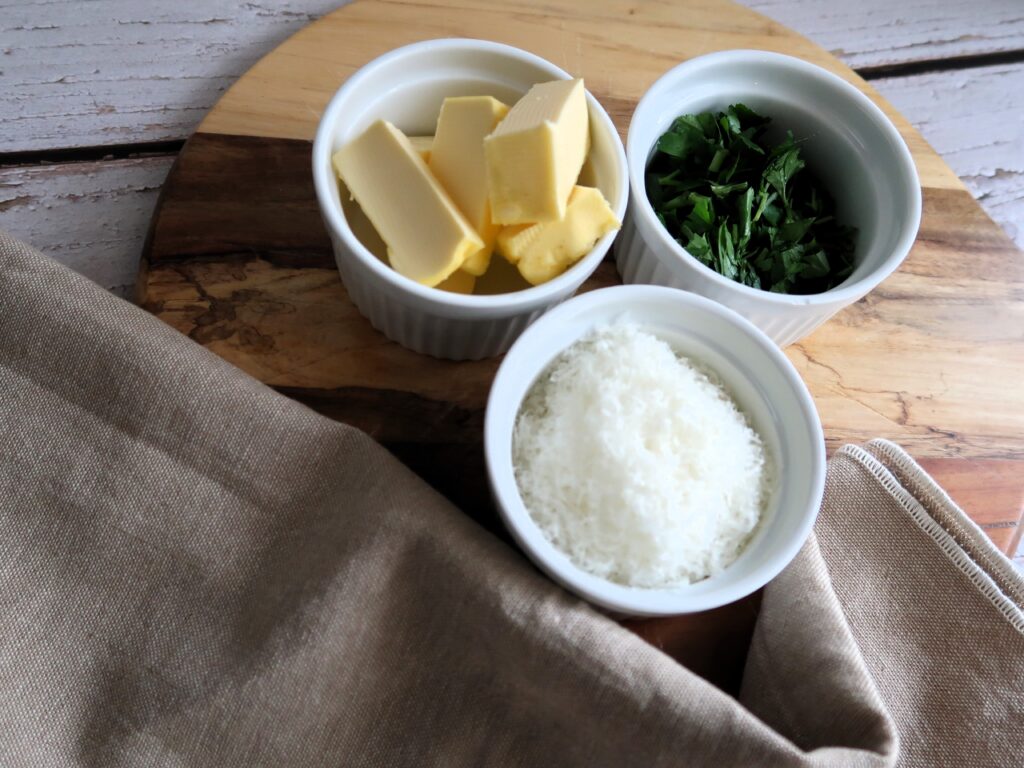
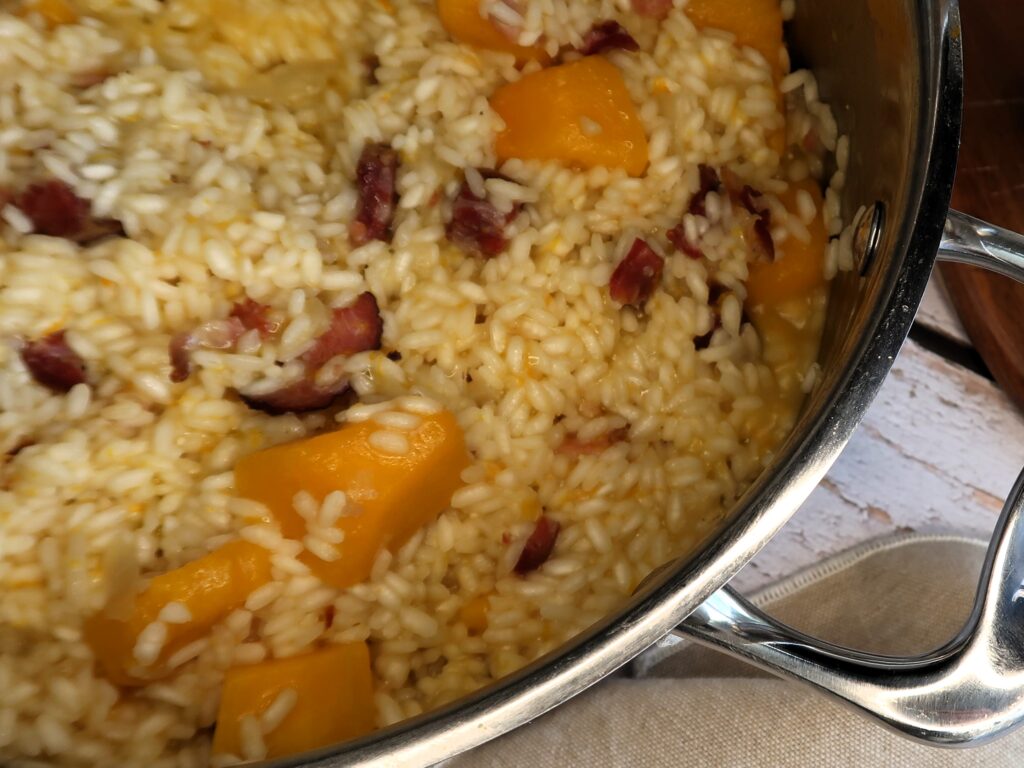
Check out more of my Pumpkin recipes perfect for the fall season! Pumpkin and Bacon Risotto and Pumpkin & Feta Arancini.

For another delightful side dish you can also try my Rosemary and Garlic Potato Gratin.

Balsamic and Maple Roasted Pumpkin

Prep Time 15 minutes
Cook Time 45 minutes
Servings 4
A beautiful side dish of maple-glazed pumpkin and red onion topped with pomegranate seeds and creamy feta

Ingredients

  • 1.2-1.3 kg Pumpkin (Jap or Butternut, cubed or sliced)
  • 2 Red Onions (Sliced)
  • half tsp Salt
  • 3 tbsp Olive Oil
  • 6 tbsp Pure Maple syrup
  • half cup Pine Nuts (100 gr approx)
  • 2 tbsp Balsamic Vinegar
  • half cup Danish Feta (Crumbled, 100 gr approx)
  • 1 Pomegranate (Seeds from 1 pomegranate)
  • 1 bunch Parsley (finely chopped)
  • Ground Pepper (to taste)

Instructions 

  • Preheat the oven to 180 (or 160 fan forced).
    Cut the pumpkin into 4-5 cm thick wedges or cubes.
    An average sized pumpkin that weighs about 1.2-1.3 kg, once peeled, deseeded and chopped should give you roughly 1 kg of chopped pumpkin.
  • In a large bowl, combine the Maple syrup, salt, pepper, and olive oil, add the pumpkin and sliced red onion, and combine till all coated.
    Lay the pumpkin and onion across one large or two oven trays lined with baking paper. Lay the pumpkin in a single layer, so that each piece gets the best caramelization and keeps its shape during roasting.
    Roast for around 35-40 minutes, turning the pumpkin halfway through.
  • Add the balsamic vinegar and the pine nuts and gently combine with the pumpkin and red onion and continue roasting for an additional 10 minutes, at 200 degrees.
  • Once cooked, place the pumpkin, red onion and pine nuts in a serving dish and top with the crumbled feta, the chopped parsley, pomegranate seeds and some ground pepper to taste. Serve hot or warm.
Course: Salad, Side Dish
Keyword: maple glazed pumpkin, pumpkin, roasted pumpkin

Leftover risotto? The perfect excuse to make Arancini! These Pumpkin Arancini are a great way to reinvent leftover rice and make a delicious new meal out of it. I’m using my Pumpkin and Bacon risotto recipe and adding feta and mozzarella, to make these addictive crispy rice balls, together with a punchy Tomato Chilli sauce to dip them in. Perfect for a tasty starter to please a crowd!

pumpkin arancini

Ingredients needed for these Pumpkin Arancini

Arancini

  • Chilled, cooked Risotto: The essential ingredient of that you will need is leftover risotto. I used 7 cups of cooked rice, from my recipe of Pumpkin and Bacon Risotto. Any other risotto type will also work fine, as long as it’s cold (not from frozen). Warm or hot rice will not stick together well during shaping and frying. Regarding rice type – arancini balls need to be made with a starchy rice like an Arborio, Carnaroli, or Vialone Nano Rice so that it will combine together well.
risotto with pumpkin and bacon
  • Feta and mozzarella Cheese: This will add some extra flavour and cheesiness to the Pumpkin Arancini. I generally choose smooth Danish feta and shredded mozzarella, but you can also use any other cheeses that you like! Big chunks of cubed mozzarella to put in the middle of the arancini also work well!
  • Crumb: I usually crumb in 3 steps for extra crispiness. Flour first, beaten eggs and breadcrumbs last. A standard breadcrumb works great as well as a crispy Panko breadcrumb. If you want to get creative and have the time, you can do a separate chili crumb by adding a teaspoon of dried chili to half the breadcrumbs to give some extra kick to a batch of arancini.
  • Vegetable or canola oil: For shallow frying the arancini.
ingredients required for arancini, risotto, flour, eggs, cheeses and breadcrumbs

Tomato Chilli Sauce

  • Italian Tomato Passata: I like to use Mutti brand
  • Chilli Sauce: Any chilli Sauce, I use Sriracha or replace for Chilli Flakes
  • Garlic Cloves
  • Olive Oil & Salt

How to Make these Pumpkin Arancini

Combine the risotto with the cheeses and shape the arancini

Combine the chopped feta and mozzarella with the cold risotto till it’s all evenly mixed. With your hands tightly shape the rice into golf-sized balls until you have used up all the risotto. As a rough idea, 7 cups of cooked rice will yield roughly 30-35 arancini.

Crumb the Pumpkin Arancini

Set up three separate bowls, one with plain flour, one with the lightly beaten eggs, and one with the breadcrumbs. Coat the rice balls in flour first, then egg, then breadcrumbs and set them aside in a separate large plate.

Tip: To not get the coatings (and your hands) too messy, the best way is to use one hand to handle the dry coatings of flour and breadcrumbs, and the other hand to handle just the dipping in the egg.

assembling the arancini with eggs, flour and breadcrumbs

Shallow fry the Pumpkin Arancini

Once all the Arancini are shaped and coated, start frying. I usually just shallow fry the arancini, so I set up a large nonstick or cast iron pan and add about 1 cup of Vegetable Oil.

Once the oil is hot (you can check by dipping a wooden spoon and if little bubbles appear all around it it’s hot), add the arancini, in batches, making sure not to overcrowd the pan.

pumpkin arancini frying

Fry them on each side for 1-2 minutes, and constantly turn them over to the other sides till they are crispy and golden all around. Make sure to keep an eye on them constantly as they can burn very quickly once the oil is hot!

Once fried, set them aside on a large plate lined with paper towels to absorb any excess oil. The pumpkin arancini are ready to eat!

How to make the Chilli Tomato Sauce

This chili tomato sauce is perfect for dunking the arancini and is great served hot or cold. It can also be made in advance too!

To make the sauce, in a pot, gently cook the garlic in some olive oil for 1-2 minutes. Add the passata, the Sriracha and the salt and simmer over low to medium heat for 15 to 20 minutes.

Serving Suggestions for these Pumpkin Arancini

Once the arancini are fried, they are perfect to eat immediately with the Chilli Tomato Sauce for dipping. They are great as a starter, or as a main meal. Enjoy!

fried rice balls served with tomato chilli sauce

Storage suggestions for these Pumpkin Arancini

If you are not eating them immediately they defenitely can be made in advance. Once fried, they will last in the fridge for up to 2 days or can be frozen in batches in an airtight container for up to 1 month.

To reheat, if they are in the fridge, they will need around 15-20 minutes at 200 dg or 180 dg if fan forced.

From frozen, defrost overnight or in the microwave and as per above till piping hot.

Loved this recipe? Want more?

Here, you can find the perfect Pumpkin and Bacon Risotto used for this recipe.

Check out more of my rice recipes like this Black Rice Salad.

Pumpkin Arancini with Tomato Chilli Sauce

Prep Time 30 minutes
Cook Time 30 minutes
Total Time 1 hour
Servings 10
Crispy fried rice balls with a spicy dipping sauce

Ingredients

  • 7 Cups Cooked Pumpkin Risotto (See separate recipe and cooking times in post)
  • 3/4 Cup Shredded Mozzarella (approx 150 gr)
  • 1/2 Cup Feta (crumbed, approx 100 gr)
  • 1 Cup Vegetable or Canola Oil (for frying)
  • 1 Cup Plain white flour
  • 2 Eggs (lightly beaten)
  • 1.5 Cups Dried Breadcrumbs (Plain or Panko)

Tomato Chilli Sauce

  • 2 tbsp Extra Virgin Olive Oil
  • 2 Cloves Garlic (finely chopped)
  • 2 Cups Tomato Passata
  • 2 tbsp Sriracha Sauce
  • 1/2 tsp Salt

Instructions 

  • Combine the chopped feta and mozzarella with the cold risotto till it's all evenly mixed. With your hands tightly shape the rice into golf-sized balls until you have used up all the risotto.
  • Set up three separate bowls, one with plain flour, one with the lightly beaten eggs, and one with the breadcrumbs. Coat the rice balls in flour first, then egg, then breadcrumbs and set them aside in a separate large plate.
  • Add the vegetable oil to a large non stick or cast iron pan, over medium heat. Once the oil is hot (you can check by dipping a wooden spoon in the oil and if little bubbles appear all around it's hot), shallow fry the arancini, in batches, making sure not to overcrowd the pan.
  • Fry them on each side for 1-2 minutes, and constantly turn them over to the other sides till they are crispy and golden all around. Make sure to keep an eye on them constantly as they can burn very quickly once the oil is hot!
  • Once fried, set them aside on a large plate lined with paper towels to absorb any excess oil.
  • Meanwhile, to make the Tomato chilli sauce, in a pot over low to medium heat, gently cook the garlic in some olive oil for 1-2 minutes. Add the passata, the Sriracha and the salt and simmer over low to medium heat for 15 to 20 minutes. Set aside to cool slightly and serve with the Hot or Warm Arancini.

Notes

Yield: As a rough idea, 7 cups of cooked rice will yield roughly 30-35 arancini.
Storage Suggestions:
If you are not eating them immediately the arancini can be made ahead of time. Once fried, they will last in the fridge for up to 2 days or can be frozen in batches in an airtight container for up to 1 month.
To reheat, if they are in the fridge, around 20 minutes at 200 dg or 180 dg if fan forced.
From frozen, defrost overnight or in the microwave and as per above till piping hot.
Course: Appetizer, Main Course
Cuisine: Italian
Keyword: antipasti, appertiser, arancini, dinnerparty, easy dinner, fall recipes, rice balls, risotto

I love a good risotto, and after making so many of them – when pumpkin season comes around this Bacon Pumpkin Risotto is the one I crave to eat! A warming fall recipe, this risotto is so creamy and lush. Every rice grain needs a bit of loving with the gentle stirring and the result is a wonderful dish that will make you want to go back for more!

Ingredients to make this Bacon Pumpkin Risotto

Pumpkin

Any type of pumpkin or squash will work well in this Bacon Pumpkin Risotto! I usually use Jap/Kent or Butternut.

types of pumpkins used for this risotto

Rice

For this Bacon Pumpkin risotto I used Arborio rice which is readily available at most supermarkets and perfect for risotti.

The other variety that you can use, that is actually even better but not in every supermarket – is the Carnaroli variety. It’s a slightly shorter rice which a higher starch content, which delivers an even creamier risotto!

arborio rice, perfect for risotto

Bacon

I used smoked bacon rashers. I find the smokiness is a nice addition to the delicate pumpkin flavour. You can use any type of bacon that you like, or omit all together if you prefer to have the dish meat free. Just note that you may need to add some additional salt to the rice as the bacon will add already some saltiness to the dish.

ingredients used for this bacon pumpkin risotto, arborio rice, onion, garlic, bacon and pumpkin

Chicken or Vegetable Stock, Salt

I usually make stock at home that I don’t add salt to right up until I use it. For this recipe of 3 cups of rice I used roughly 6 cups (1.5 lt / 60 oz) of unsalted chicken stock, and added 2 tsp of salt.

Depending on your stove, size of the pot and the heat you are cooking with, you may go through a bit more or less stock. If you find that you need more you can add more stock or water (half a cup at a time) during the cooking of the risotto.

If you don’t have stock on hand, replace it with chicken or vegetable stock cubes and the equivalent amount of water needed. Check the seasoning on the risotto as you cook as these are generally already salted and depending to your taste you might not need to add as much salt.

Other ingredients:

  • Sage & Parsley
  • Parmesan (Parmigiano Reggiano preferably)
  • Onion and Garlic
  • Freshly Ground Pepper, Butter & Olive Oil

How to make this Bacon Pumpkin Risotto

close up of bacon pumpkin risotto

Make a soffritto

Get yourself a large pot with a lid and start off by making a soffritto.

Heat 3 tbsp of olive oil to a large pot, add the chopped garlic and onion and over medium heat stir to cook gently, till softened for 4-5 minutes.

Cook the Bacon and Pumpkin

Once the onion and garlic have softened, add the chopped Pumpkin and Bacon and cook for around 10 minutes till the pumpkin begins to soften.

Add the rice and stock

Add the rice and stir with the pumpkin and bacon mixture till well coated for 1-2 minutes.

Optional step: Add the wine and combine with the rice for 1-2 minutes for additional depth of flavour!

Next, add half the stock, salt and chopped sage and continuously stir gently over low to medium heat for 10 minutes till the risotto begins to thicken.

Add more stock a ladle at the time and continue cooking for an additional 5-6 minutes. Add more water or stock if necessary if the pot looks too dry.

After around 15 minutes of cooking the risotto, the rice should mostly cooked through but still with a bit of bite to it.

Add Butter and Parmesan

add ins for the risotto before resting, parmesan, parsley and butter

With the heat still on, add the butter, parmesan, a few tablespoons of olive oil and chopped parsley. Check seasoning if to your liking and add some ground pepper.

Mix well with a wooden spoon till the cheese and butter is combined to the risotto for 1-2 minutes.

Rest the risotto & Serve

Turn the heat off, put the lid on the pot and let the risotto rest for 5 minutes. This will allow the risotto to continue cooking and become super creamy!

After 5 minutes of resting the bacon pumpkin risotto is ready to serve. Serve immediately with more parmesan and ground pepper. Enjoy!

the risotto resting before serving

Serving Suggestions & Storage

I usually make a large batch of this Bacon and Pumpkin risotto recipe. 3 cups of raw Arborio Rice will make a generous 8-10 serves.

If you need to make less – you can halve the recipe. The cooking time for the rice will be the same.

When making a big batch of risotto like this I like to use any leftover to make Pumpkin Arancini, check out the recipe!

Any leftover risotto will keep in the fridge for 1-2 days and you can reheat it in the microwave with a few tablespoons of water. Just note that the consistency to eat this is the best when just made!

The risotto by itself in my opinion is not suitable for freezing. It has a large amount of liquid (both the rice and pumpkin) which alters the texture too much.

Loved this recipe? Want more?

Leftover risotto? Make these Pumpkin Arancini! Check out more of my rice recipes like this Prawn and Chorizo Paella.

Bacon Pumpkin Risotto

Prep Time 20 minutes
Cook Time 40 minutes
Servings 8 people
an easy, creamy warming dish

Equipment

  • 1 Large Pot with lid

Ingredients

  • 1 Small Onion (finely chopped)
  • 3 Garlic Cloves (finely chopped)
  • 500 gr (or about 4 cups) Chopped, Peeled and Deseeded Pumpkin (cut into 2-3 cm cubes)
  • 3 Slices Bacon (Chopped)
  • 3 cups Arborio Rice (or Carnaroli variety)
  • half cup Dry white wine ((optional))
  • 1.5 lt (or 60 oz) Vegetable or Chicken Stock
  • 2 tsp Salt
  • 10 Sage Leaves (finely chopped)
  • Handful Parsley Leaves (finely chopped)
  • 4 tbsp Grated Parmesan (plus some more to serve)
  • 2 tbsp Butter
  • 6 tbsp Extra Virgin Olive Oil
  • Ground Pepper (to taste)

Instructions 

  • In a large pot with a lid and start off by making a soffritto. Heat 3 tbsp of olive oil to a large pot, add the chopped garlic and onion and over medium heat stir to cook gently till softened for 4-5 minutes.
  • Once the onion and garlic have softened, add the chopped Pumpkin and Bacon and cook for around 10 minutes till the pumpkin begins to soften.
  • Add the rice and stir with the pumpkin and bacon mixture till well coated for 1-2 minutes. Optional step: Add the wine and combine with the rice for 1-2 minutes for additional depth of flavour!
  • Next, add half the stock, salt and chopped sage and continuously stir gently over low to medium heat for 10 minutes till the risotto begins to thicken. Add more stock a ladle at the time for an additional 5 minutes. Add more water or stock if necessary if the pot looks too dry. After the 15 minutes of cooking, the rice should mostly cooked through but still with a bit of bite to it.
  • With the heat still on, add the butter, parmesan, a few tablespoons of olive oil and chopped parsley. Check seasoning if to your liking and add some ground pepper. Mix well with a wooden spoon till the cheese and butter is combined to the rice for 1-2 minutes.
  • Turn the heat off, put the lid on the pot and let the risotto rest for 5 minutes. This will allow the risotto to continue cooking and become super creamy! After 5 minutes the bacon pumpkin risotto is ready to serve. Serve immediately with more parmesan and ground pepper.

Notes

Stock and salt amount: For this recipe of 3 cups of rice I use roughly 6 cups (1.5 lt / 60 oz) of unsalted chicken stock, and added 2 tsp of salt. Depending on your stove, size of the pot and the heat you are cooking with, you may go through a bit more or less stock. If you find that you need more you can add more stock water (half a cup at a time) during cooking. If you don’t have stock on hand replace it with chicken or vegetable stock cubes and the equivalent amount of water needed. Check the seasoning on the rice as these are generally already salted and depending to your taste you might not need to add as much salt.
Servings: I usually make a large batch of this Bacon and Pumpkin risotto recipe – 3 cups of Arborio Rice will make a generous 8-10 serves. If you need to make less – you can halve the recipe. The cooking time for the rice will be the same.
Storage: Any leftover risotto will keep in the fridge for 1-2 days and you can reheat it – but the consistency to eat is best when just made! The risotto by itself in my opinion is not suitable for freezing. It has a large amount of liquid (both the rice and pumpkin) which alters the texture too much!
Course: Main Course
Cuisine: Italian
Keyword: easy dinner, one pot meals, risotti