with Kale, Potatoes and Parmesan")
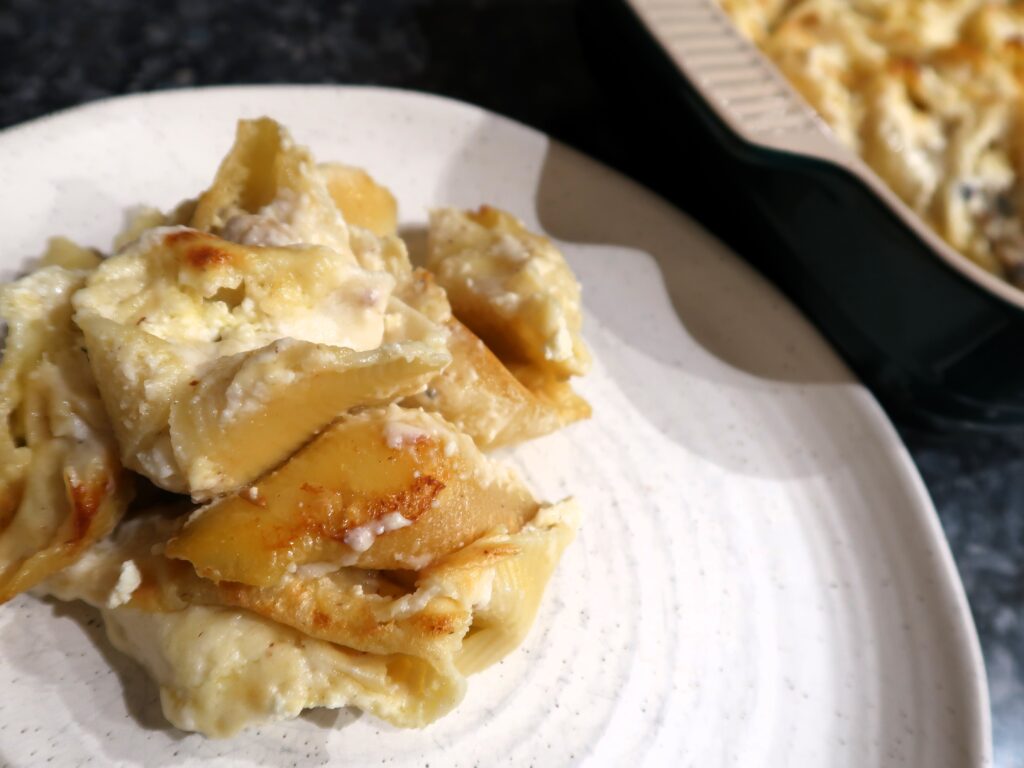
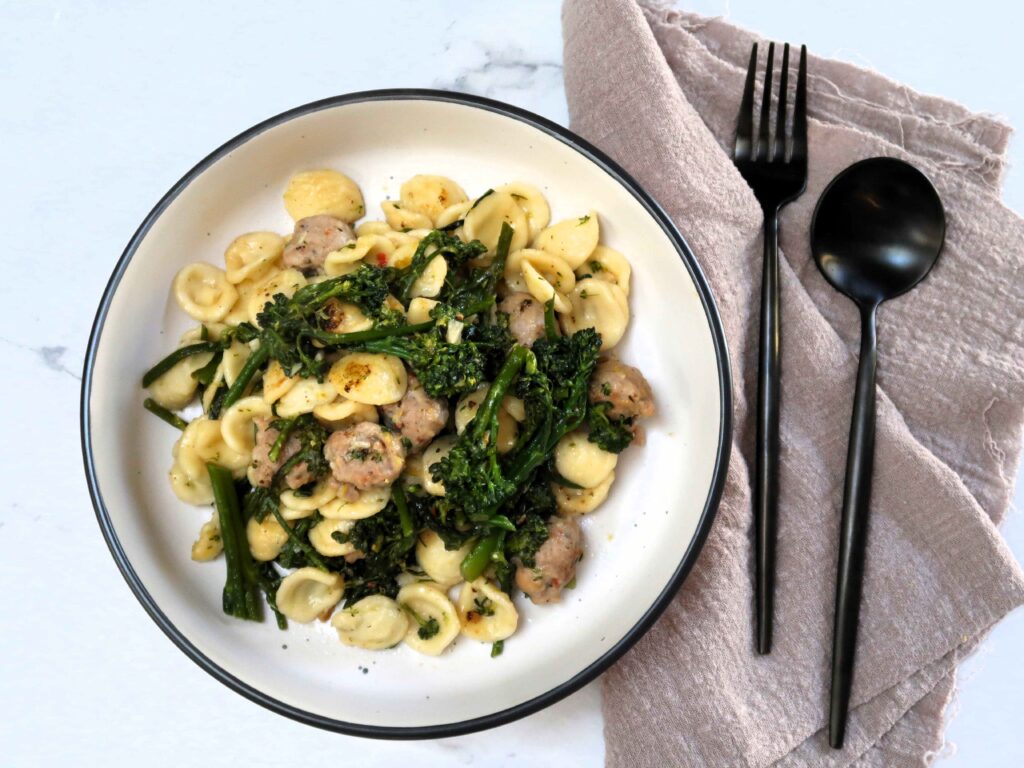
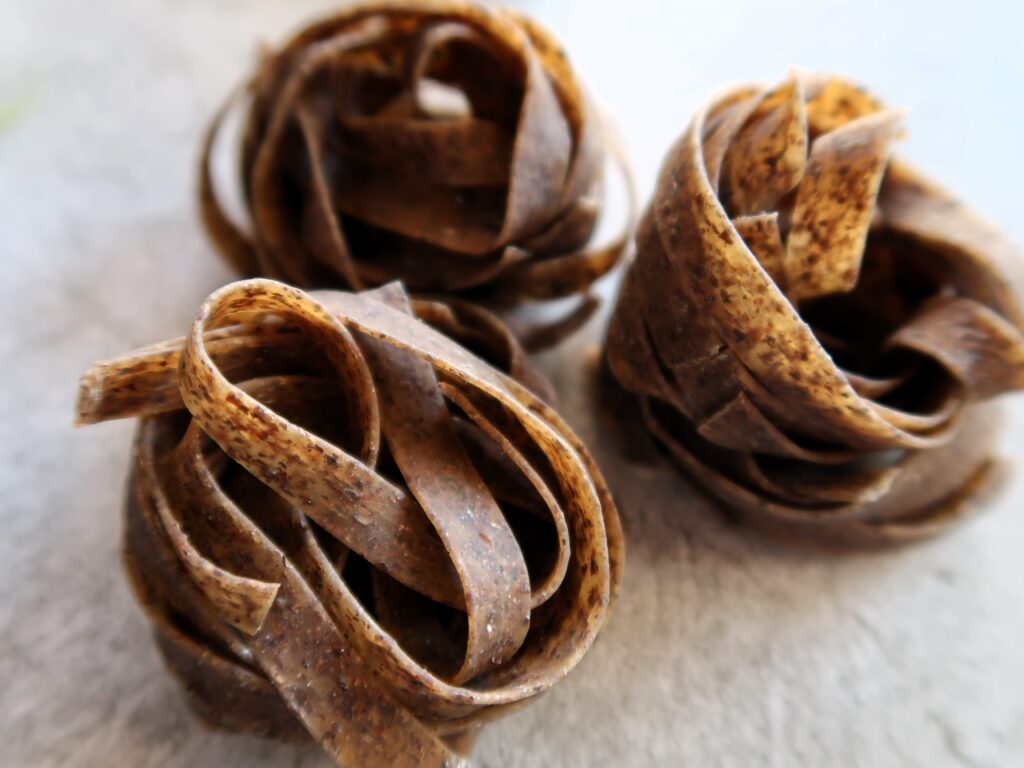
This filling pasta dish is unlike your usual bowl of wheat or egg pasta. It packs a punch of nuttiness and a distinctive chewy consistency that comes from the buckwheat flour. If you are a pasta lover this Healthy Pizzoccheri Pasta is one to try!
What is Pizzoccheri?
Pizzoccheri is a type of pasta similar to wide tagliatelle, made from a combination of wheat and buckwheat flour. The traditional recipe is mainly made up of buckwheat flour, with the ratio usually 4 parts buckwheat flour to 1 part 00 flour, giving the pizzoccheri a really distinct texture and flavour.
You can read more below in the section about Making Pizzoccheri Pasta too.
Where does Pizzoccheri pasta originate from?
Its origins date as far as the 16th century and is a traditional dish from the Valtellina region of the north of Italy. Valtellina is in the Lombardy region, close to the Swiss border.

How is Pizzoccheri traditionally served?
Pizzoccheri alla Valtellinese is a buckwheat pasta dish that is traditionally served with potatoes and savoy cabbage, which are boiled together with the pizzoccheri. The pizzoccheri are then dressed in garlic, butter, sage, Grana Padano (parmesan) and Valtellina Casera cheese.
Valtellina Casera Cheese is a DOP typical cheese made in the Valtellina region only so it can be hard to find. If not available is commonly replaced in recipes with Fontina, Gruyere or Gouda.
For my Healthy Pizzoccheri pasta dish, I reduced the cheese and butter amount compared to the traditional recipe. The recipe is of course though full of flavour and makes for a satisfying & delicious one plate meal!

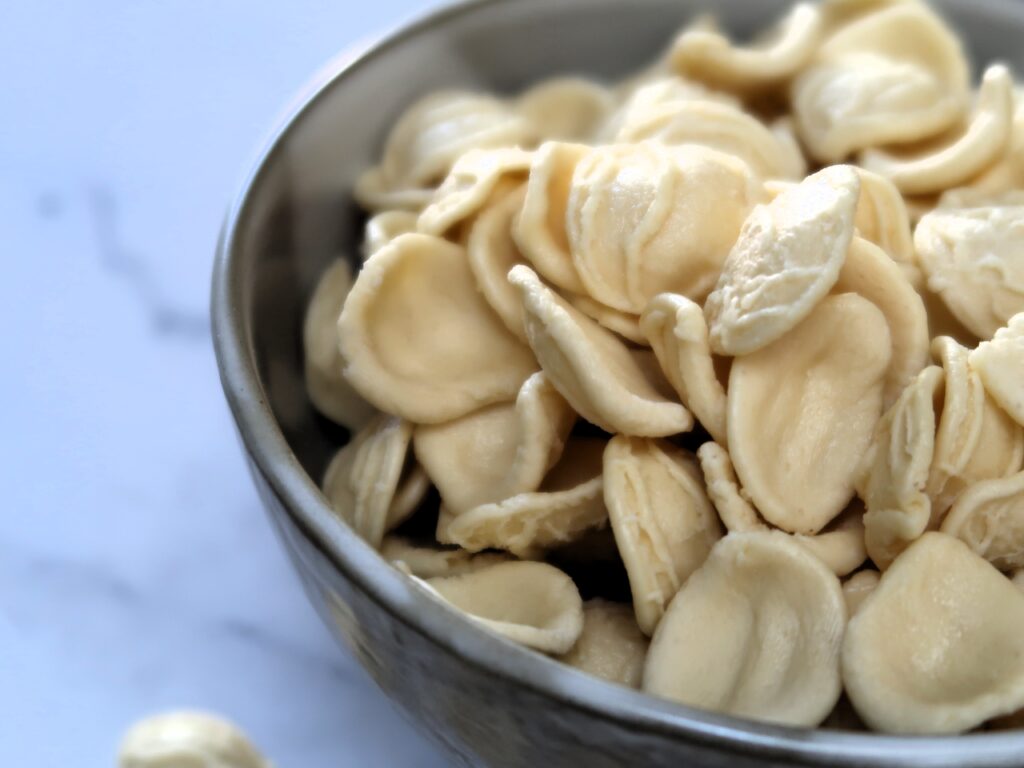
Where can you buy Pizzoccheri?
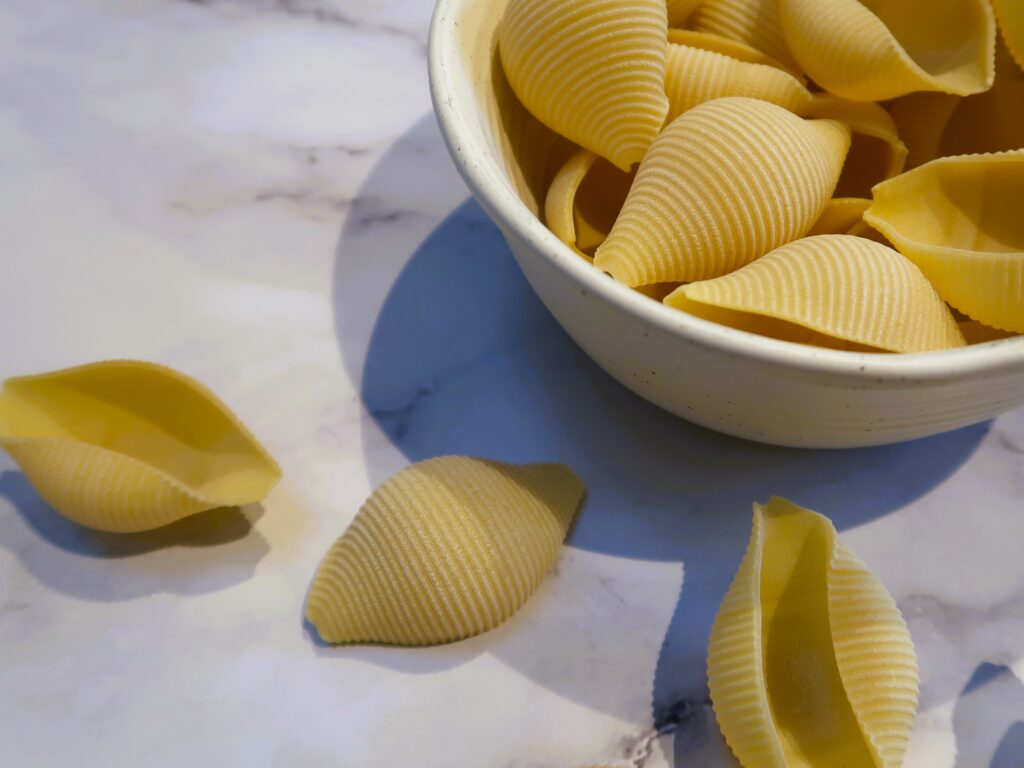
Ready-made Italian dry Pizzoccheri pasta can be hard to find and is generally not available in supermarkets. Look for this in delicatessen stores or online italian importing specialists to get this type of pasta.
Alternatively, you can also buy a good quality buckwheat pasta from your supermarket. Look for one that has a high buckwheat content to be a similar version to Pizzoccheri.
Making Pizzoccheri Pasta
The other option to is to make Pizzoccheri pasta at home! There is a traditional recipe HERE on how to make Pizzoccheri.
NOTE: In the traditional recipe the ratio of buckwheat flour to wheat flour is 4 to 1 meaning the pasta is quite dense and nutty compared to your standard wheat pasta. If you prefer a milder, smoother pasta – the ratio of the buckwheat can be reduced to half buckwheat and half wheat.
To give you a comparison of texture, If you have eaten Soba noodles before, the shop brought varieties are usually 70% wheat and 30% buckwheat.
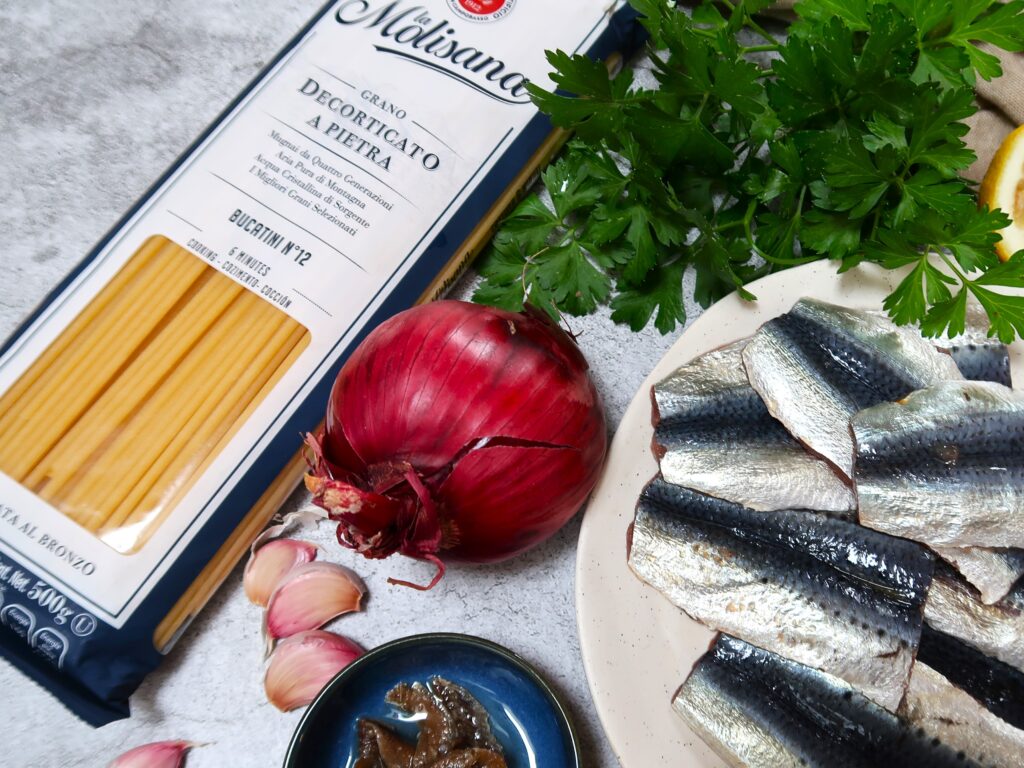
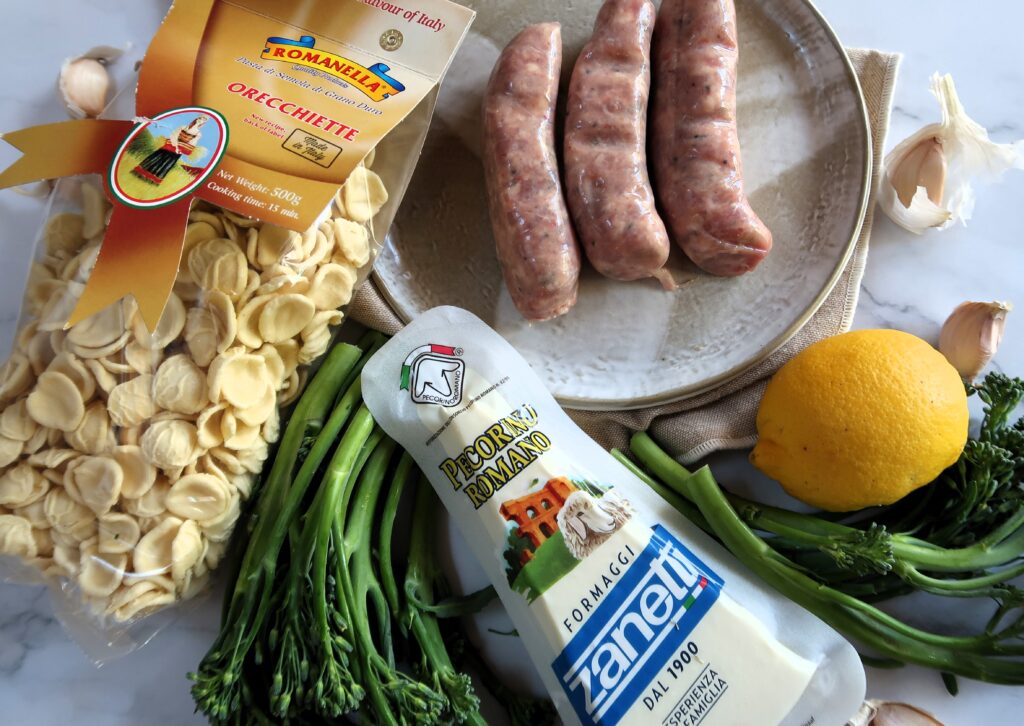
Ingredients needed to make this Healthy Pizzoccheri Pasta dish

For this Healthy Pizzoccheri Pasta dish you will need a handful of ingredients:
- Pizzoccheri – or buckwheat pasta this recipe is using 250 gr of dried pizzoccheri, which will yield 2 very generous serves or 3 smaller serves of pizzoccheri.
- Potatoes
- Kale, Cavolo Nero or Savoy cabbage
- Parmesan or Grana Padano
- Garlic Cloves
- Butter, Olive Oil, Salt & Pepper
How to make this Healthy Pizzoccheri Pasta
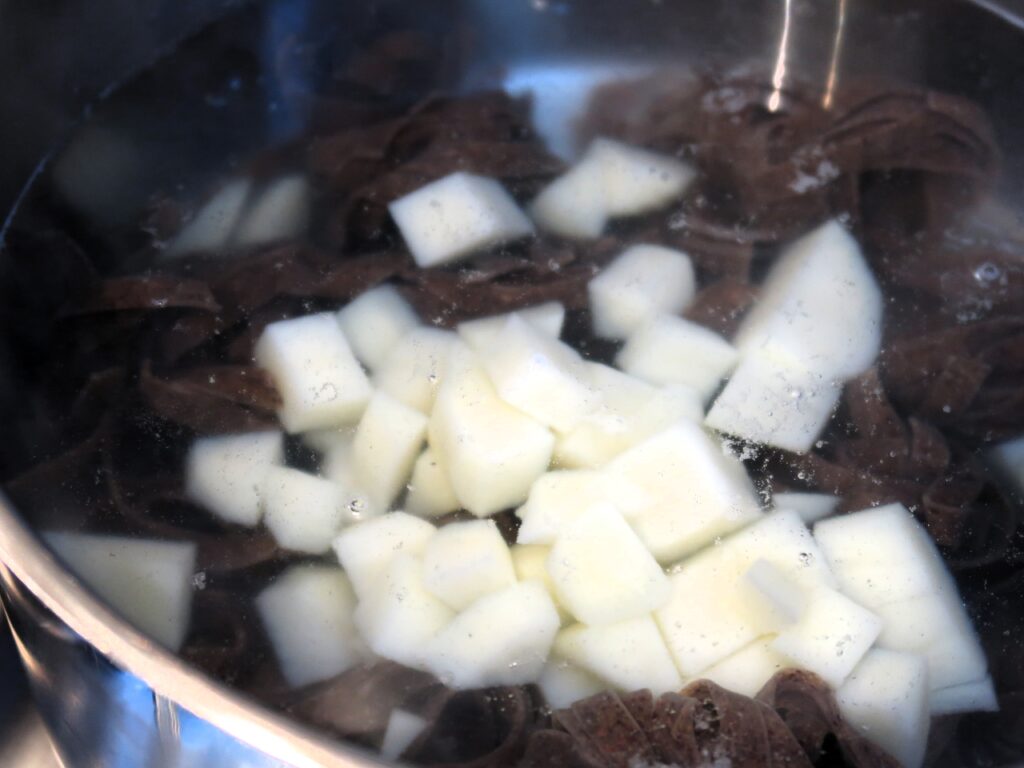
Cook the pizzoccheri together with the potatoes
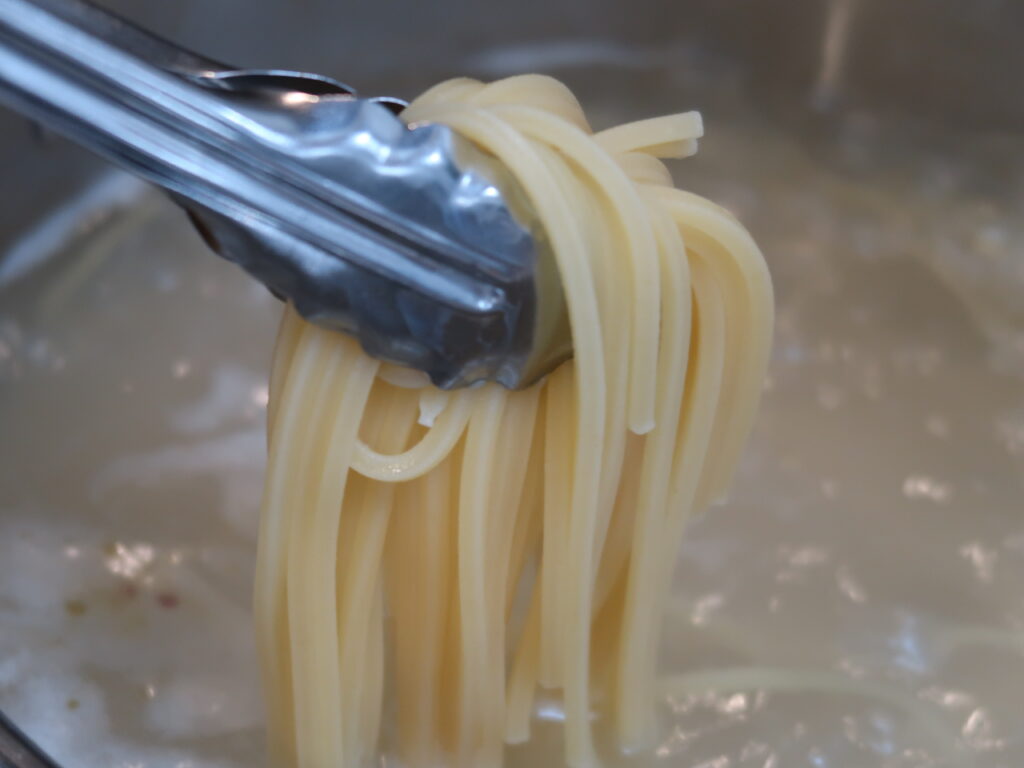
Bring a large pot of salted water to the boil, add Pizzoccheri and chopped potato and cook for about 10 minutes.
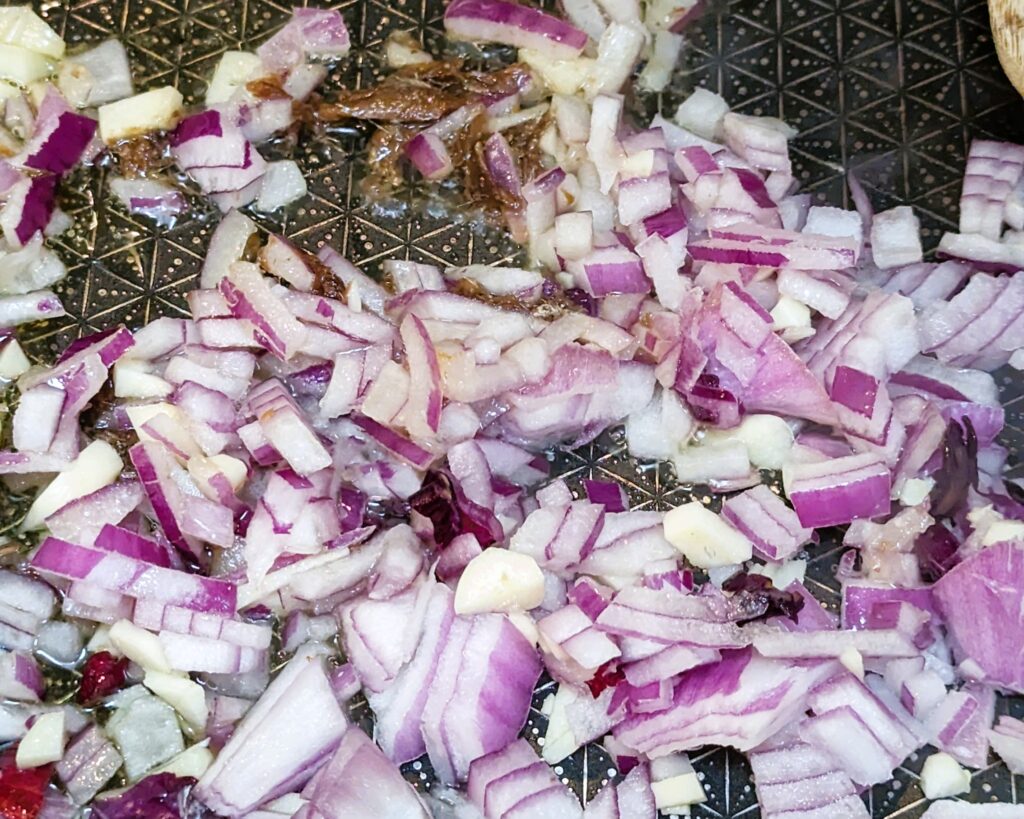
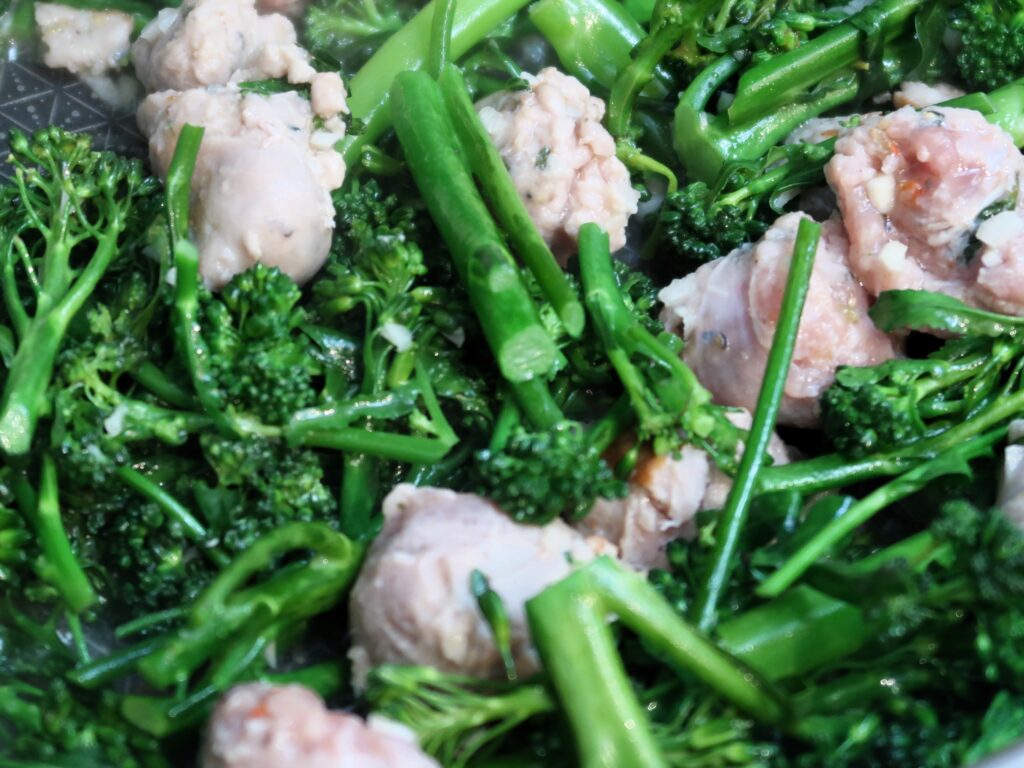
Sautee garlic and kale in olive oil
In the meantime, in a large non-stick pan add 3 tablespoons of olive oil and over low to medium heat sautee the garlic for 1-2 minutes, add the kale and half a cup of the pizzoccheri cooking water and cook down till softened for 3-4 minutes

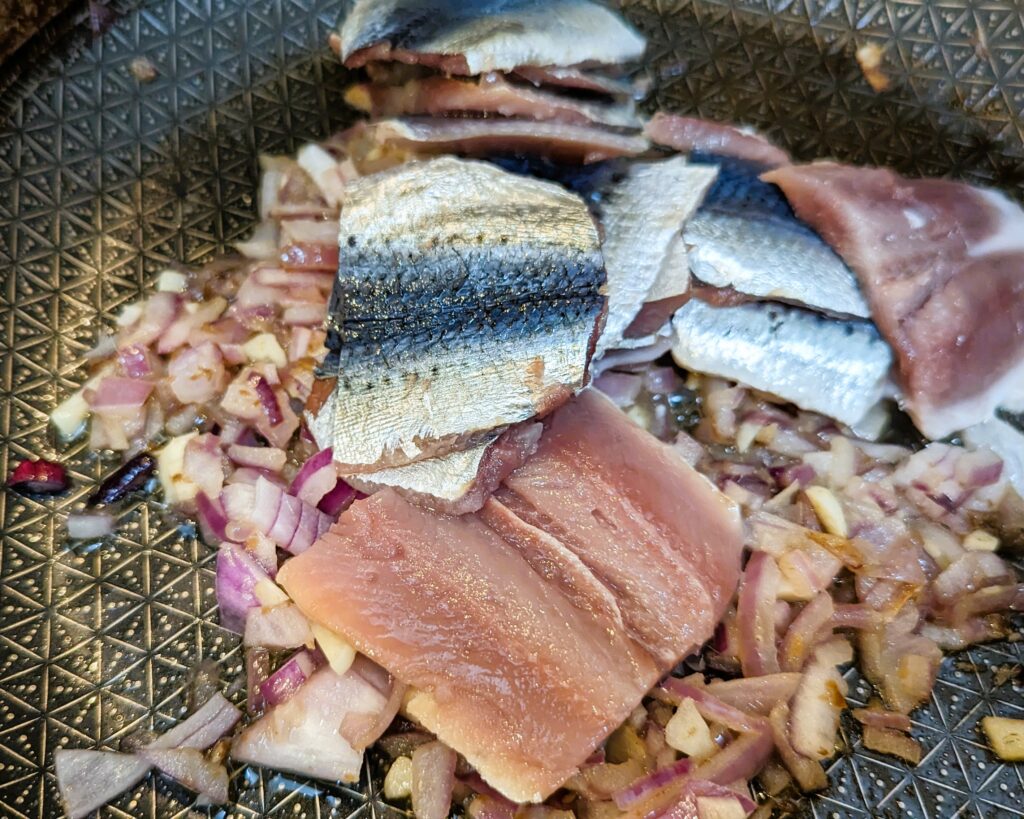
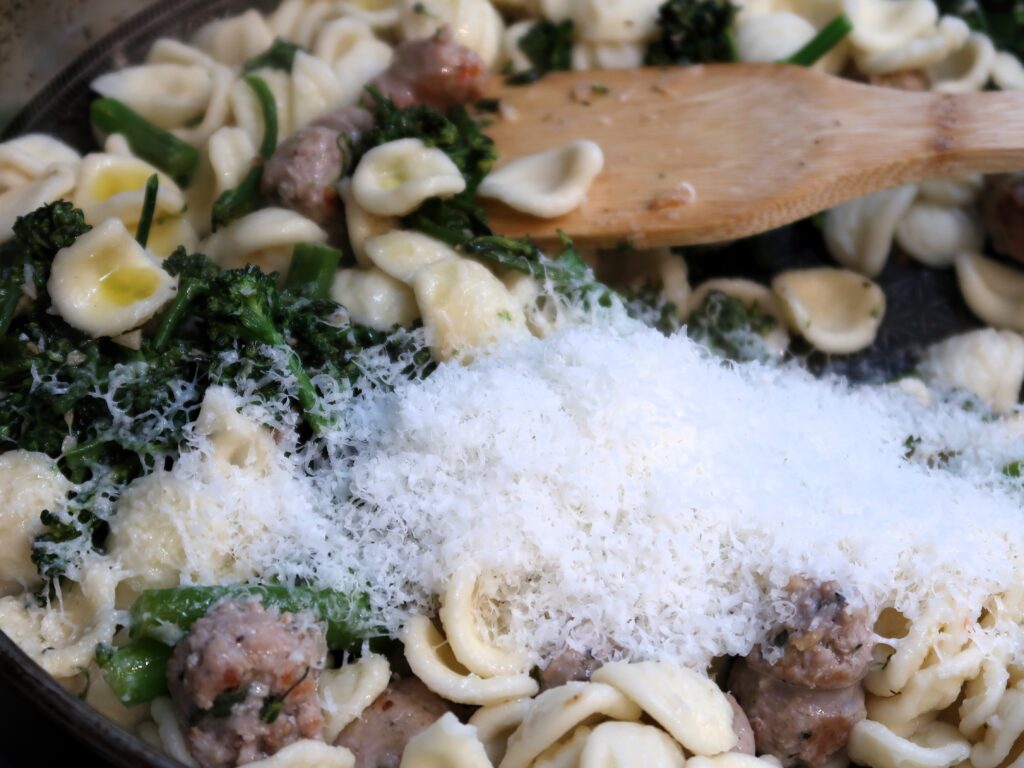
Combine pizzoccheri and add parmesan and butter
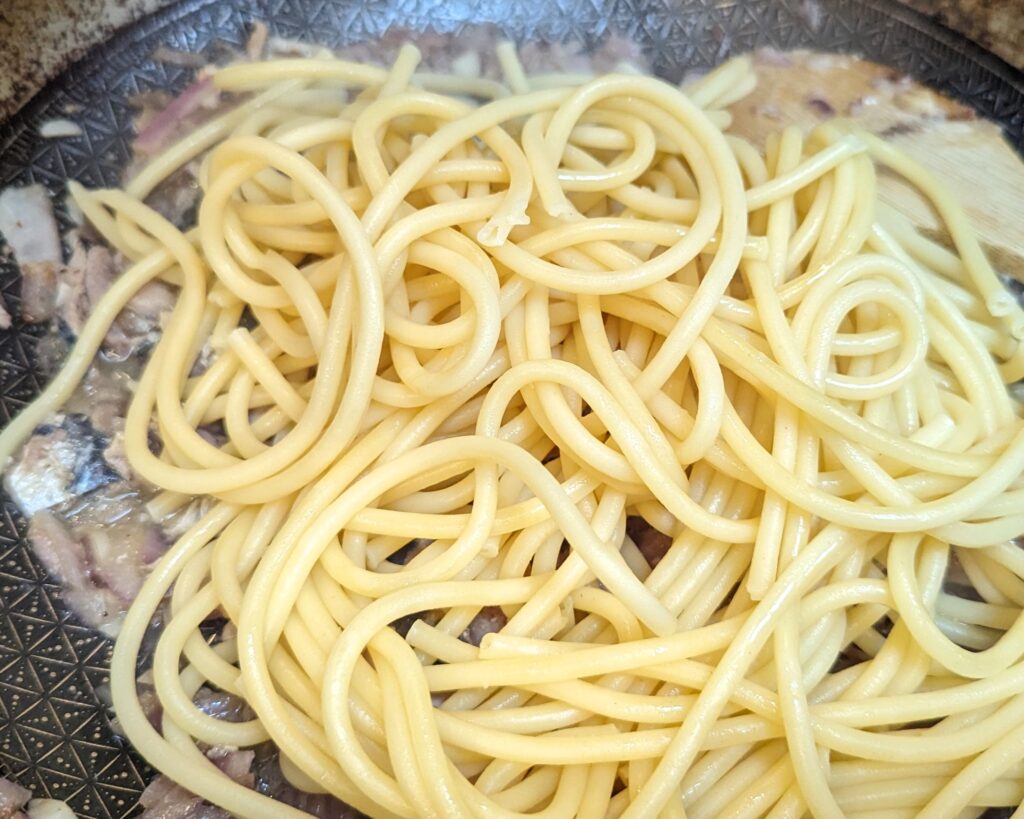
Once the pizzoccheri are cooked, add them to the large pan, along with the butter, 3 tablespoons of olive oil, the grated parmesan, a pinch of salt and pepper and gently combine over low heat for 1 minute.
NOTE: Don’t overmix as the pasta can easily break!

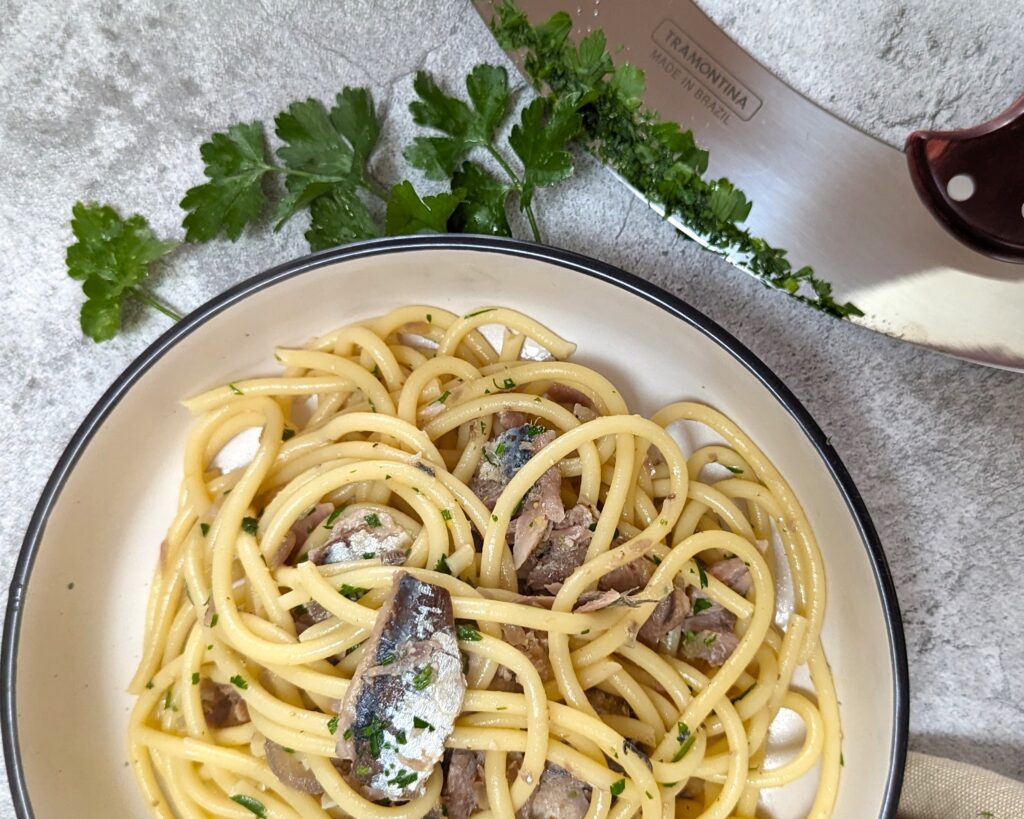
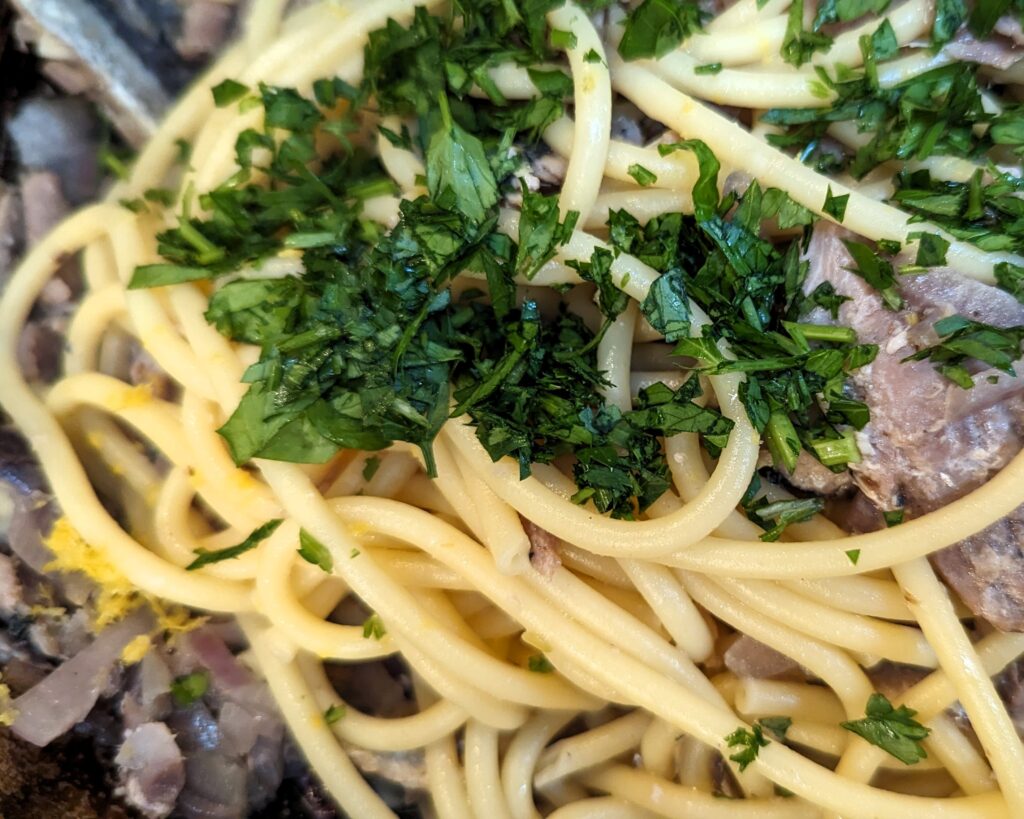
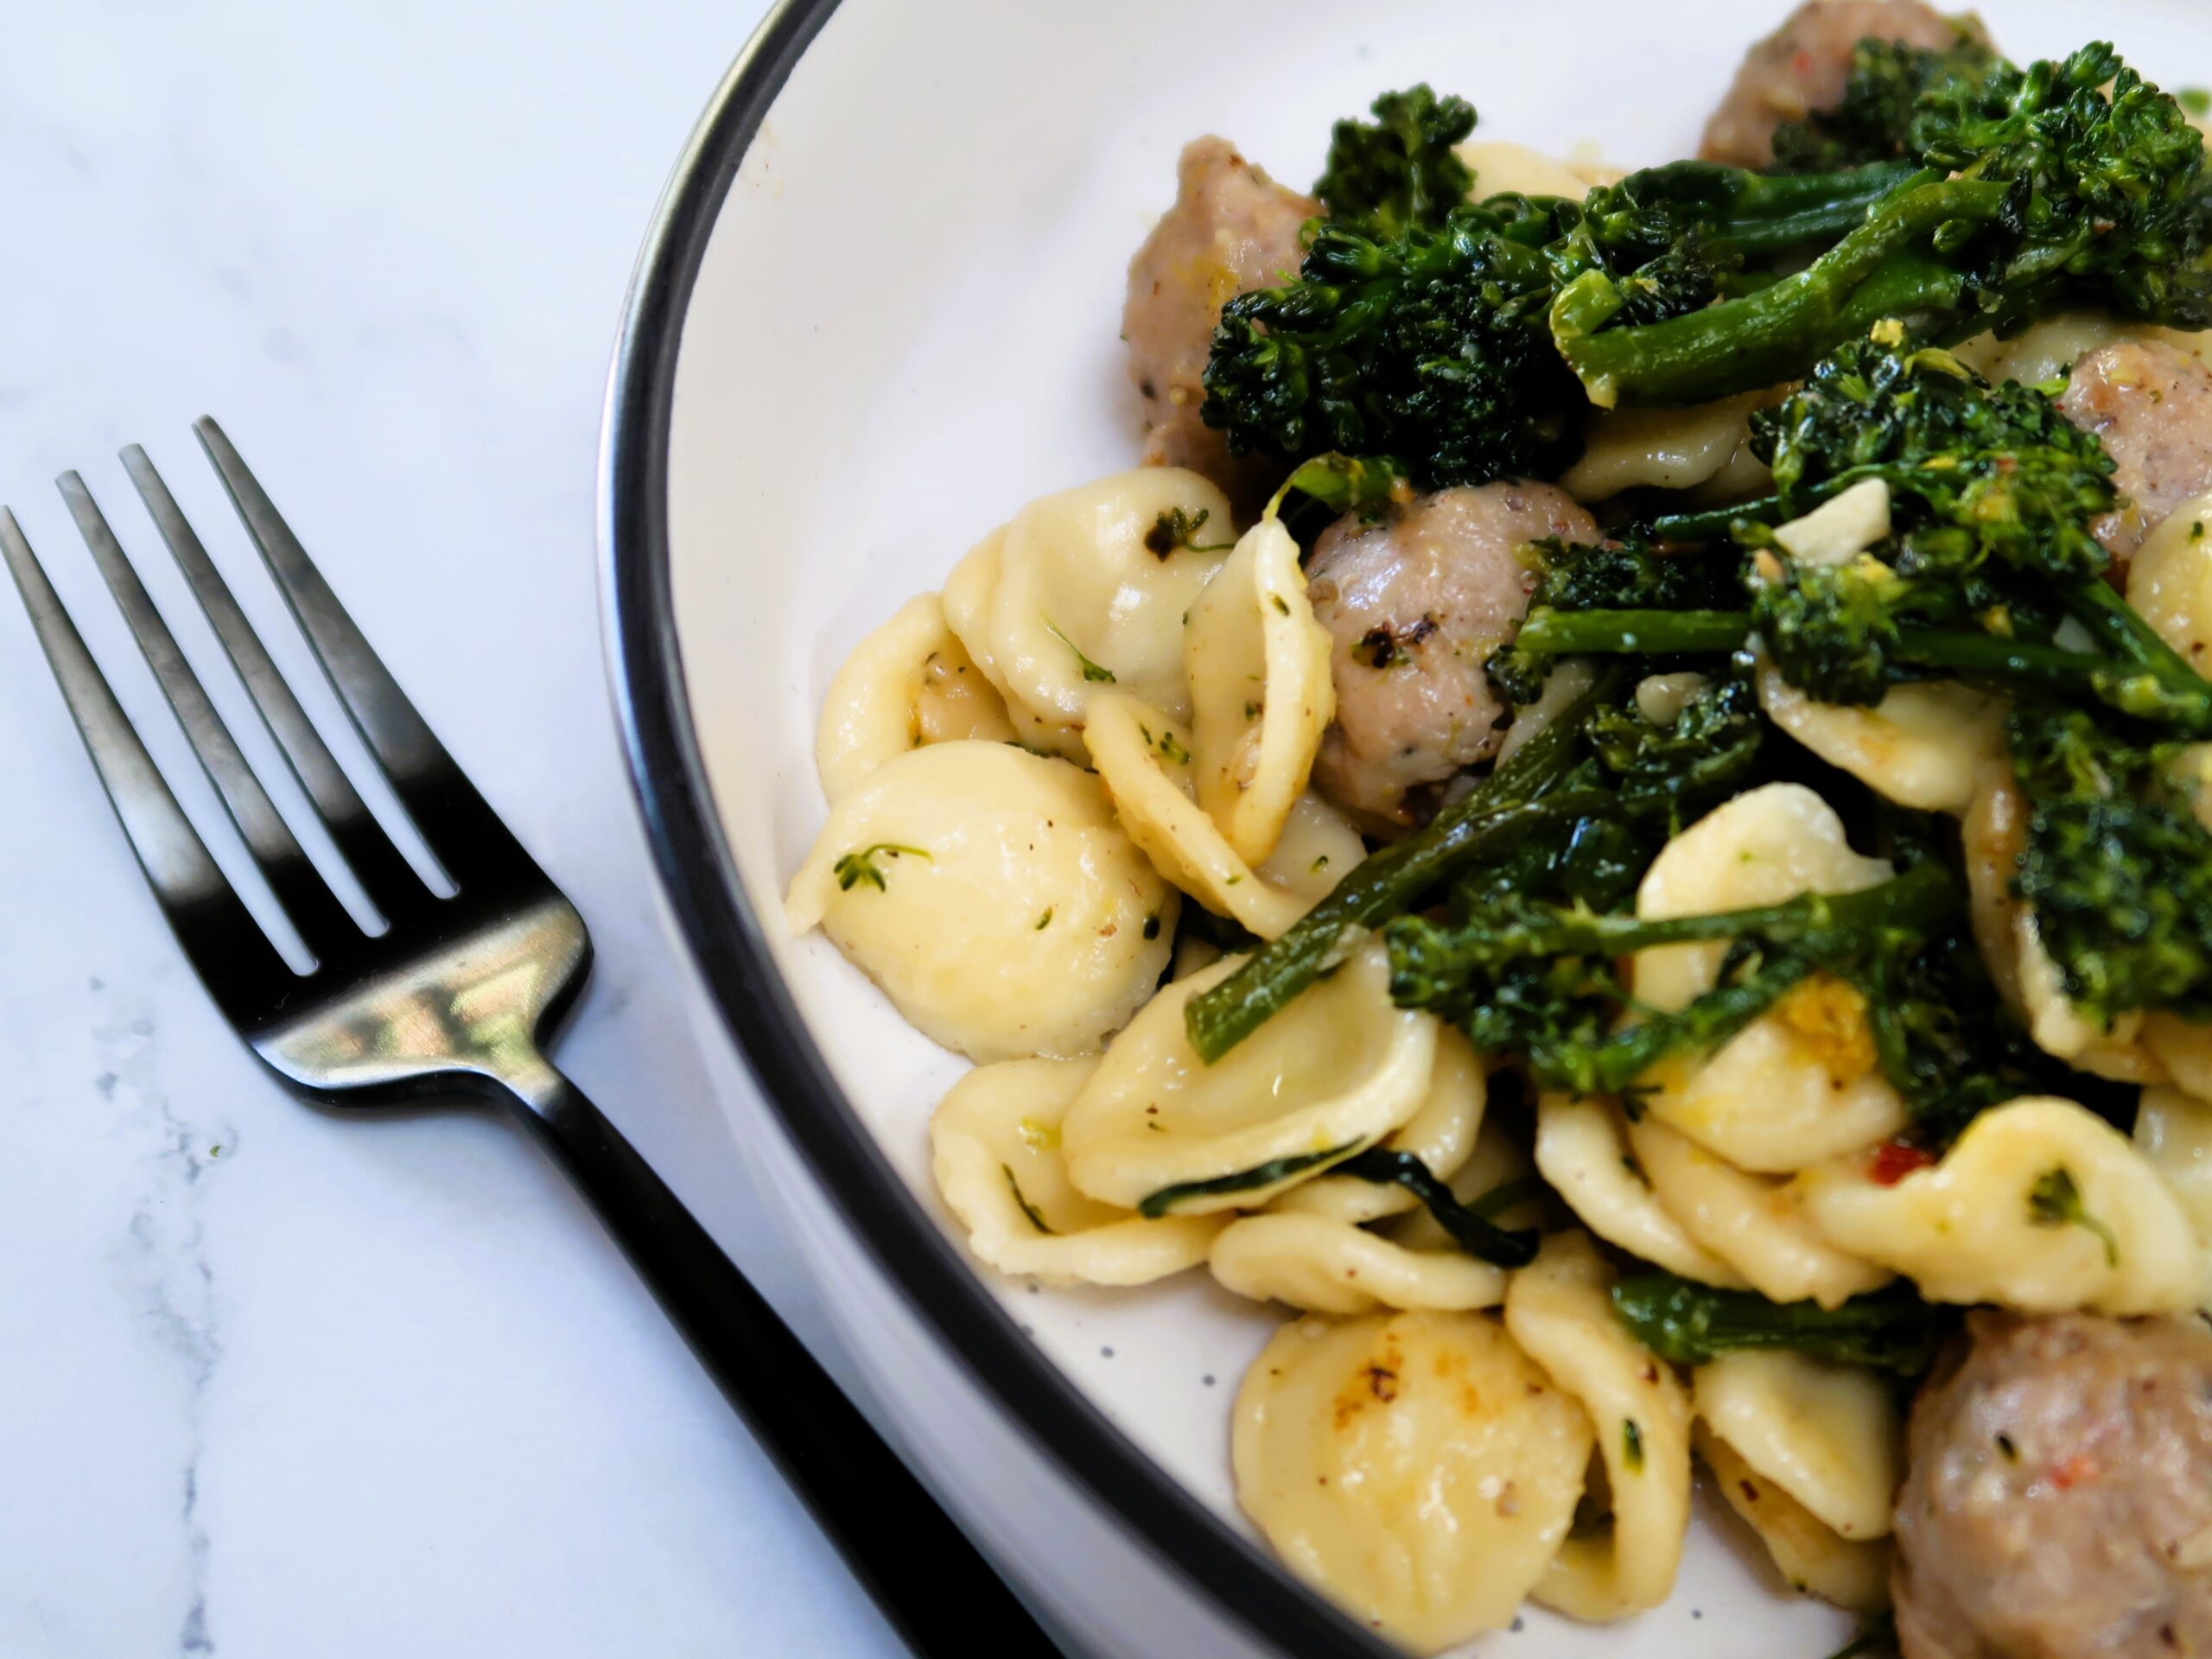
Serve immediately
Serve immediately with additional olive oil, parmesan and pepper to taste, enjoy!
Want to read more?
If you love buckwheat pasta, you will love the recipe of Healthy Soba Noodle Salad!

Healthy Pizzoccheri (Buckwheat Pasta)
Ingredients
- 250 gr Dried Pizzoccheri Pasta
- 1 Potato (250 gr approx, peeled and chopped into 2-3 cm cubes)
- 3 cups Kale (roughly chopped with stalk removed)
- 6 tbsp Extra Virgin Olive Oil (Plus extra for serving)
- 2 Garlic Cloves (Finely Sliced)
- 5 tbsp Butter (50 gr approx)
- 50 gr Grated Parmesan (Plus extra for serving)
- Salt & Pepper (to taste)
Instructions
- Bring a large pot of salted water to the boil
- Add Pizzoccheri and chopped potato and cook for about 10 minutes
- In the meantime, in a large non-stick pan add 3 tablespoons of olive oil and over low to medium heat sautee the garlic for 1-2 minutes, add the kale and half a cup of the pizzoccheri cooking water and cook down till softened for 3-4 minutes
- Once the pizzoccheri are cooked, add them to the large pan, along with the butter, 3 tablespoons of olive oil, the grated parmesan, a pinch of salt and pepper and gently combine over low heat for 1 minute. Don't overmix as the pasta can easily break!
- Serve immediately with additional olive oil, parmesan and pepper to taste