
Trust me when I say, that once you start making granola, it’s hard to go back to the shop-bought version. Crunchy nuts, coconut and the caramelized sweetness from the maple syrup and honey, make this a delicious breakfast topping to yogurt or as a snack! Not only it’s healthier for you, but you can also make a huge batch, bake it and store it – and this will last you a while! This is my Homemade Nut Granola.
Ingredients for this Homemade Nut Granola
This Homemade Nut Granola is mainly made up of plain rolled oats and you can add or substitute other ingredients with whatever you like to add too!
It’s made with no refined sugars, just honey and maple syrup for sweetness. Just wholesome ingredients making it healthier than the shop-bought versions.
If you prefer a fruit granola instead of nuts, you can add dried raisins, sultanas or cranberries after baking too.
I’ve put a few suggestions in the list below.

Dry Ingredients
- Rolled Oats
- Mixed Nuts: I used chopped almonds & cashews, but you can substitute for pecans, pistachios, hazelnuts or peanuts or leave out completely for a nut-free version. Walnuts can also be used but should be added in the last 5 minutes of cooking as they can burn easily.
- Chia Seeds
- Pepita Seeds: Can be replaced for sunflower seeds
- Dried Shredded Coconut. Added at the end of cooking as it can burn easily
- Cacao Nibs (optional), added at the end. I like to add Cacao nibs for extra flavour and crunch and because I just love chocolate!
Wet Ingredients
- Honey
- Maple Syrup
- Coconut Oil
- Vanilla essence (not essential, but adds a lovely aroma to the granola!)
How to make this Homemade Nut Granola
Making home-made granola is easy and you can make a big batch in one go by filling 2-3 large trays. Here is how you make it step by step:
Pre-heat oven & Combine dry ingredients
You start off by getting your oven hot at 180 degrees (or 160 for fan forced). Prepare 2 large trays (I used 2, 25cm x 40cm trays) and line them with baking paper.
Combine all the dry ingredients EXCEPT for the dried coconut and cacao nibs. These are added later otherwise they can burn easily and make the granola bitter.
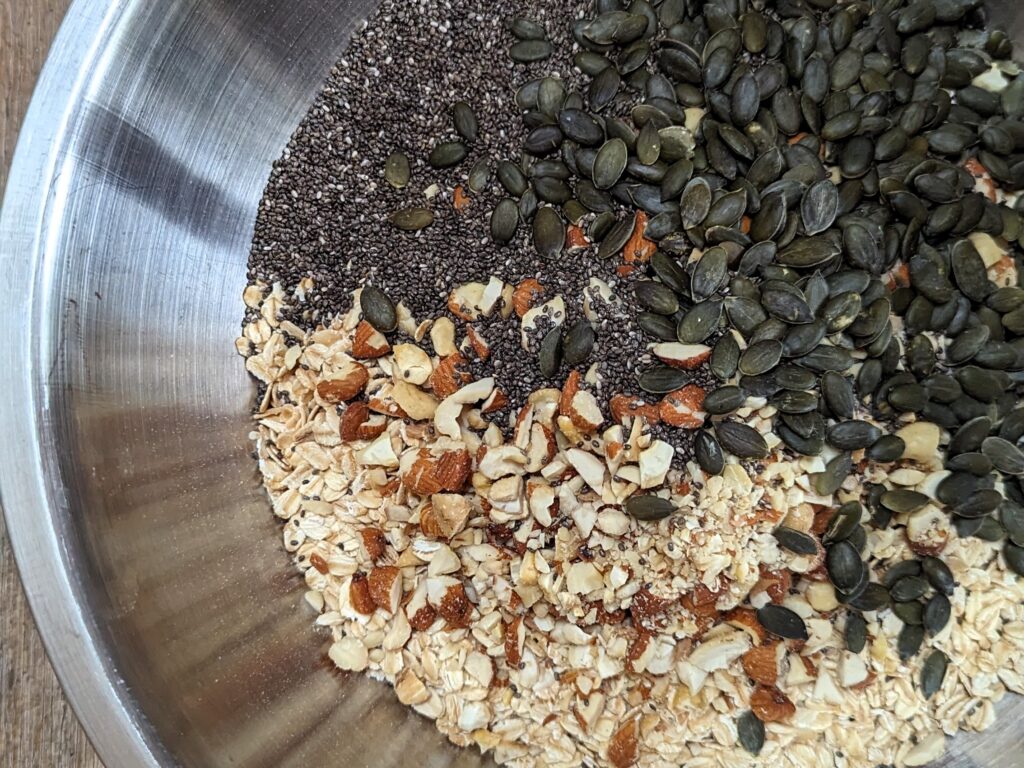
Mix dry ingredients with wet ingredients
Prepare the wet ingredients: In a bowl, melt the coconut oil, then add the honey, maple syrup and vanilla essence and mix through.
Combine with the dry ingredients and ensure all the dry ingredients are coated well in the honey/maple mixture.
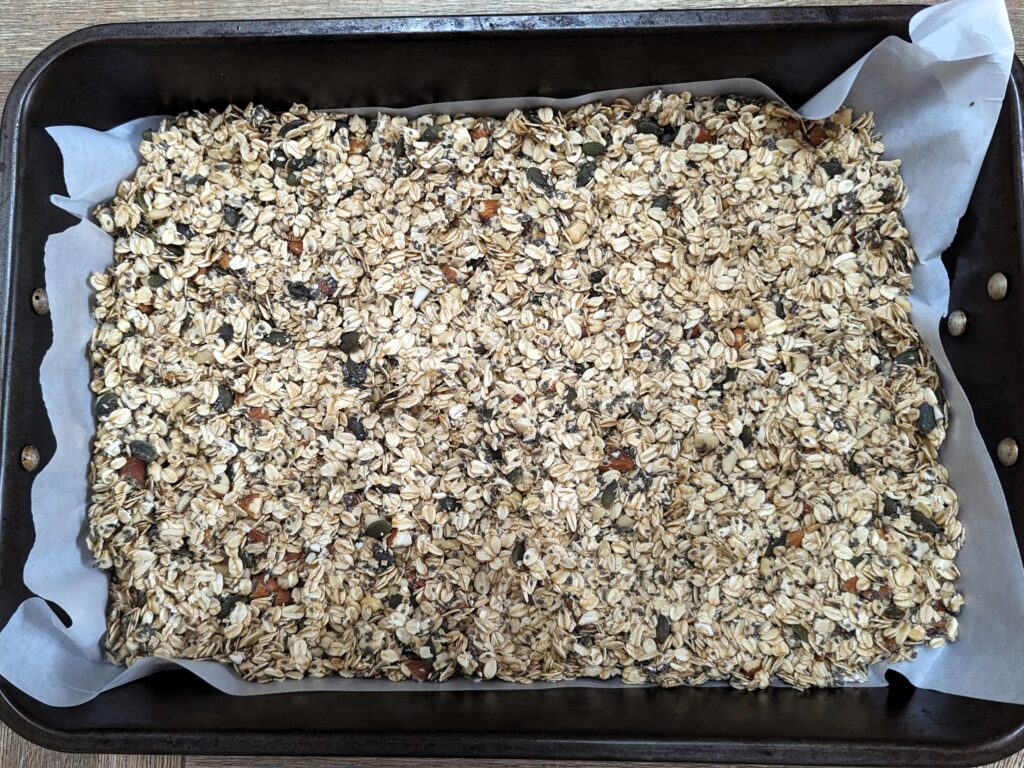
Prepare the granola for baking
Divide the granola mixture between the trays. Flatten it as much as you can to spread out evenly across the trays. Don’t overfill the trays if you are using smaller trays! Place in the hot oven for 20 minutes.
Mix halfway through so that the granola can get an even, golden crunch!
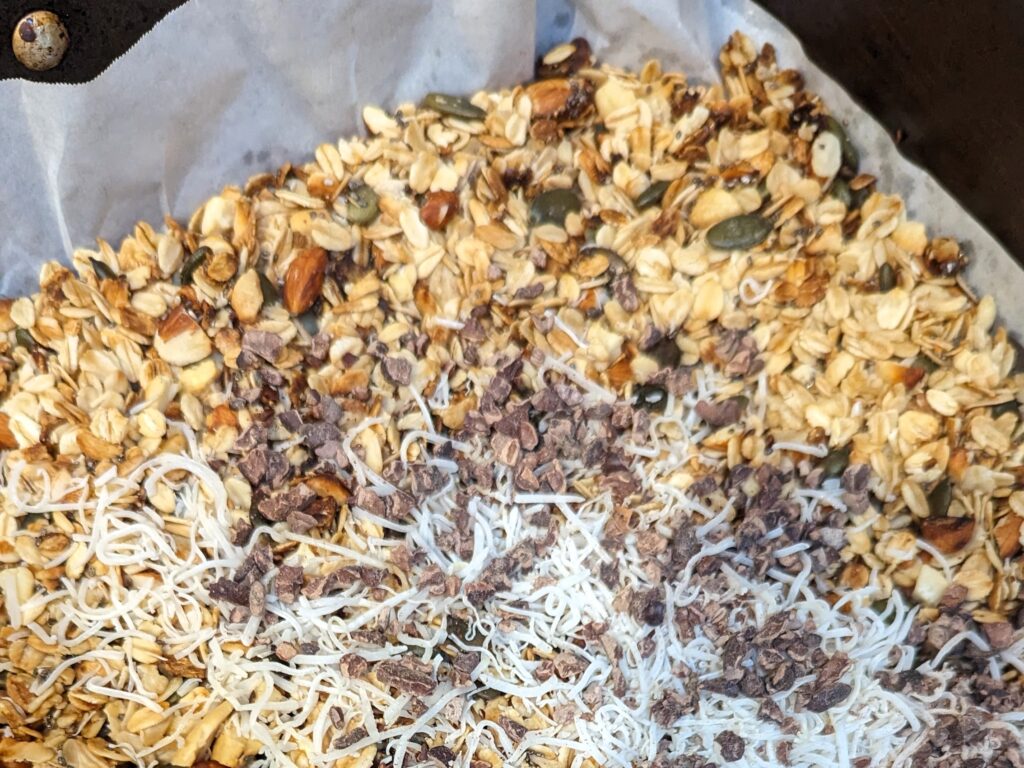
Add the coconut & cacao nibs
Take the granola out of the oven, add the desiccated coconut and cacao nibs and give it a good stir.
Return to the hot oven for a further 5 minutes.
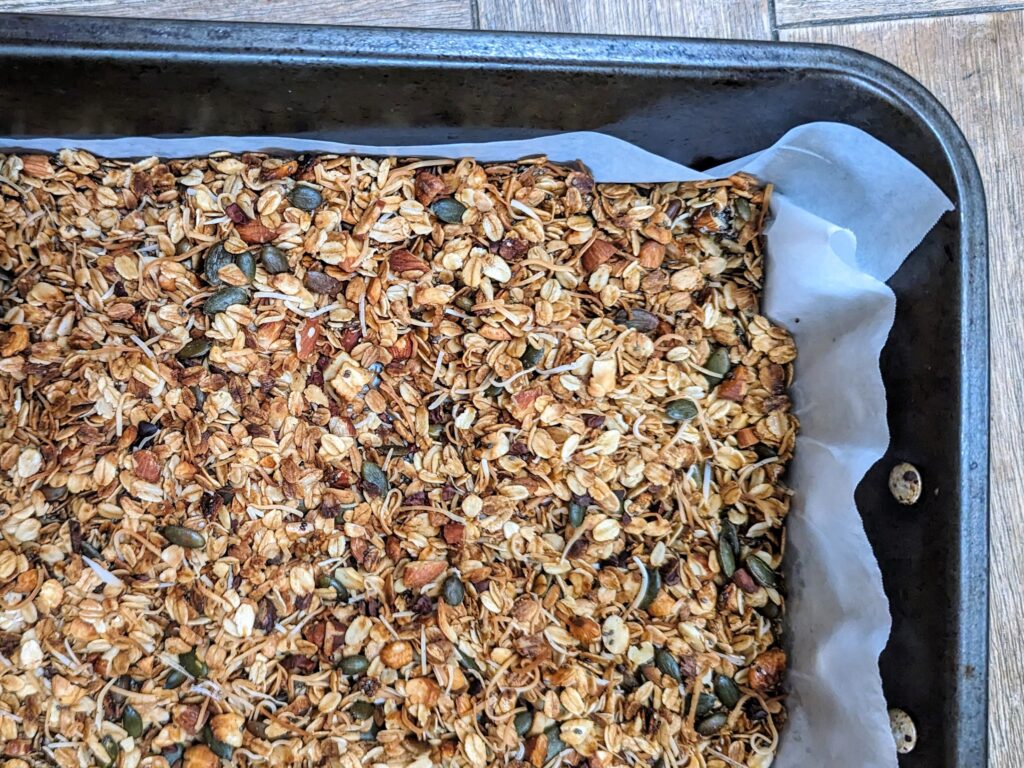
Cool and store
Take the granola out of the oven and let it cool completely to dry before storing it in an airtight container. Enjoy!
Serving Suggestions
Enjoy this Homemade Nut Granola over yogurt, ice cream, with your favourite milk, or as a tasty, nutritious snack just on its own!
Storage of this Homemade Nut Granola
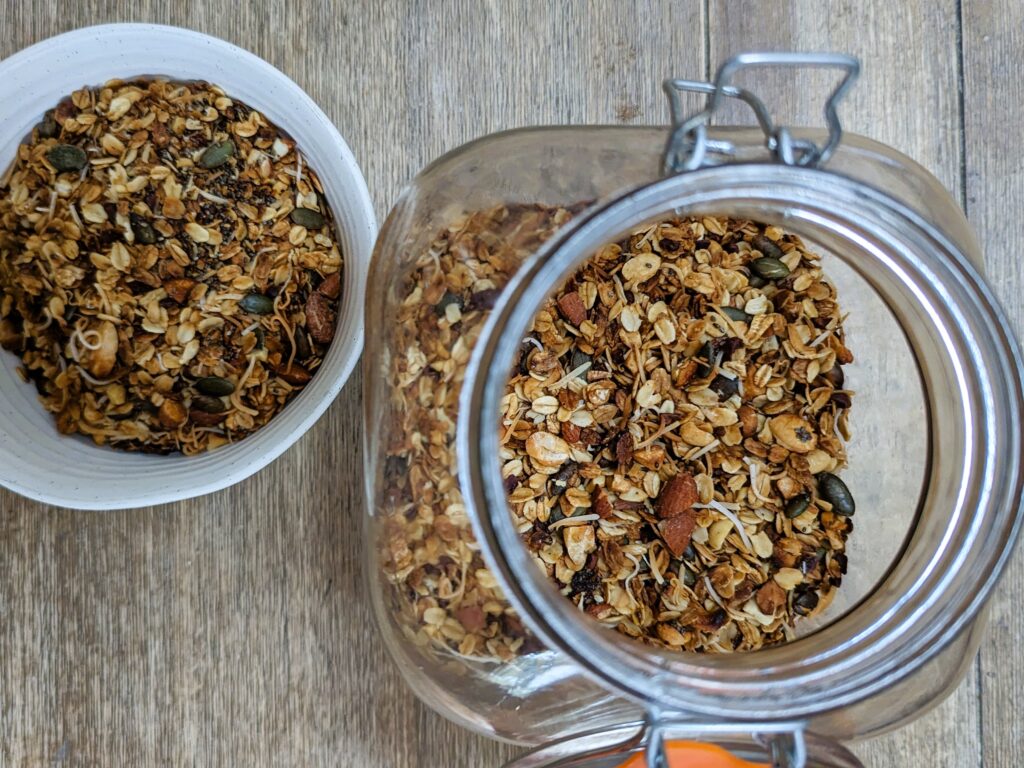
Ensure the granola is completely cooled and cold before storing it away. The granola will last for at least 4 weeks at room temperature in an airtight container. I like to store mine in a large clip top jar like Kilner Jars for the best seal so the granola does not go stale!
Want to read more?
If you liked this granola recipe – in the making I have a Nut-Free Chocolate Granola coming soon!

Homemade Nut Granola
Equipment
- 2 Oven Trays 25 x 40 cm
Ingredients
Dried Ingredients
- 500 gr Rolled Oats
- 1 Cup Mixed Chopped nuts (such as almonds, cashews, peanuts, pecans or hazelnuts)
- 1 Cup Pepita Seeds
- Half Cup Black Chia Seeds
- 1 Cup Dried Shredded Coconut
- Half Cup Cacao Nibs (optional)
Wet Ingredients
- 3 tbsp Coconut Oil (melted)
- 3 tbsp Maple Syrup
- 3 tbsp Honey
- 2 tsp Vanilla Essence (optional)
Instructions
- Preheat oven at 180 degrees (or 160 for fan forced). Prepare 2 large trays (I used 2, 25cm x 40cm trays) and line them with baking paper.
- Combine all the dry ingredients EXCEPT for the dried coconut and cacao nibs. These are added later otherwise they can burn easily and make the granola bitter.
- Prepare the wet ingredients: In a bowl, melt the coconut oil, then add the honey, maple syrup and vanilla essence and mix through. Combine with the dry ingredients and ensure all the dry ingredients are coated well in the honey/maple mixture.
- Divide the granola mixture between the trays. Flatten it as much as you can to spread out evenly across the trays. Don't overfill the trays if you are using smaller trays! Place in the hot oven for 20 minutes. Mix halfway through so that the granola can get an even golden crunch!
- After the 20 minutes, Take the granola out of the oven, add the desiccated coconut and cacao nibs and give it a good stir.Return to the hot oven for a further 5 minutes.
- Turn the oven off and Take the granola out of the oven. Let it cool completely to dry before storing it in an airtight container.Enjoy!


