This tiny island just 2 hours from Melbourne has soo many things to do for a fun weekend or holiday with the family. There are of course the Penguins to see, as well as a small theme park, farms and incredible nature parks too! But if you are after some FREE fun in Phillip Island, there are also so many things to explore here that are completely FREE! These are my Top 5 Free Things to do in Phillip Islands with kids.
This post contains affiliate links. If you click through and make a booking, I make a small commission. This is at absolutely NO additional cost to you and helps me keep the site running!
5 Free Things to do in Phillip Island with kids
Antartic Journeys and Boardwalks at the Nobbies
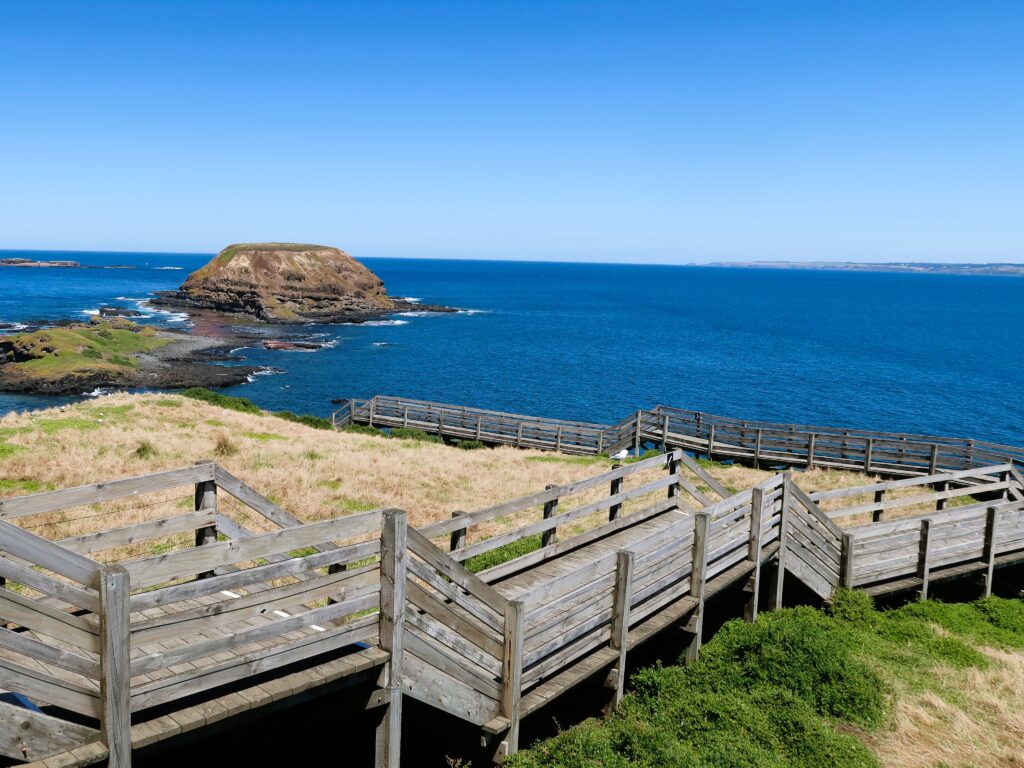
Without a doubt one of the most scenic places to see on Phillip Island. Located right on the south-western tip of Phillip Island, just a few minutes away from the Penguin Parade (the Top Attraction to see in Phillip Island!), the Nobbies can’t be missed!
The name ‘Nobbies’ comes from the dome-shaped rocks, which you can see from the view-point near the car park, called Seal Rock.

The main standout feature of the Nobbies is the long boardwalk that you can walk across to a few parts of the area. It’s almost a chilometer long and worth the walk for the incredible views.
Here, you can also spot a lot of wildlife. Fur seals make an appearance on the rocks (hence the name, Seal Rock), especially during the summer months of December to March, which is peak breeding season.

The area also has a lot of birds that nest here, so many seagulls and the beautiful Cape Barren Geese can be seen along the drive there.
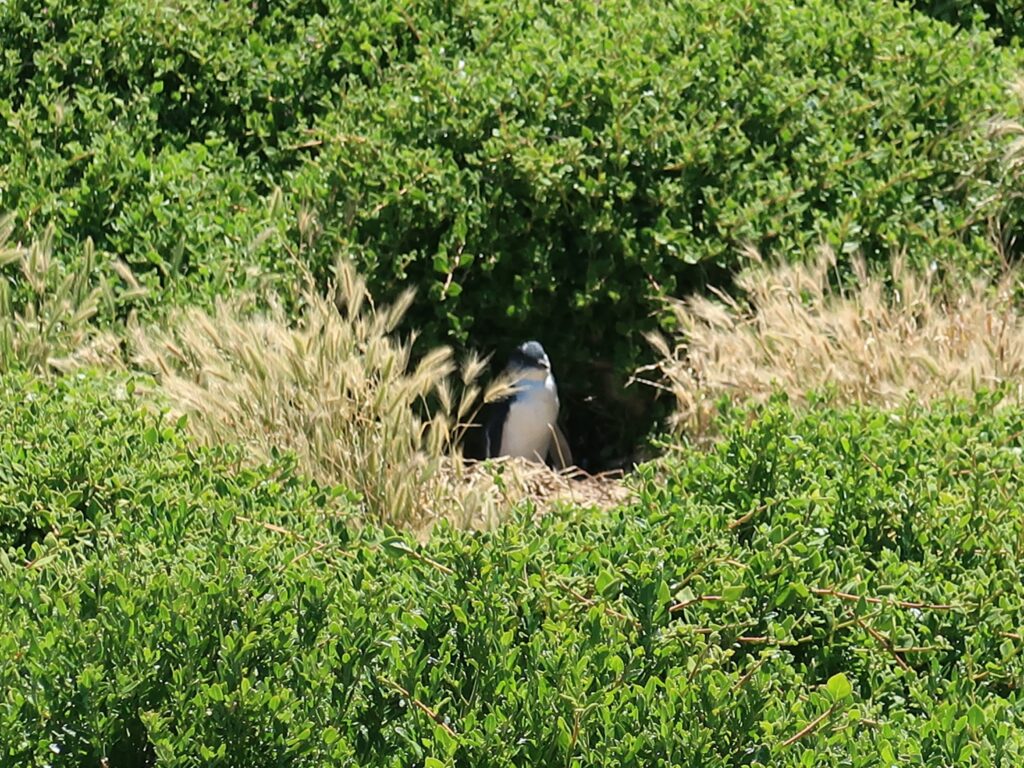
You may also see little fairy penguins in the man-made borrows along the boardwalk! Kangaroos, wallabies and even whales can also be seen during the winter when they are migrating.
The Nobbies Centre, next to the car park is also worth a visit. Antarctic Journeys is a cool place to learn more about conservation and sustainability, and the kids will enjoy the interactive displays.
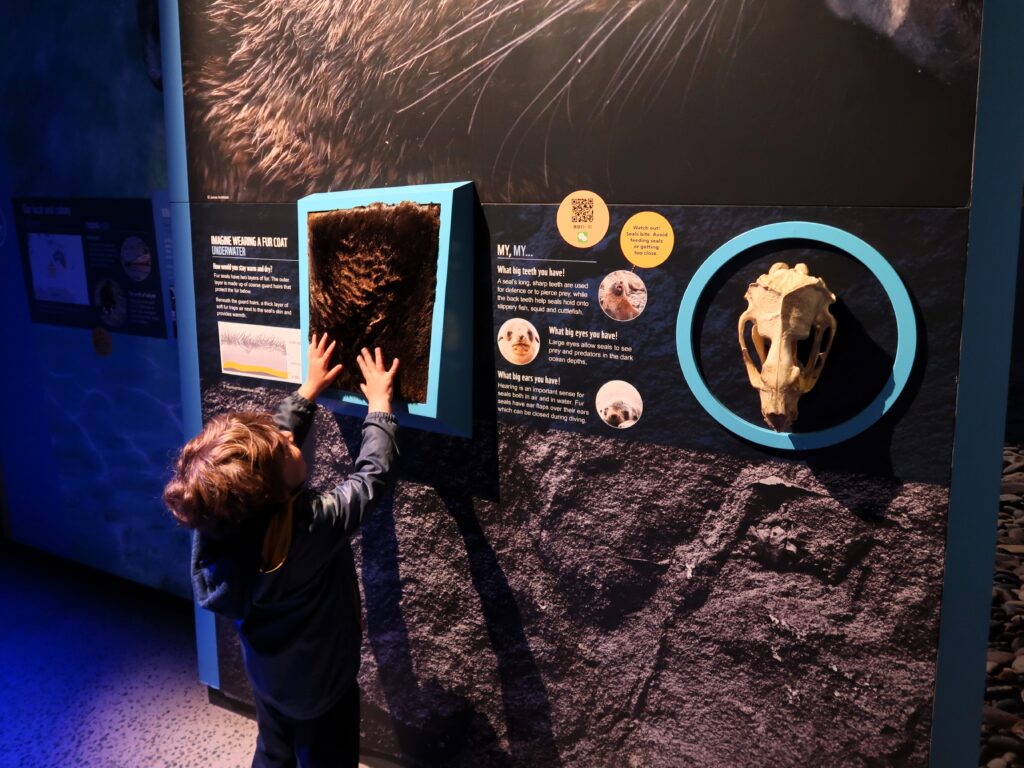
There is also a gift shop and a coffee shop. The views are incredible and make it a great spot for lunch, no matter the weather!

Forrest Caves
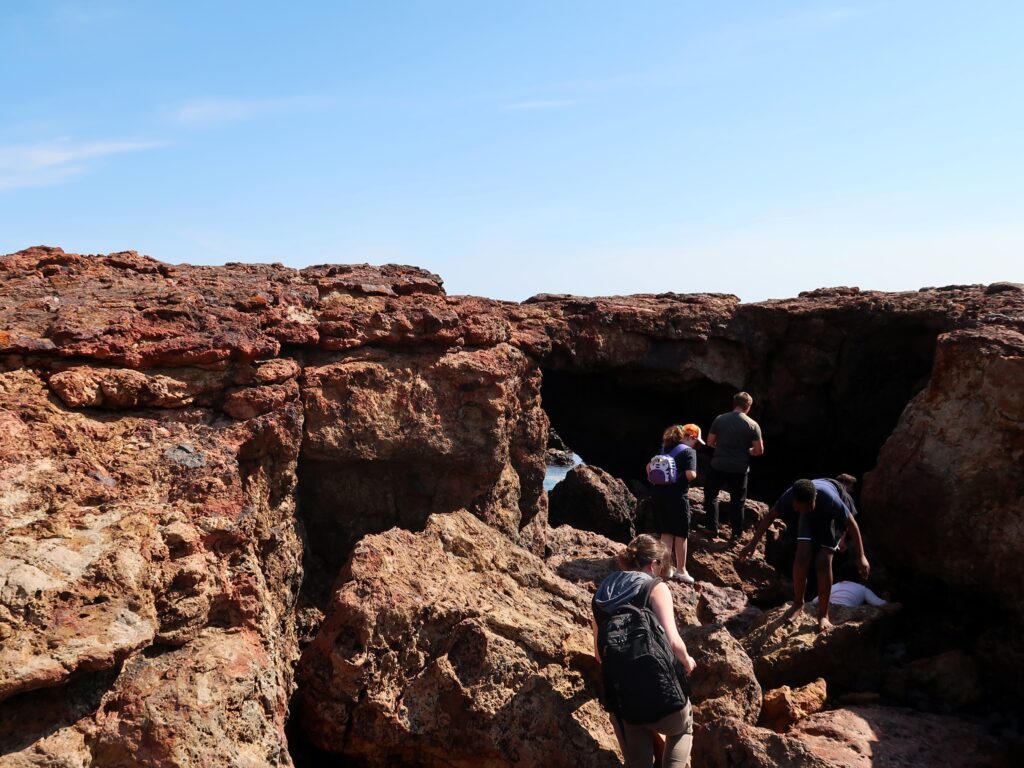
A popular spot especially during the holidays and weekend is Forrest Caves. Just off the main road near Cape Woolamai, these stunning rock formations and caves sure are worth a visit!
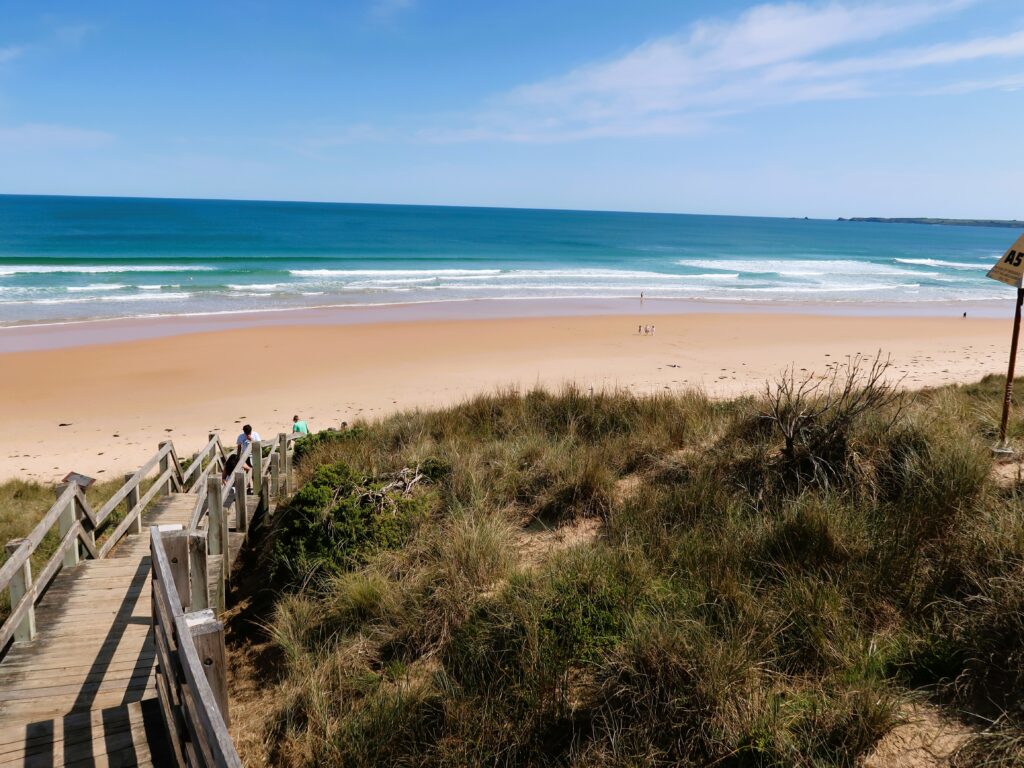
The rocks are a red & black colour originating from volcanic eruptions and wave erosions. The beach is endless and pristine, with walls of sand dunes alongside it.
Once you reach the car park, follow the steep stairs to reach the top of the sand dunes and see Forrest Caves Beach.
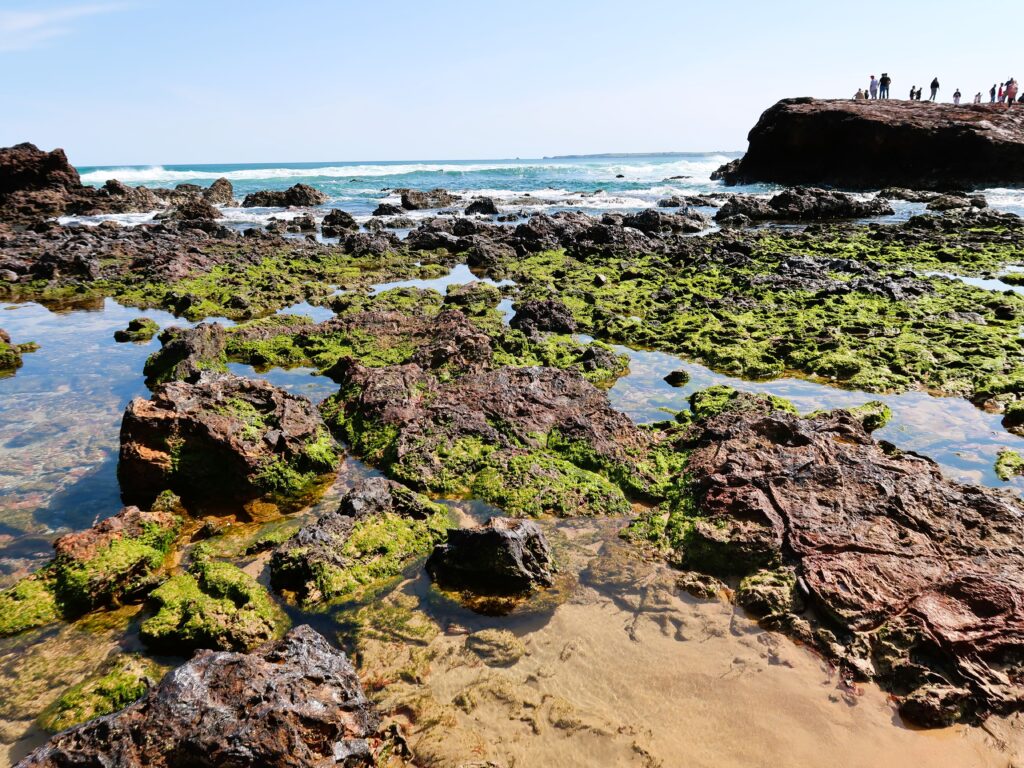
Continue walking on the left side for about 500 mt to reach Forrest Caves and explore the red caves, rocks and crystal clear rockpools.
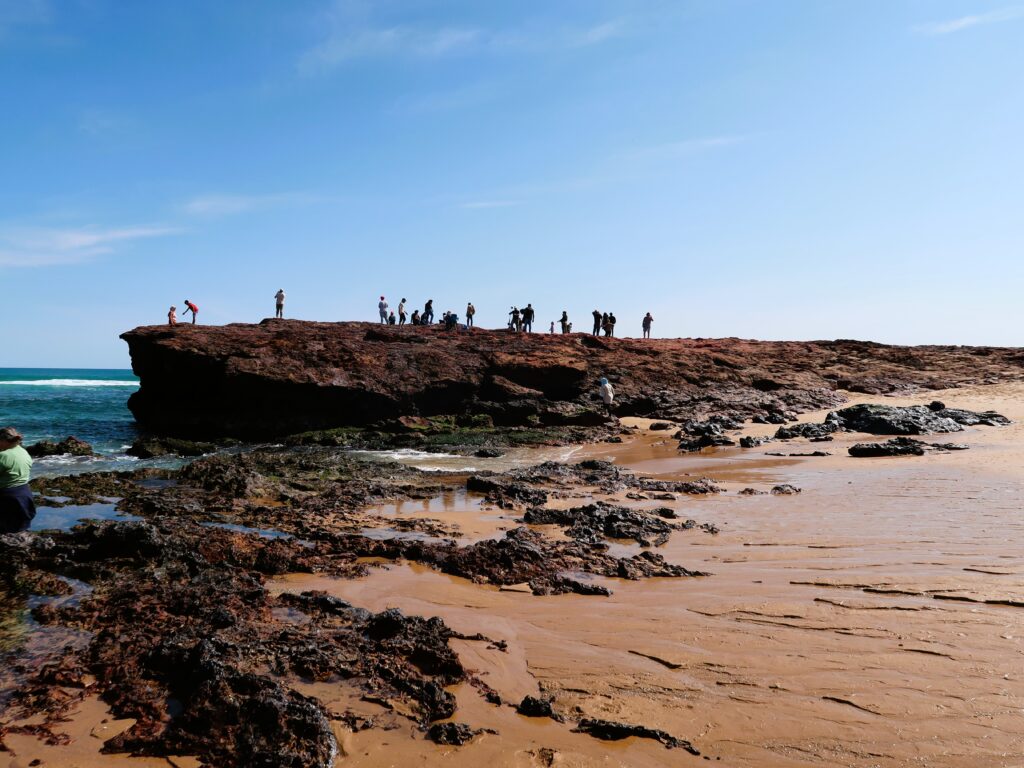
NOTE: Swimming is NOT advised at this beach due to strong waves and rip currents. This beach is stunning but it is not patrolled and can get extremely rough! As it’s part of a conservation area, dogs are also not allowed here.
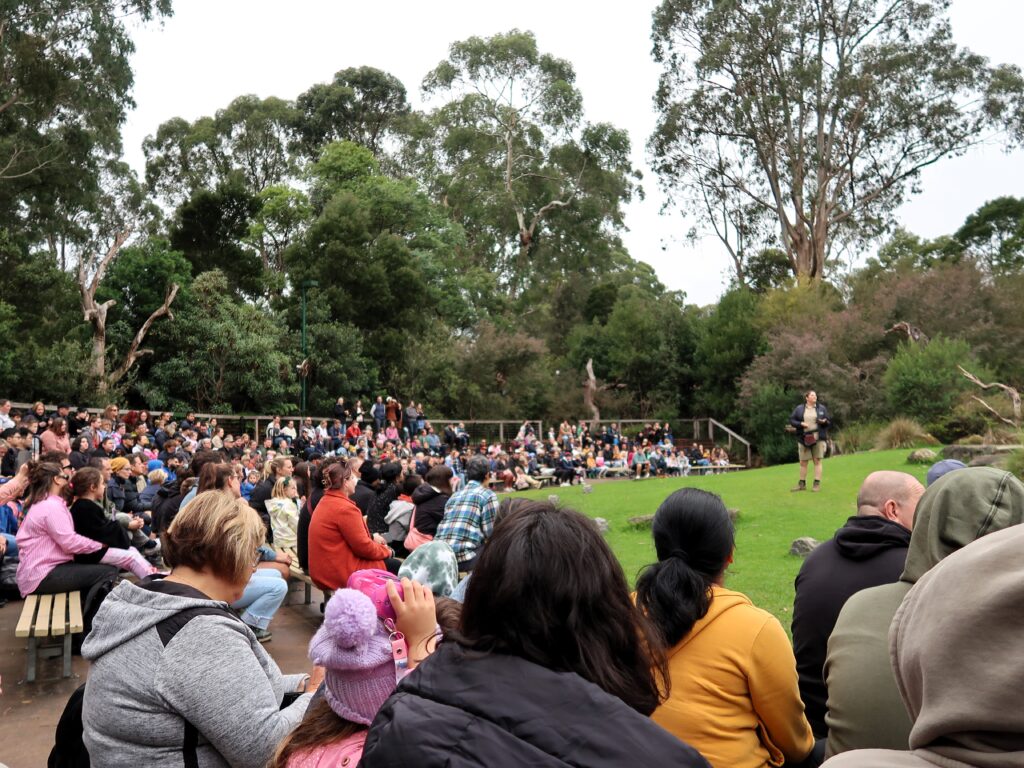
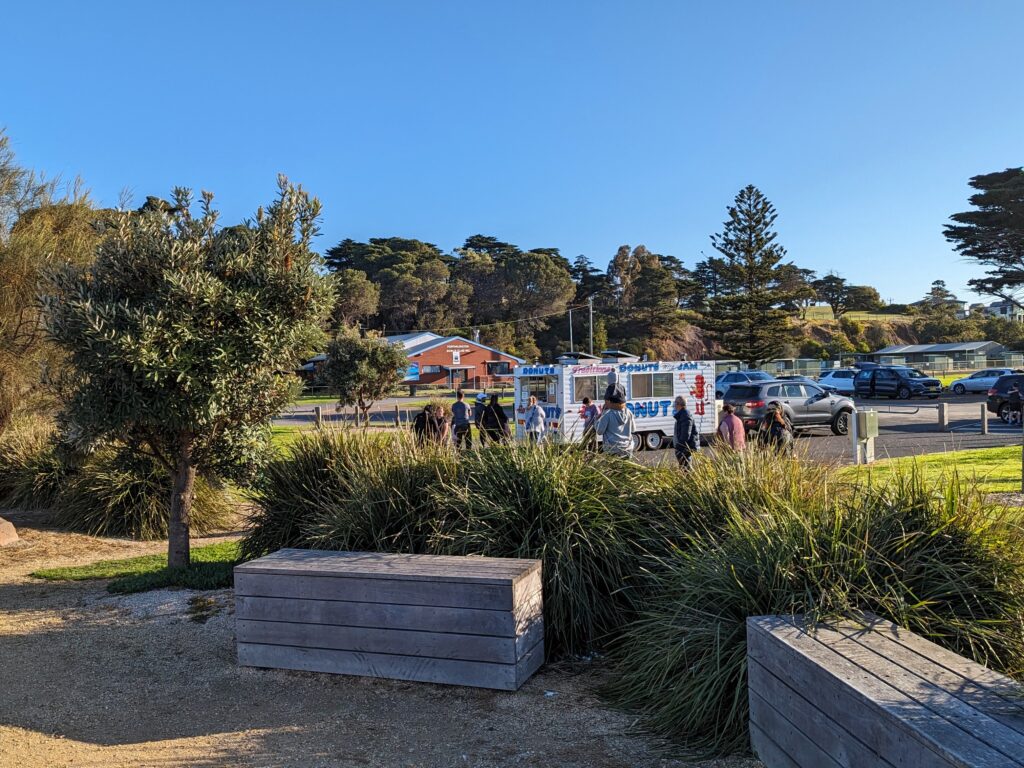
Pelican feeding in San Remo
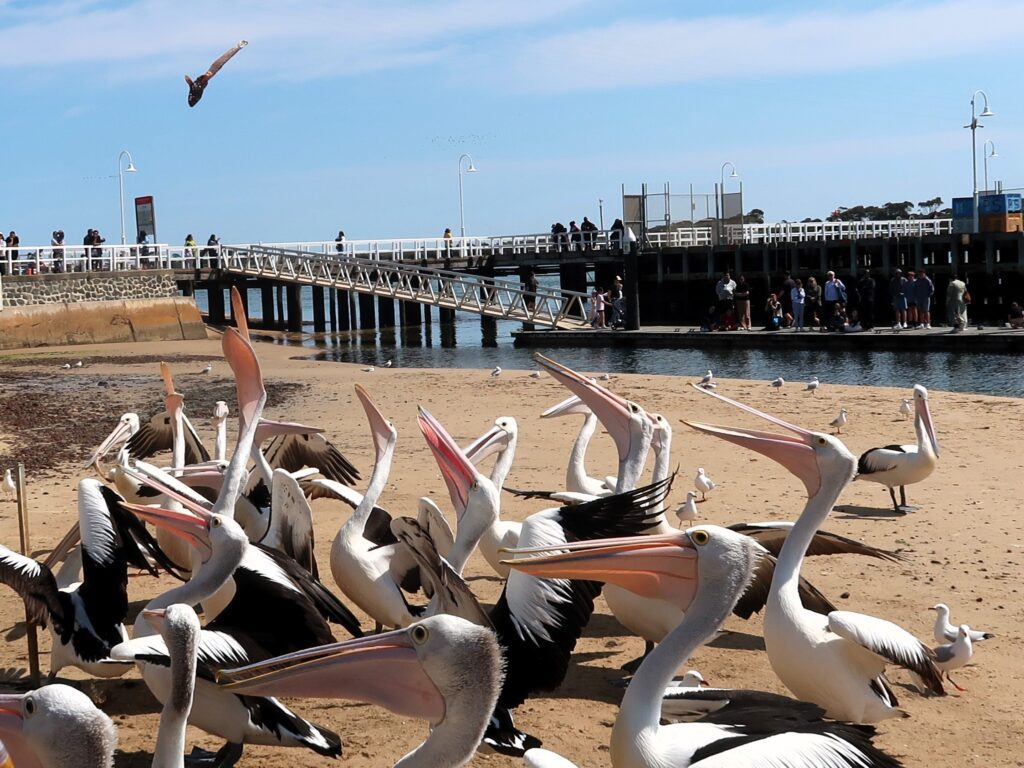
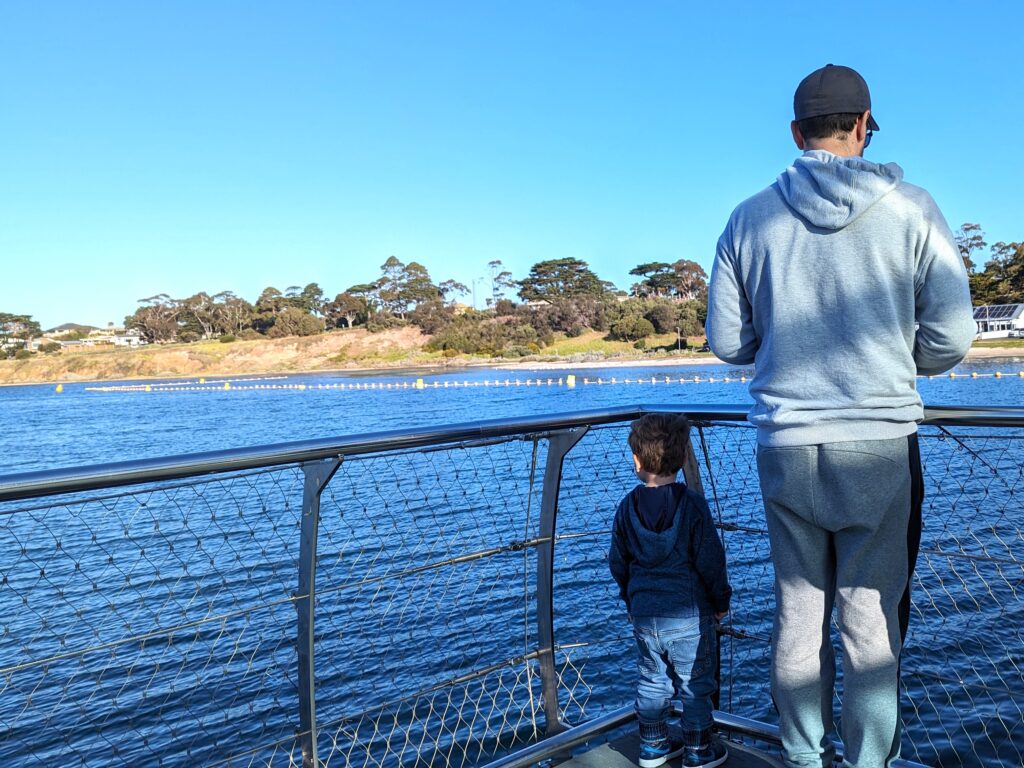
An amazing activity to do either when going or leaving Phillip Island, is seeing the Pelican Feeding! This takes place daily in San Remo, near the jetty, just before crossing over the bridge to Phillip Island.
Every day at 12 o’clock, crowds gather to see the pelicans gobble down some fish from the nearby Fisherman’s Co-Op (which also does a great fish & chips).
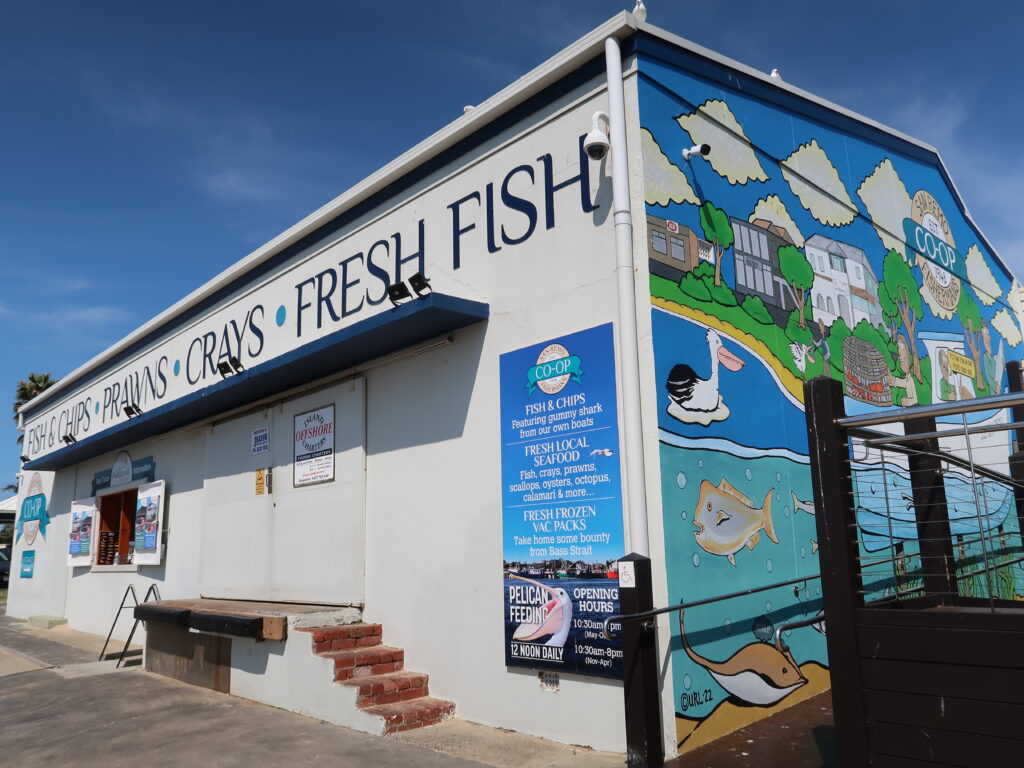
This daily feeding has been going on for over 30 years, started by local fishermen feeding the wild pelicans their fish offcuts. The pelicans now come here daily to get their lunch! The fishermen also provide insightful information about the pelicans and how to look after the environment for them too. It was one of my favourite Free things to do in Phillip Island with Kids!
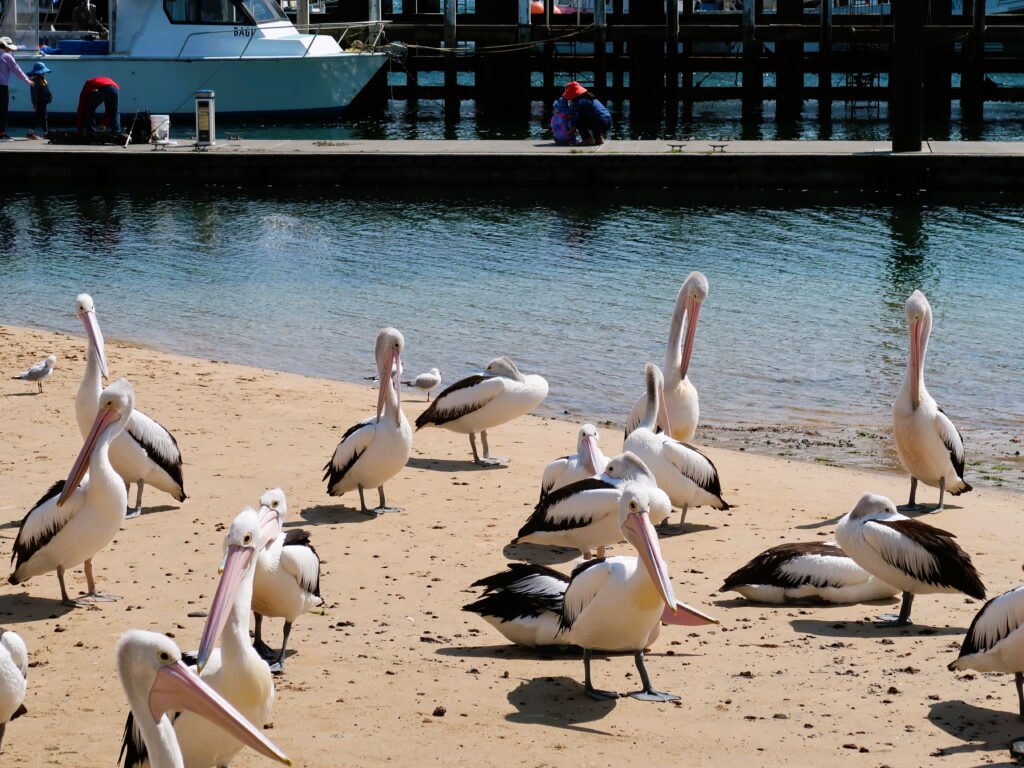
The numbers of pelicans vary from groups of 5 up to about 35. It has become quite a popular attraction for visitors coming to the area! Expect quite a few people during the holidays and get there 10-15 minutes early to get a good view.
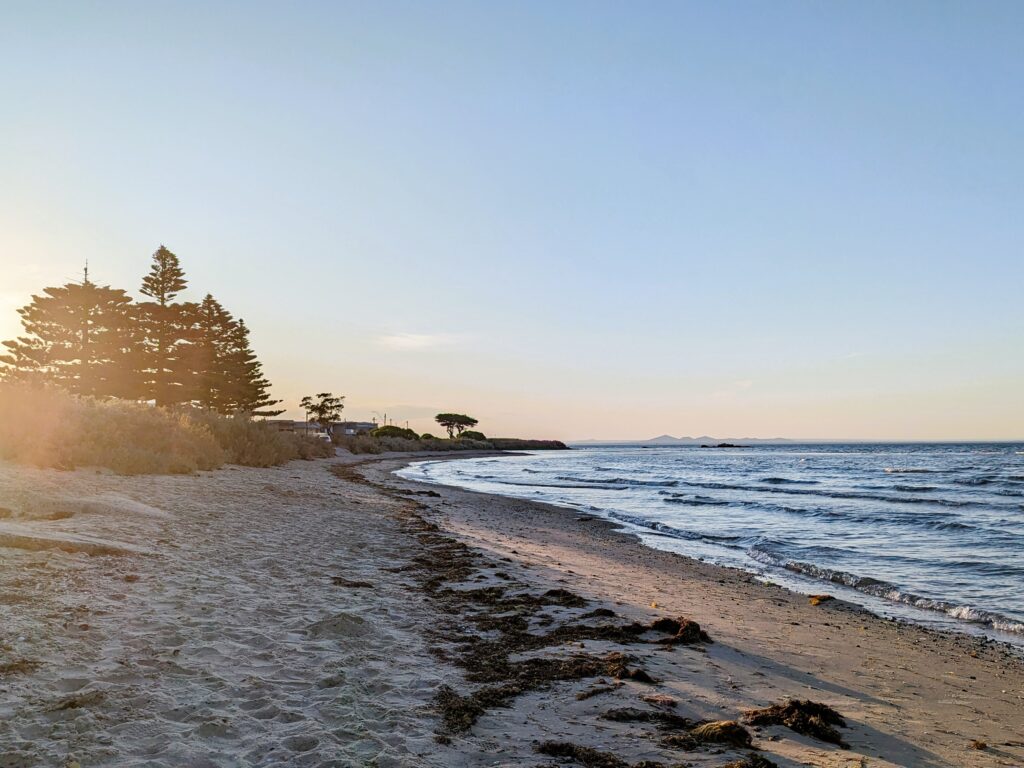
Phillip Island Beaches
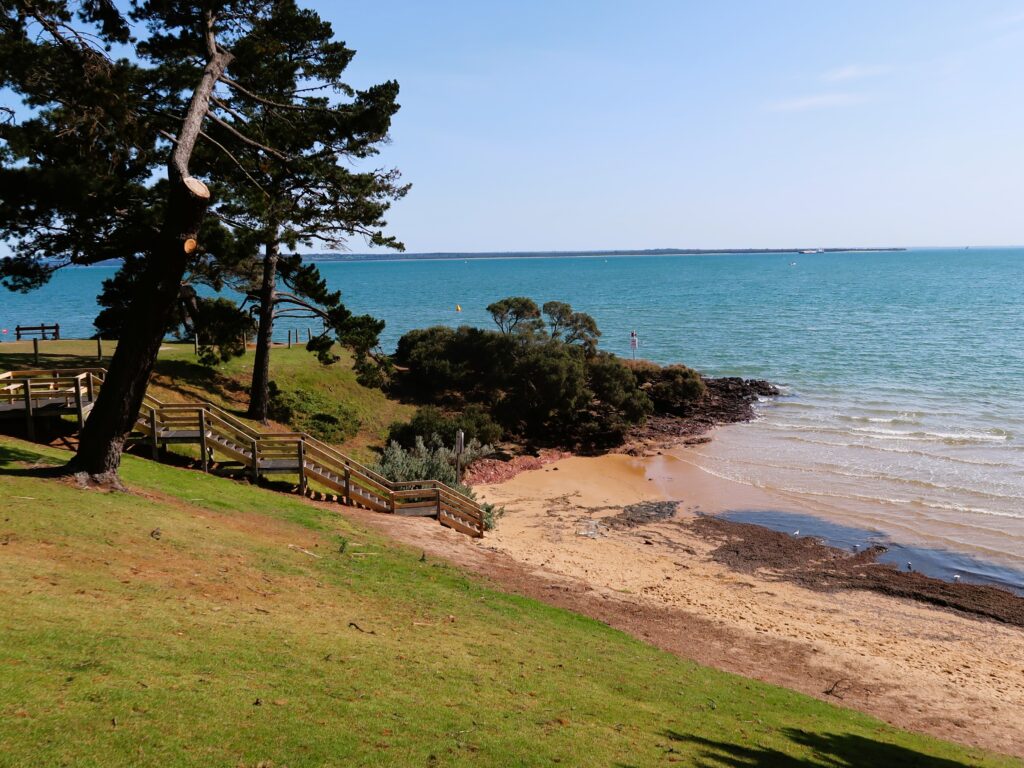
There are so many beaches on Phillip Island! The island has volcanic origins so many of the beaches have black and red-toned rocks. The list below is just of SOME of the many beaches on the island:
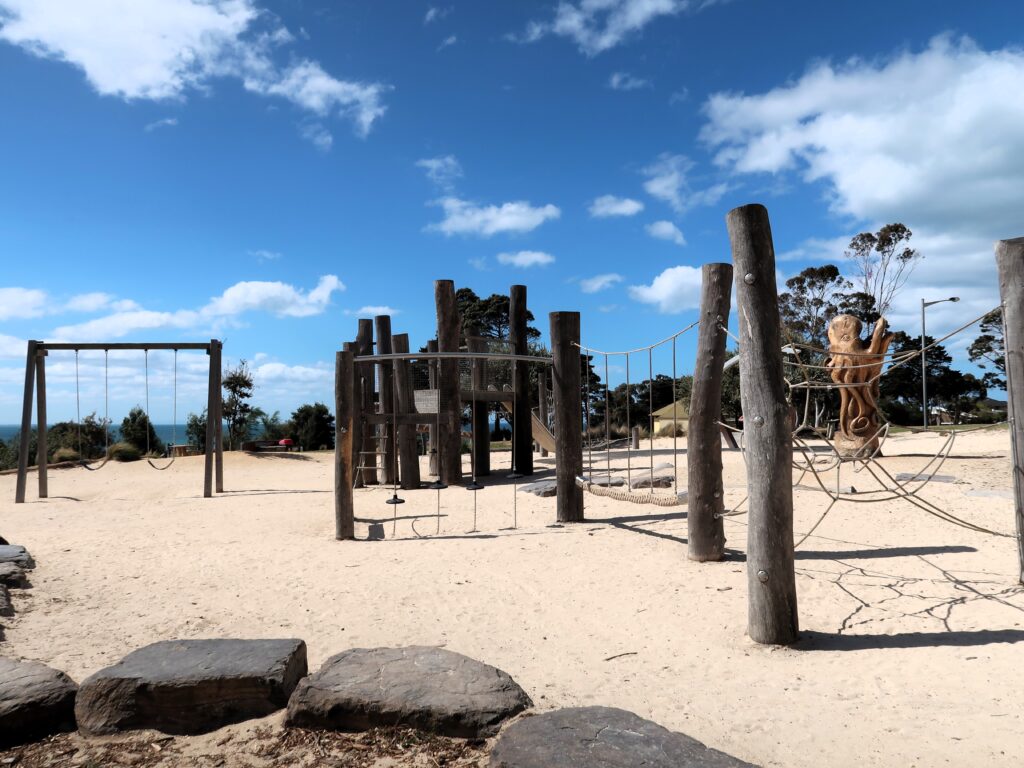
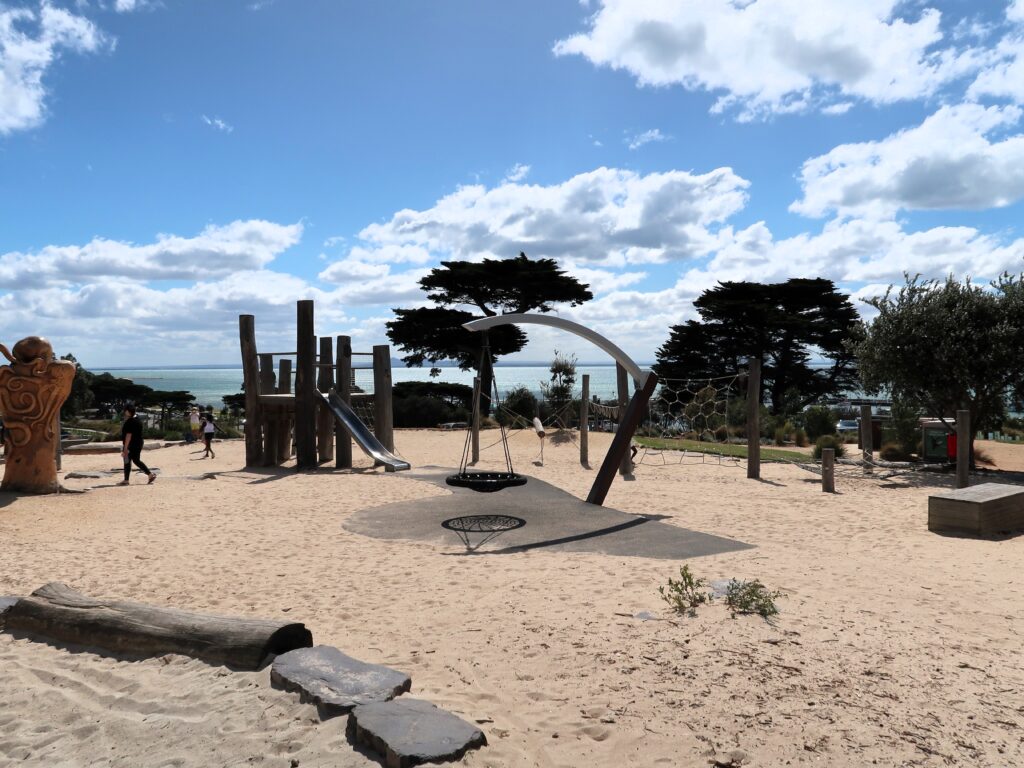
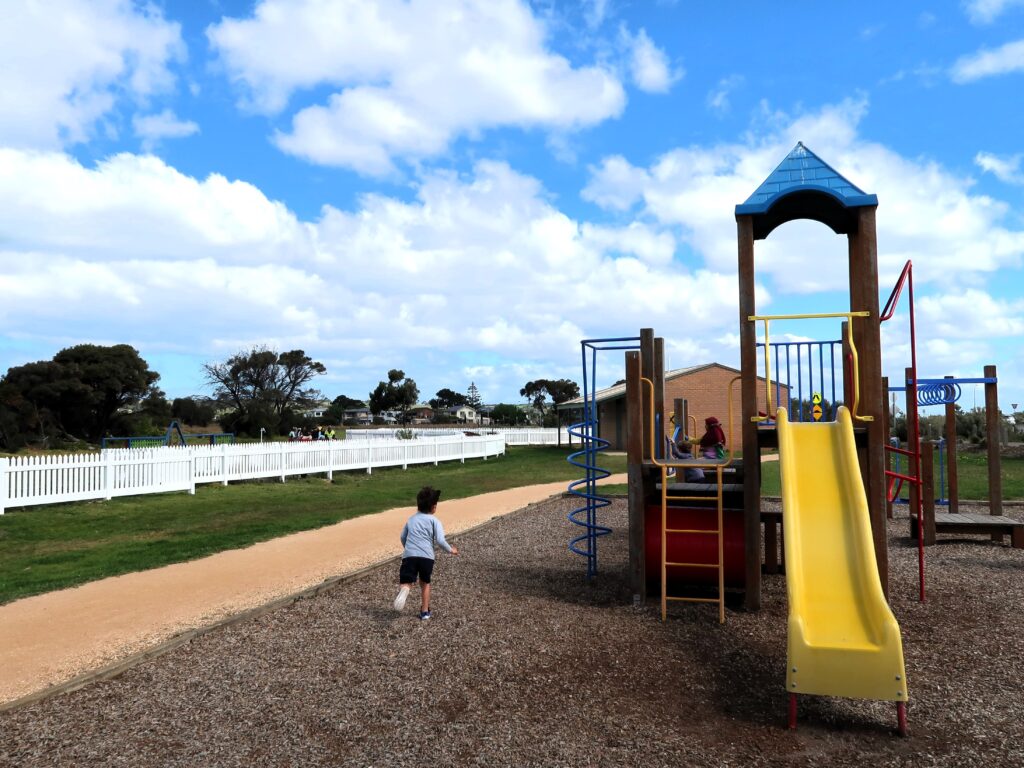
- Cowes Beach is a popular beach with families that is shallow and protected from the surf. Nearby Erehwon Point Playground is located west of the jetty too.
- Smiths Beach is 10 minutes south of the island, another popular one with its gorgeous crescent-shaped beach.

Both these beaches have facilities and are next to food outlets. There is car parking and are both generally patrolled in summer, but they do get busy during peak periods!
- Woolamai Beach is a wide sandy beach that is stunning and also patrolled. It is more popular with surfers due to the strong waves. FUN FACT: This is one of the favourite beaches where the Hemsworth brothers love to surf!
For some quieter beaches, head over to Kitty Miller Bay or Sunderland Bay. These do not have facilities but are more secluded than the other beaches if you are after some more peace!

Sunderland Bay is similar to Forrest Caves (minus the crowds) with the rock formations in a red colour and lots of rock pools. We also found so many sea sponges here that the kids loved.
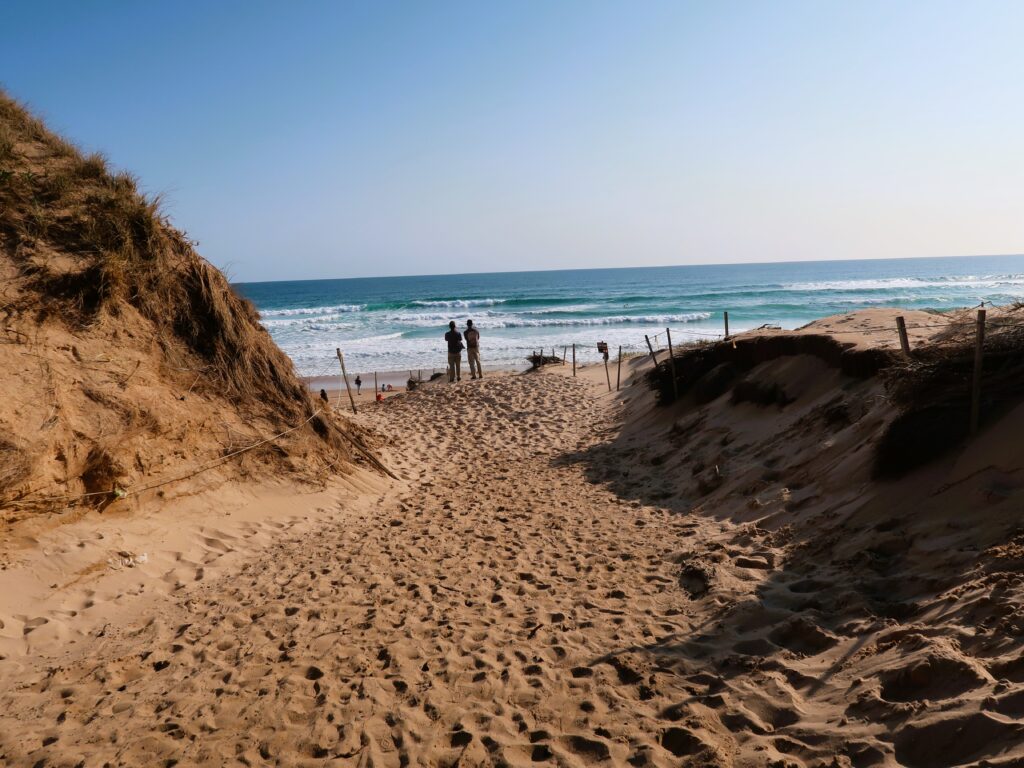
Sandboarding at Cape Woolamai
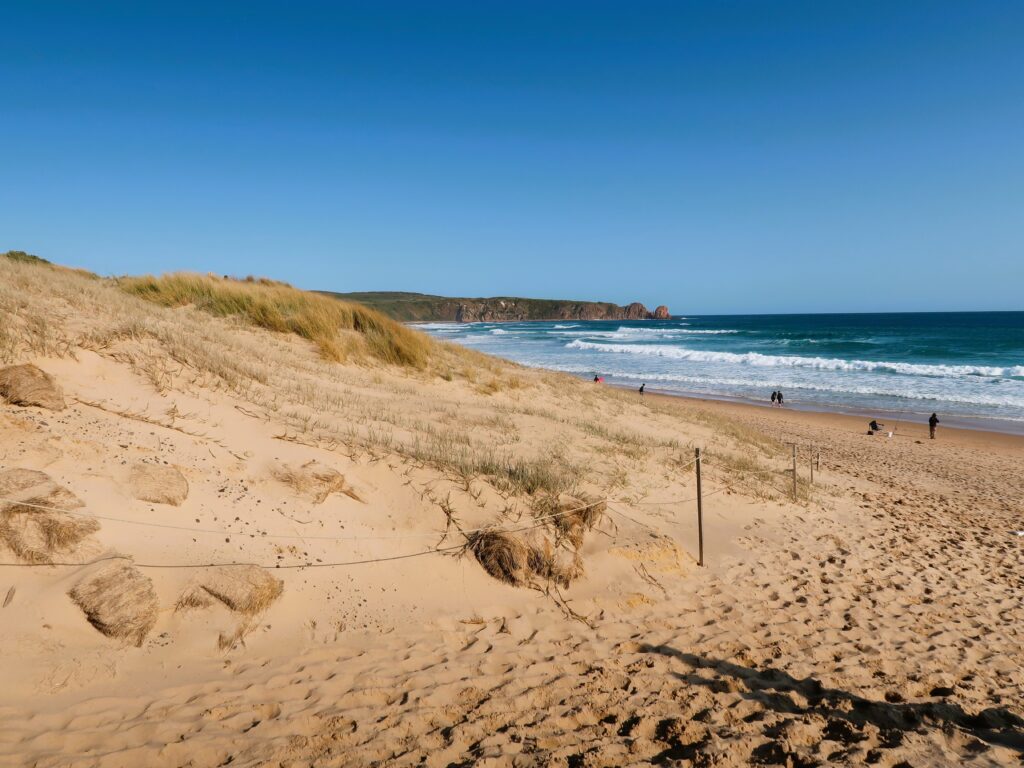
A fun thing we did on our last trip to Phillip Island was sandboarding the steep sand dunes at Cape Woolamai.
It’s a bit of hard work to reach the sand dunes and to climb up them but it was 100% worth it! The kids loved the adventure so if you have bodyboards, bring them with you here.
‘Norman Hill’ is located on a tucked away path just before you access the car park at Woolamai Surf Beach. You can only access this place by walk and it is a bit tucked away!

How to get to Norman Hill:
- Park at the Woolamai Beach car park
- Walk back for a few minutes on the road you came from to access the path
- The path has a map pointing to Cleeland Bight Track. The sandy path is around 300 mt till you reach the beach.
- Once at the beach, take a right for a few minutes and you will see the huge hill. Climb up and have fun!
Budget Friendly Accommodation in Phillip Island
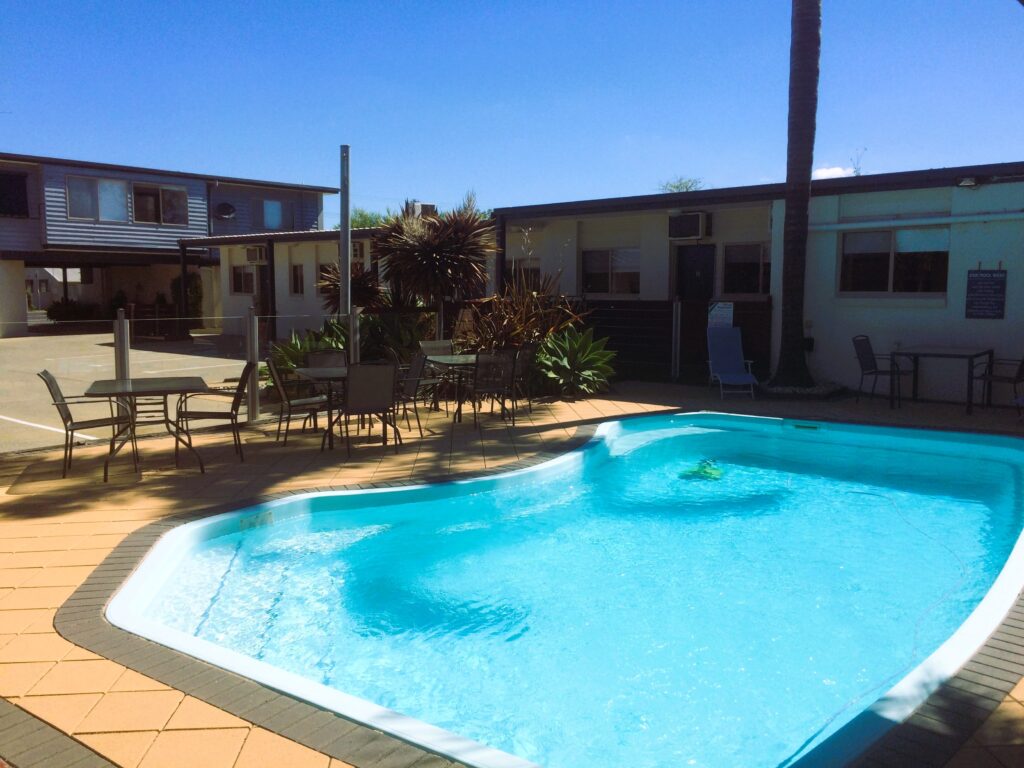
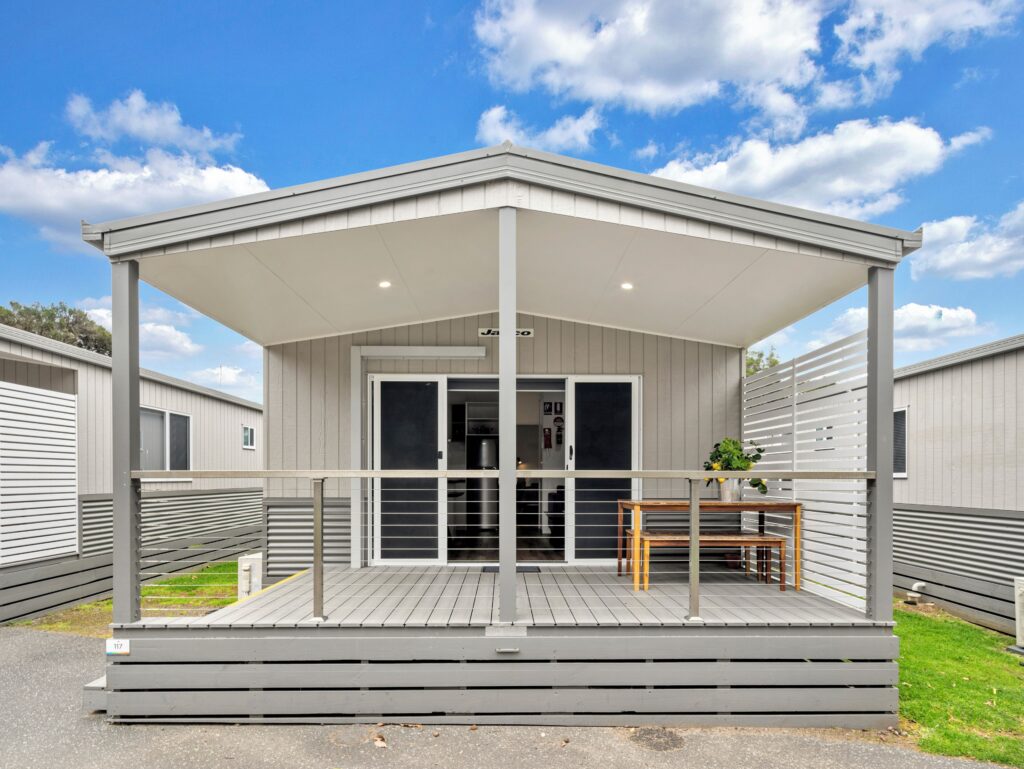
BIG4 Ingenia Phillip Island
Located in Newhaven, just across the bridge from San Remo, BIG4 Ingenia Holiday Park has everything you need for a family-friendly holiday. The park has a variety of cabins to suit all budgets, from basic to fully renovated cabins. The park also has a playground, BBQ facilities and beach access.
Check Prices and Availability for BIG4 Ingenia Phillip Island HERE
Check Prices and Availability for BIG4 Ingenia Phillip Island HERE
Want to read more on Phillip Island?
I hope you enjoyed this post on 5 Free Things to do in Phillip Island with Kids!
Want to read more about Phillip Island? Check out my other post on the Top 8 Things to do with the family in Phillip Island as well as recommendations on Where to eat in Phillip Island coming soon!